- Through the telephone HANDSET port
- Through the telephone HEADSET port
So in a moment, you’ll need to check out your phone to see which type you have. But first, after unboxing your headset and laying out the components, go to step 1 below.
Step 1 - Locate the wireless phone headset connector cord.

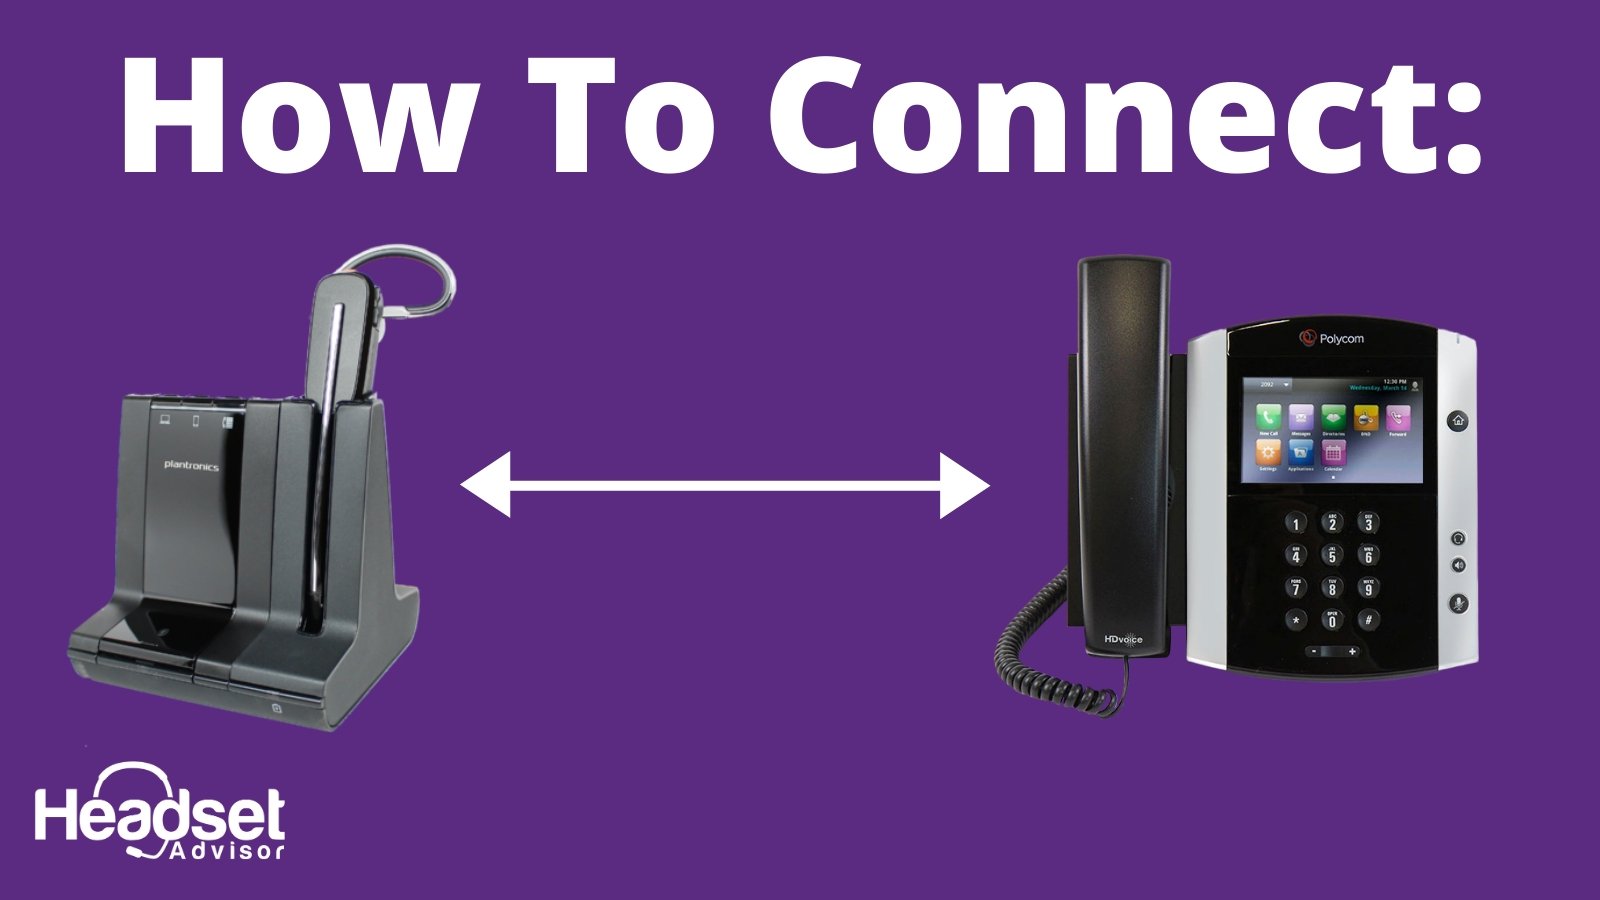
Locate the cable that looks like this it should have either RJ9 or RJ45 plugs that connect the headset charging base to connect to the back of the deskphone.
Step 2 - Locate the AC Power Adapter and plug it into a wall power outlet.

The other end of the power adapter plugs into the wireless phone headset charging base. Refer to your user guide if you’re uncertain where this plugs in, or, contact us and we’ll be glad to help.
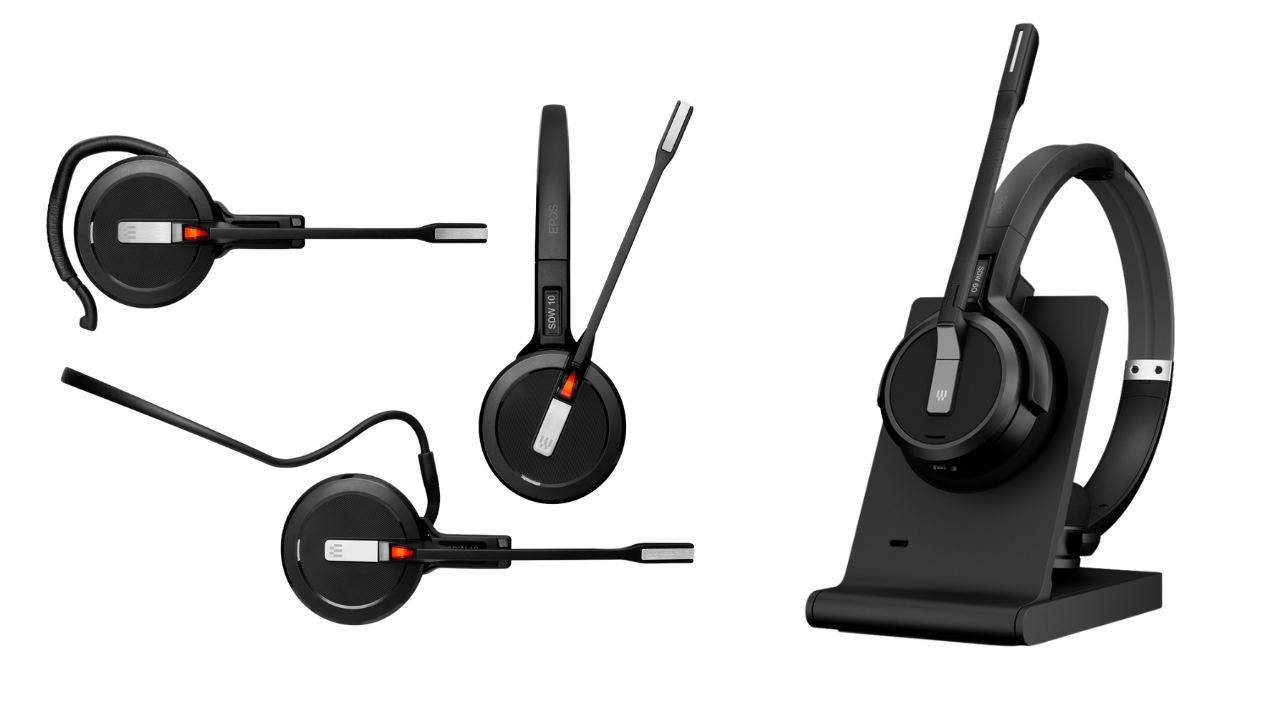
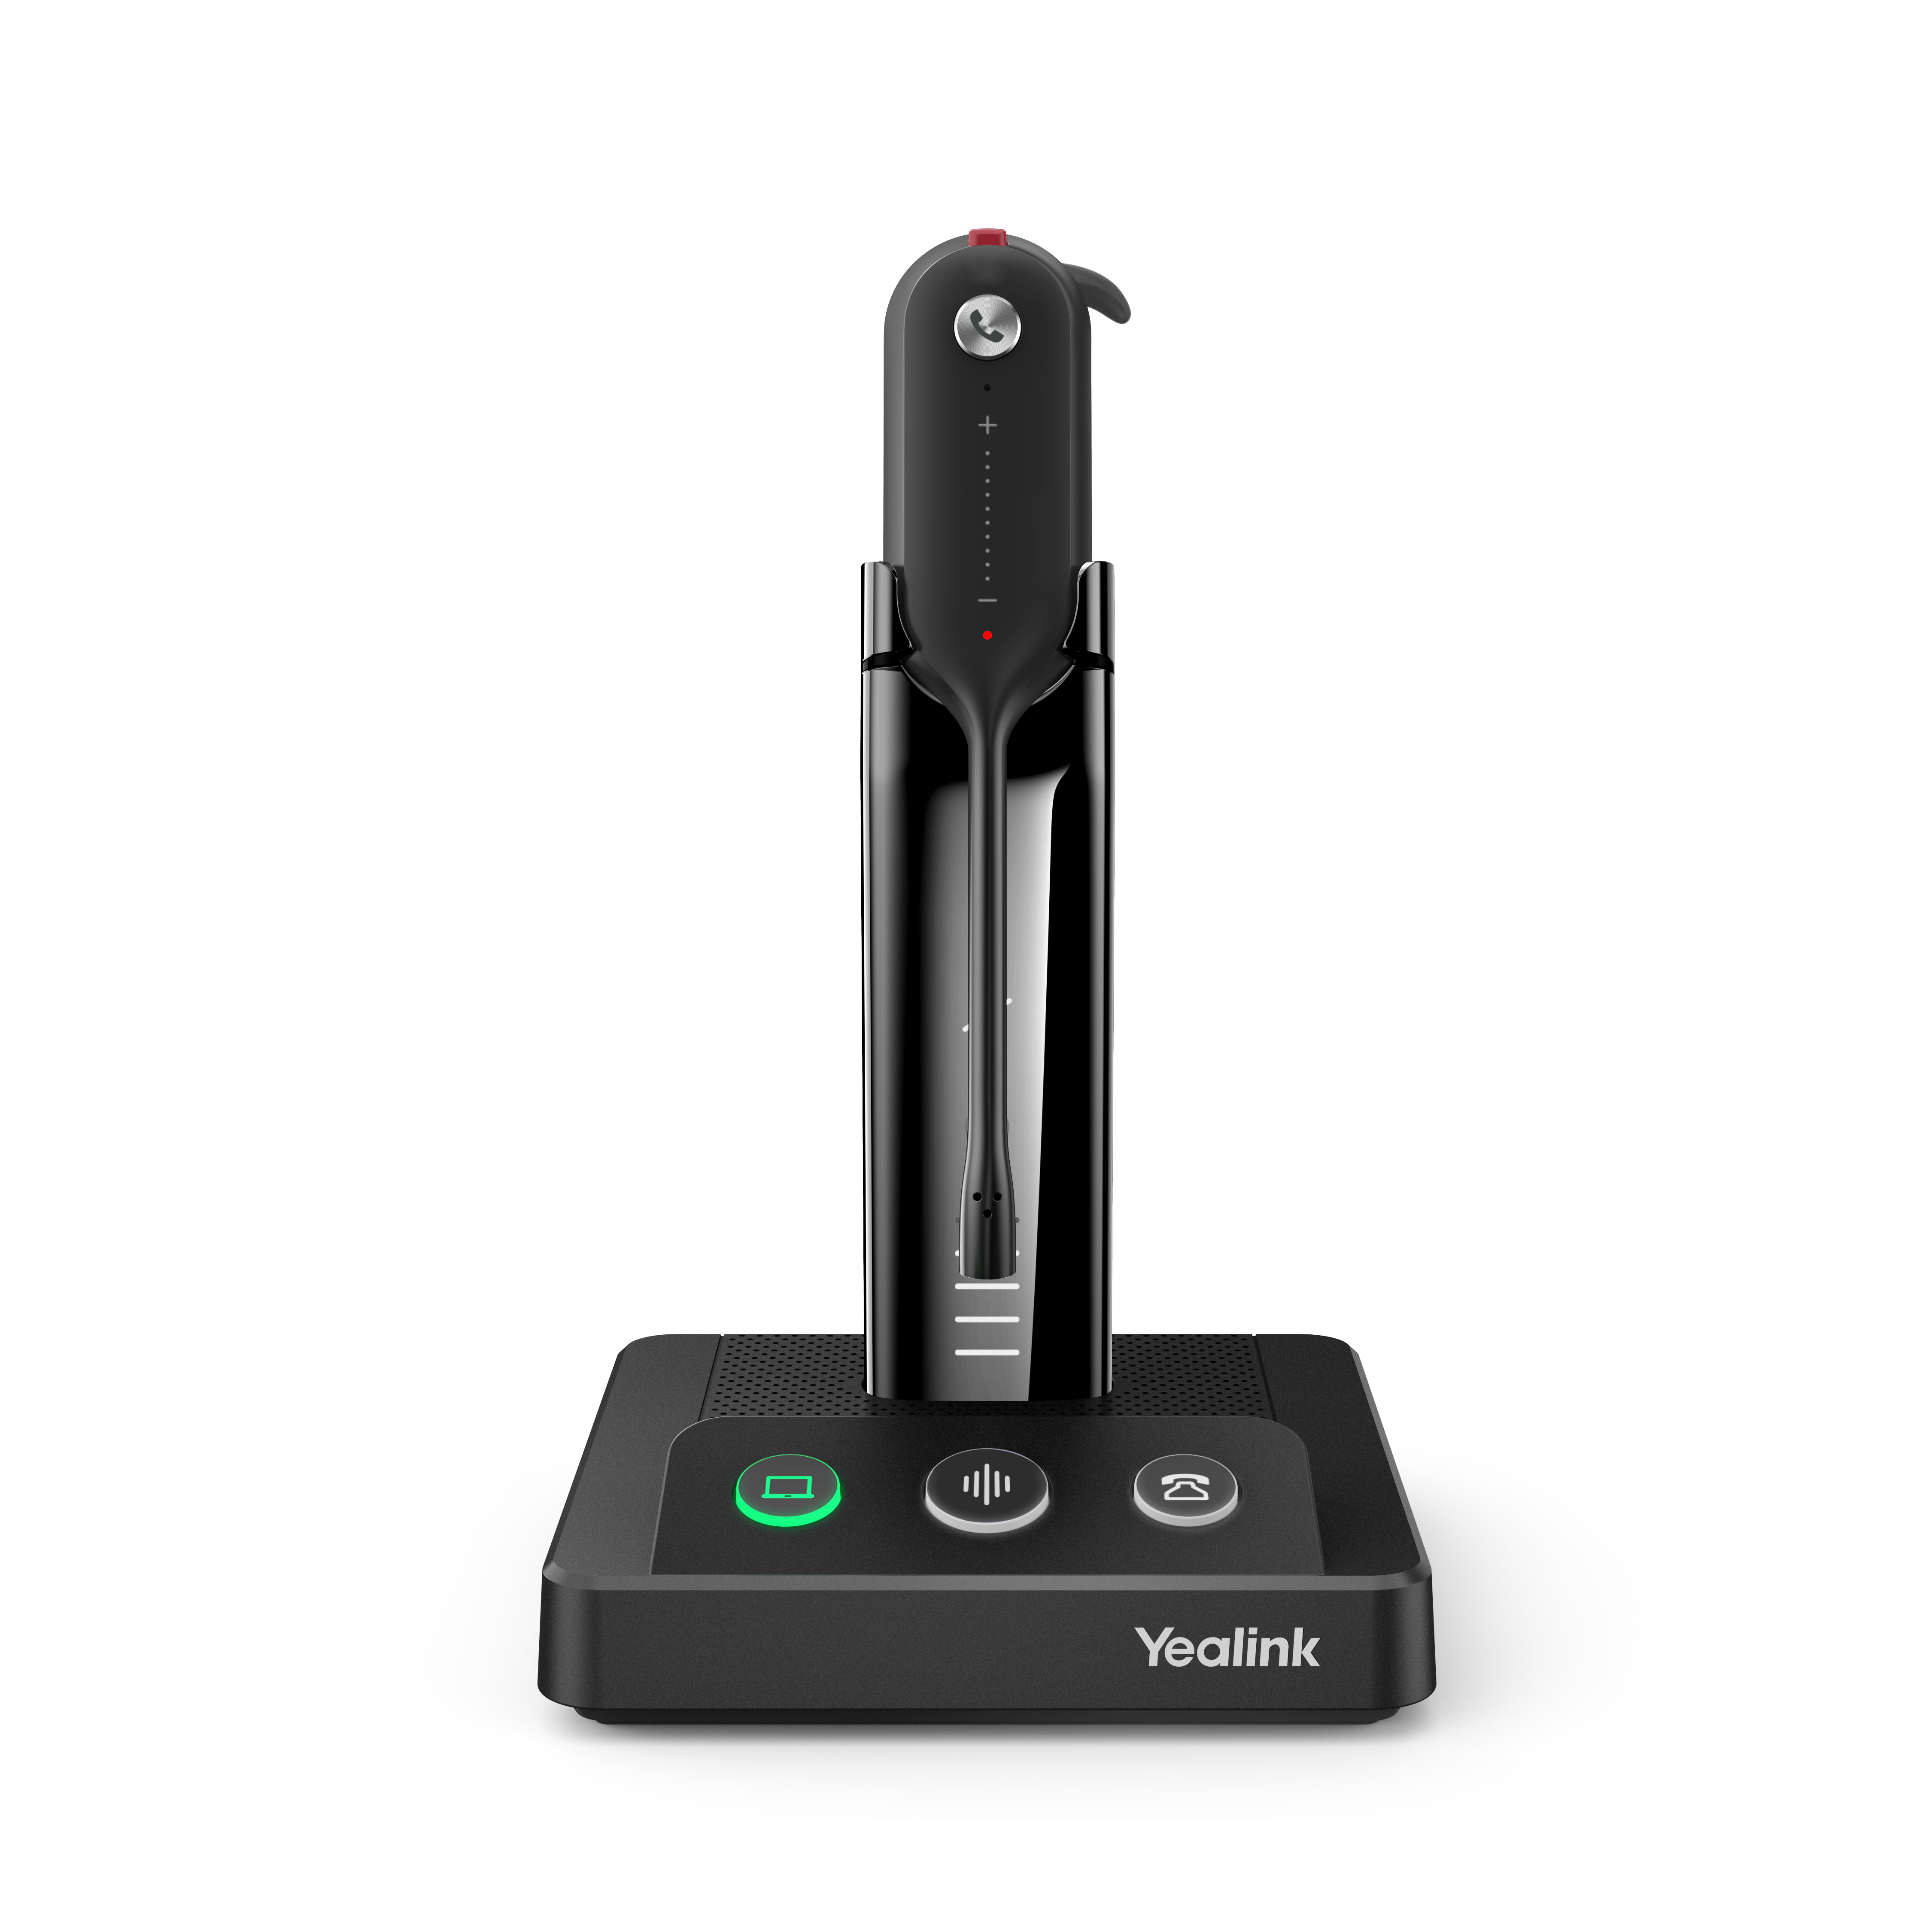
Step 3 - Locate the wireless headset TOP and place it into the wireless phone headset charging base.
You should see a light come on when you place the office wireless headset in the charging base. This light will indicate when the wireless phone headset top is charging and when it’s fully charged. When initially setting up your wireless headset, leave the headset top in the charger for a minimum of twenty minutes.
This is to get a partial charge in the headset top so you can make a test call a little later to determine if everything is working correctly. After making the initial test call, you’ll want to leave the office wireless phone headset top in the charging base until a full charge has been achieved.
Step 4 - Determine if your phone has a headset port or not
Whether you’re using a new phone, older phone, VoIP phone, digital, centrex or analog, they all differ in whether or not they have this feature. The value of having this port is it allows you to use your wireless phone headset without the need to remove the handset receiver from the cradle when you want to make or take a phone call. It just makes using the headset easier.
If your phone has a headset port, it will be located on the bottom, side or back areas of your phone. Typically, it will be located next to the HANDSET port which all phones have. So, look for your handset port by following the handset coil cord to where it plugs into the phone base.
Do you see a vacant port next to the handset port? One that has a small icon of a headset? If so, you’re looking at a headset port. If not, your phone likely doesn’t have this feature. The image below will give you a good visual as to what you’re looking for.
Step 5 - Plug the wireless phone headset connector cord
Plug the wireless phone headset connector cord (refer to step 1), into the HEADSET port on your telephone. Be sure to apply enough pressure when inserting this cord that you hear a “click” sound. This confirms that the cord has been inserted fully.
The other end of this cord plugs into the charging base of the wireless phone headset. As before, make sure that you hear a click sound when inserting the cord. The location of this port on a wireless headset base varies from model to model, but it’s easy to identify because there will be an icon of a desk phone (not a desk phone handset, but a full desk phone) near the port. See the sample image below.
Step 6 - If your phone DOESN’T have a headset port, locate the HANDSET port.
For those phones that don’t have a headset port, you’ll need to make your wireless phone headset connection via the handset port. This is an easy task because all that’s needed is for you to follow the handset receiver coil cord to where it plugs into the base of your telephone.
Unplug the handset coil cord and plug in the wireless phone headset connector cord (see cord noted in step 1). As before, make sure that the cord clicks into place when installing it. This assures that the cord has been fully inserted. As in step 5 above, the other end of this wireless phone headset connector cord plugs into your headset charging base.
Step 7 - Plug your handset coil cord into the wireless phone headset charging base.
The exact location of this port varies from model to model and brand to brand. What you’re looking for is a vacant port that has an icon of a telephone handset (not a telephone with a handset). Plug the handset coil cord into this port. Make sure it clicks when inserting this cord.
Step 8 - Leave the wireless phone headset TOP in the charger until the battery is fully charged.
Refer to your user guide to find out how long this takes.
Step 9 - Make a test call
To make a test call, start by calling someone who’s not sitting in your immediate area. It makes for a better test if you call someone off-site as it mirrors a true-to-life call situation. If your phone has a headset port, make a call by pressing the headset button. You should hear a dial tone.
Dial and use your phone as you normally would. When you’re done with your test call, press the headset button again. NOTE: Some phones may have an “end call” button. If your phone has this feature, press that button to end your call.
If your phone does NOT have a headset port and your wireless phone headset is connected through your handset port, start by removing the phone handset out of the cradle. Set the handset on the desktop, and at this point, you should hear a dial tone. Dial and use your phone as you normally would. When done with your test call, hang up the handset back into the phone cradle.
Step 10 - When making a test call, make adjustments as needed
When you make your test call, you’re all set if the sound quality and volumes are acceptable. However, if you discover that the volume needs adjusting or there’s static or maybe no dial tone at all, then you’ll need to make a simple adjustment to correct this. Below are the most common things that you might have to adjust.- Hearing volume. When making your test call, the far end person you’re speaking to might sound quiet and not loud enough. If so, adjust the volume on the headset top. Every model of wireless phone headsets can adjust the hearing volume. This is typically indicated by a + or - icon on the headset. Adjust as needed.
- Speaking volume. Again, when making your test call, your test subject might say that you sound quiet or far away to them. This means that your wireless phone headset needs a microphone volume adjustment. This adjustment is found on your wireless headset charging base. Look for a button next to an icon of a microphone. This is the button you use to raise or lower your microphone (how loud you sound to others).
- No dial tone. Wireless phone headsets are designed to work with a wide assortment of
telephones. Among them include Digital, Analog, Centrex and Voip. To allow for compatibility among all these different types of phones, wireless headsets have a compatibility feature. This is a button that has several positions which allow for adaptability to these different phone types. Look for a button next to a series of numbers though your model might have letters.
For example, the button might be next to 1 2 3 4 5 or A B C D E. If you didn’t hear a dial tone on your test call, go to this button and move it while trying to obtain a dial tone. Move it from 1 to 2 to 3 etc. until you hear a dial tone (or A to B to C etc).
- Static. In some cases, you might have sound on your test call, but the quality of the

