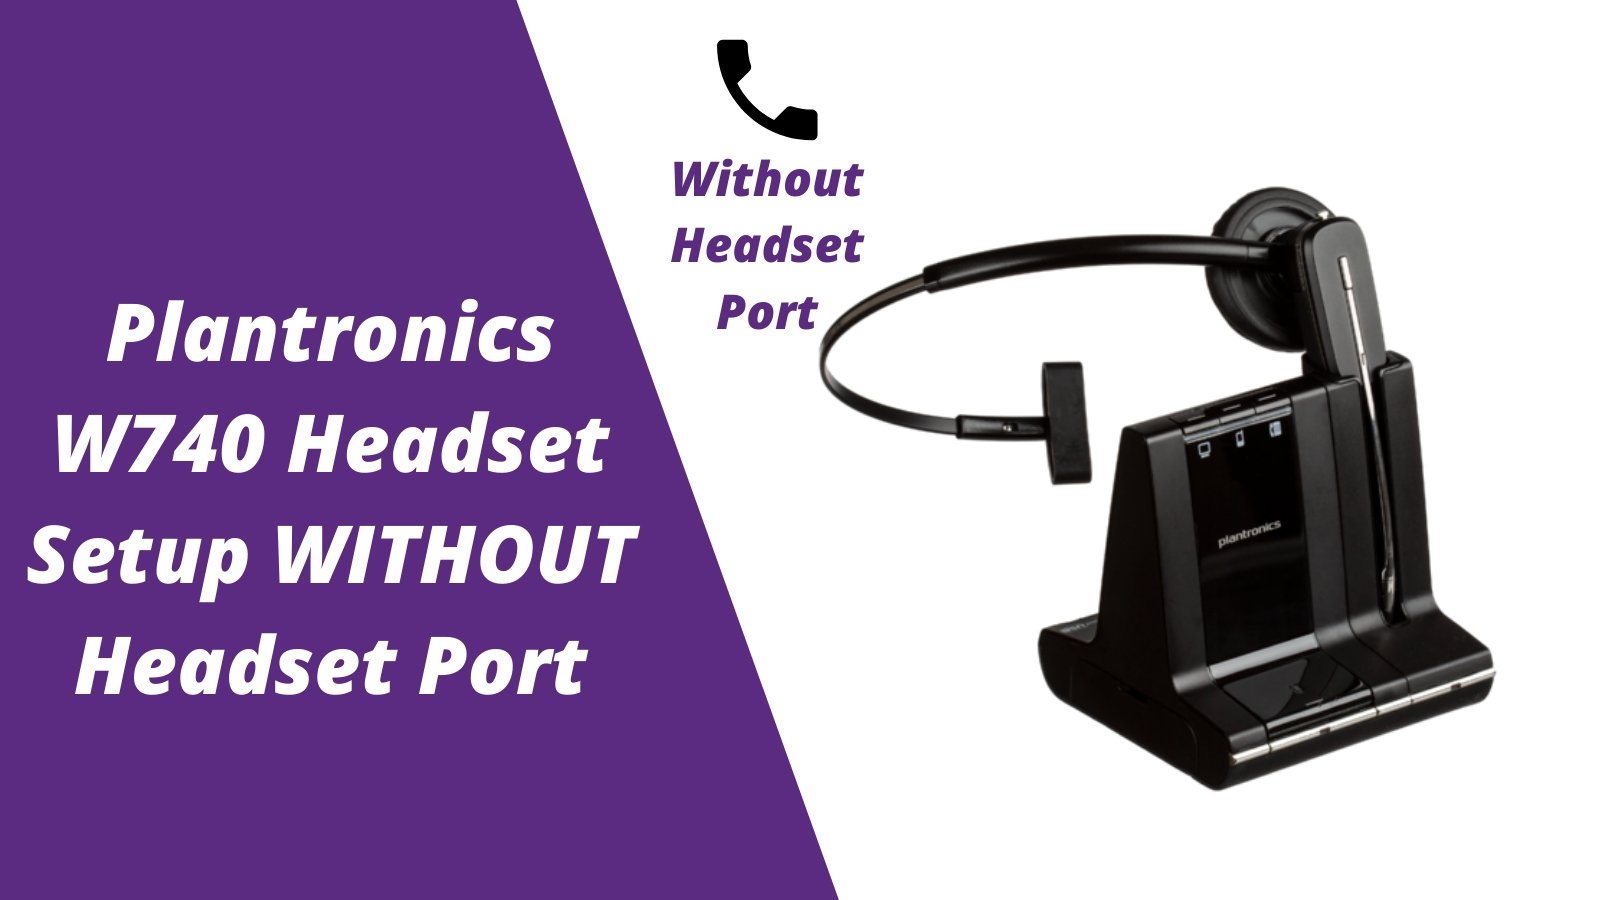
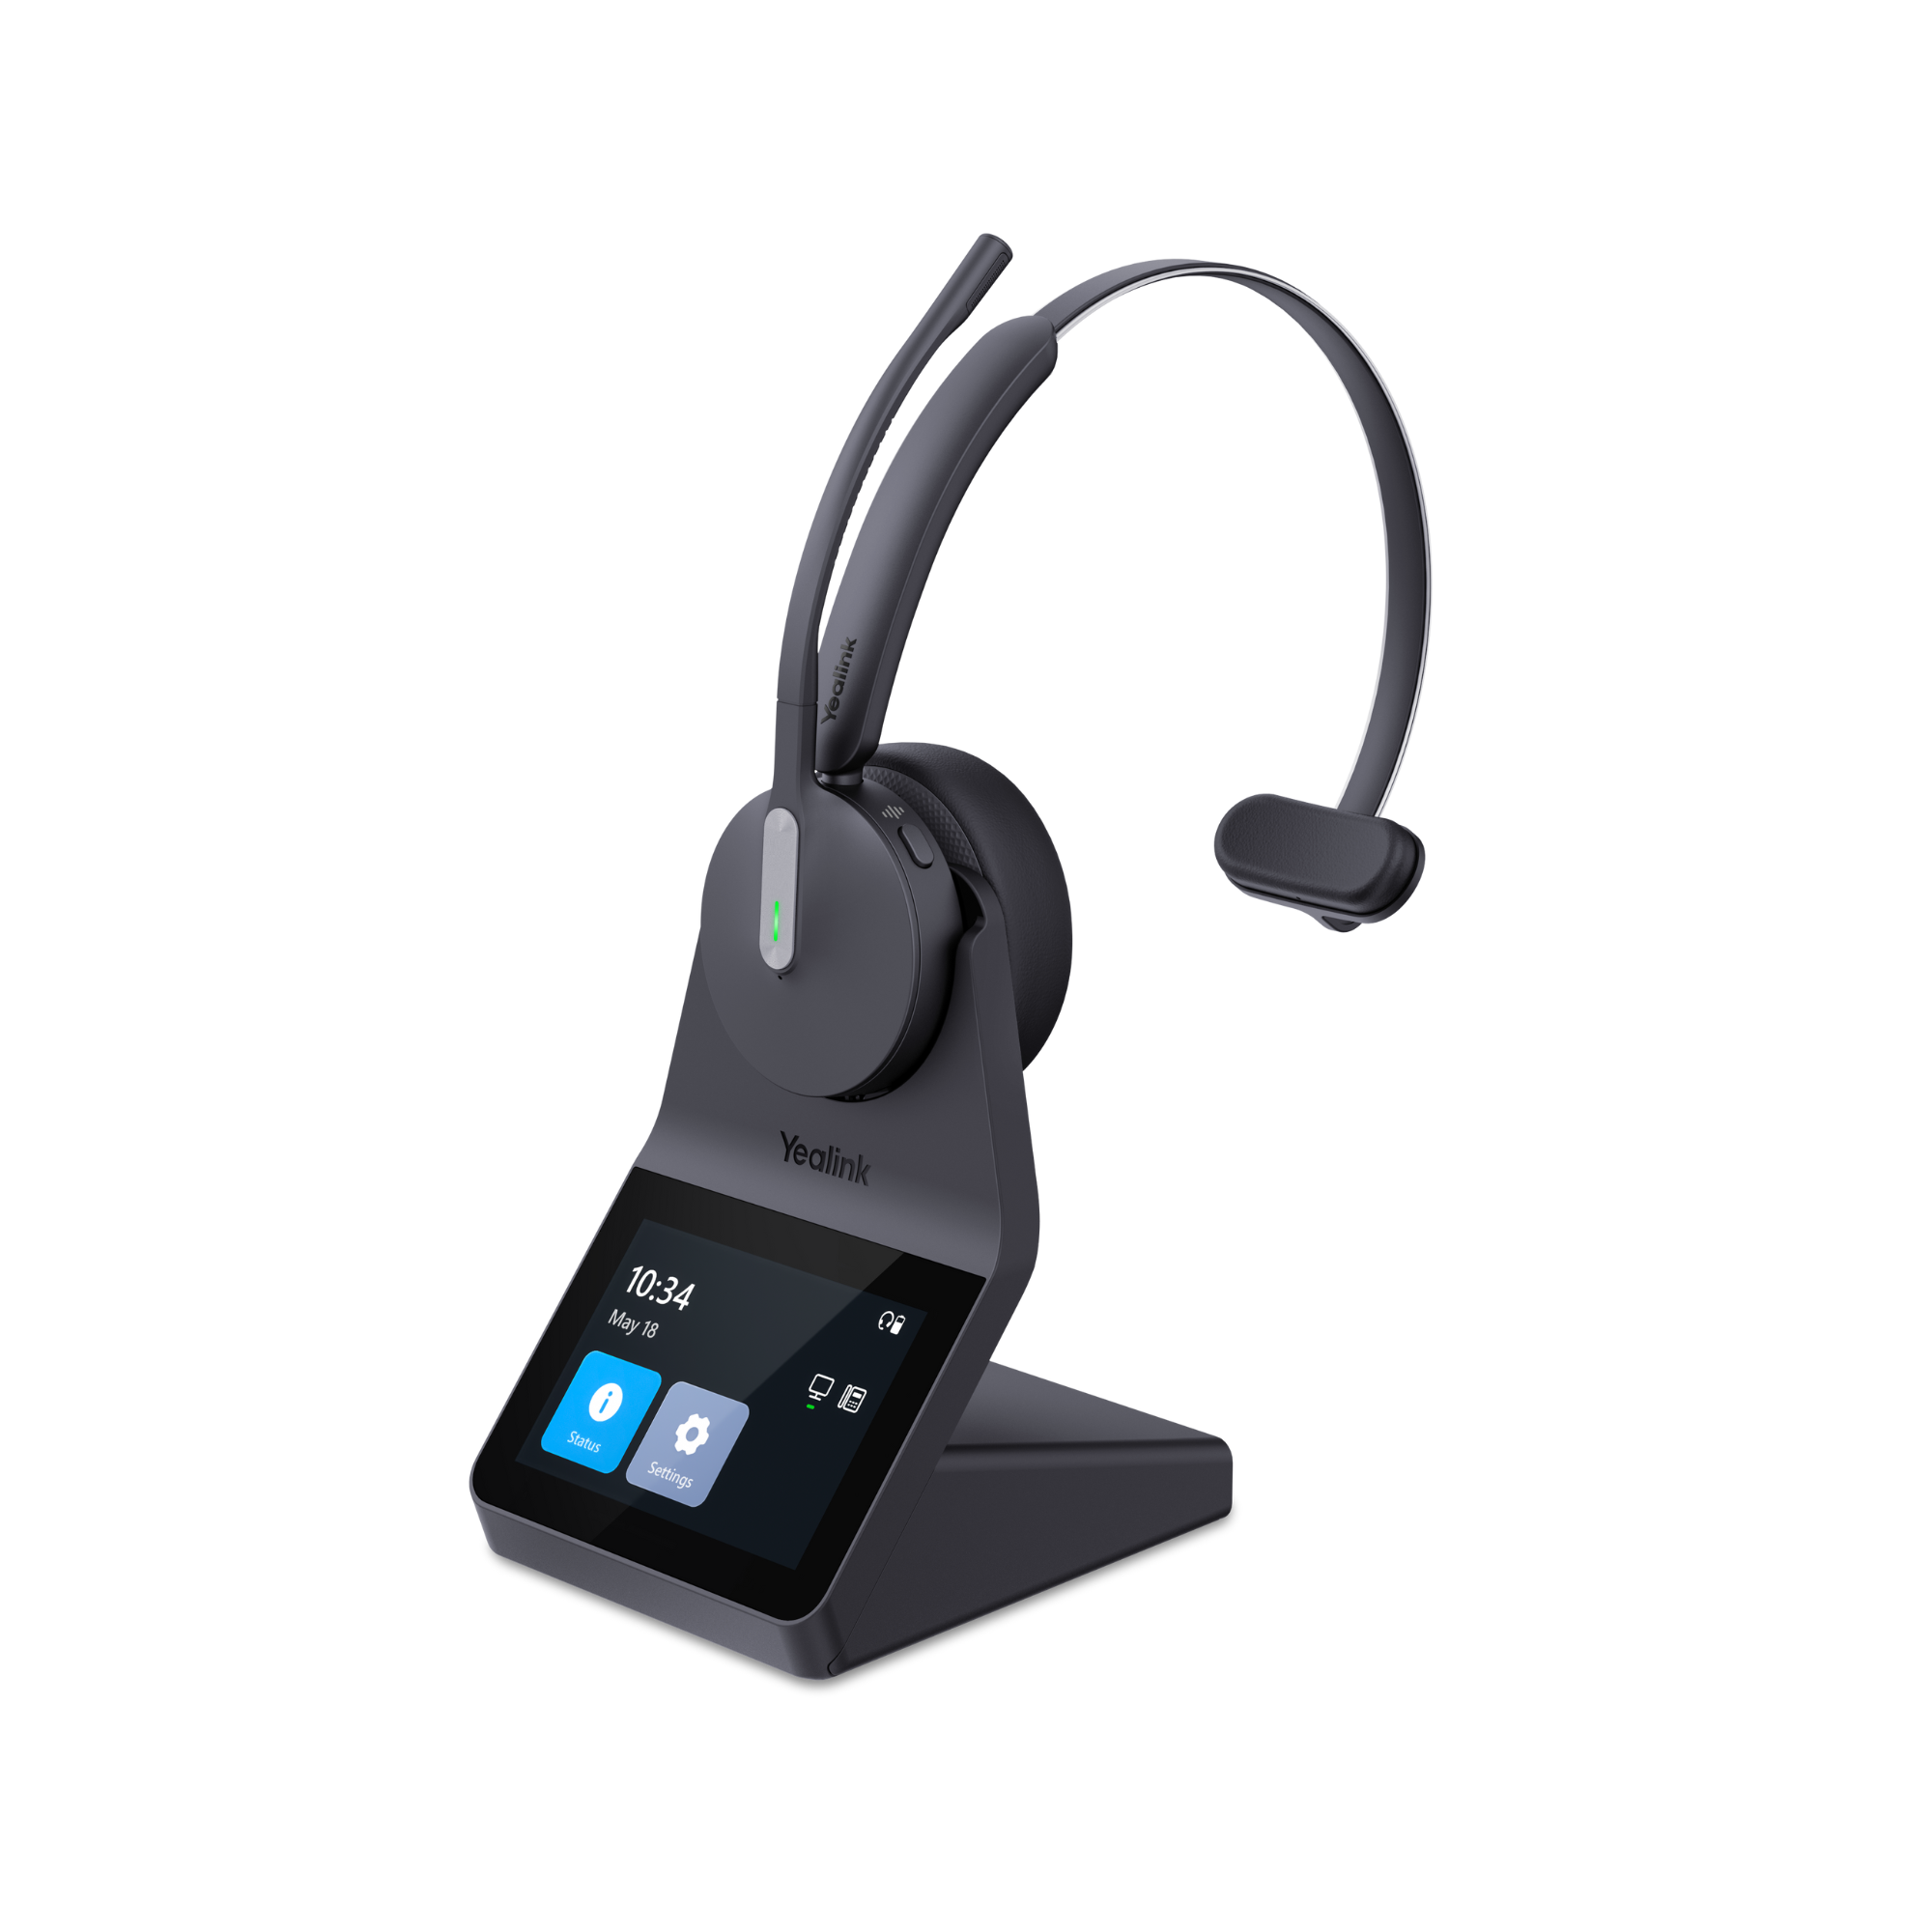
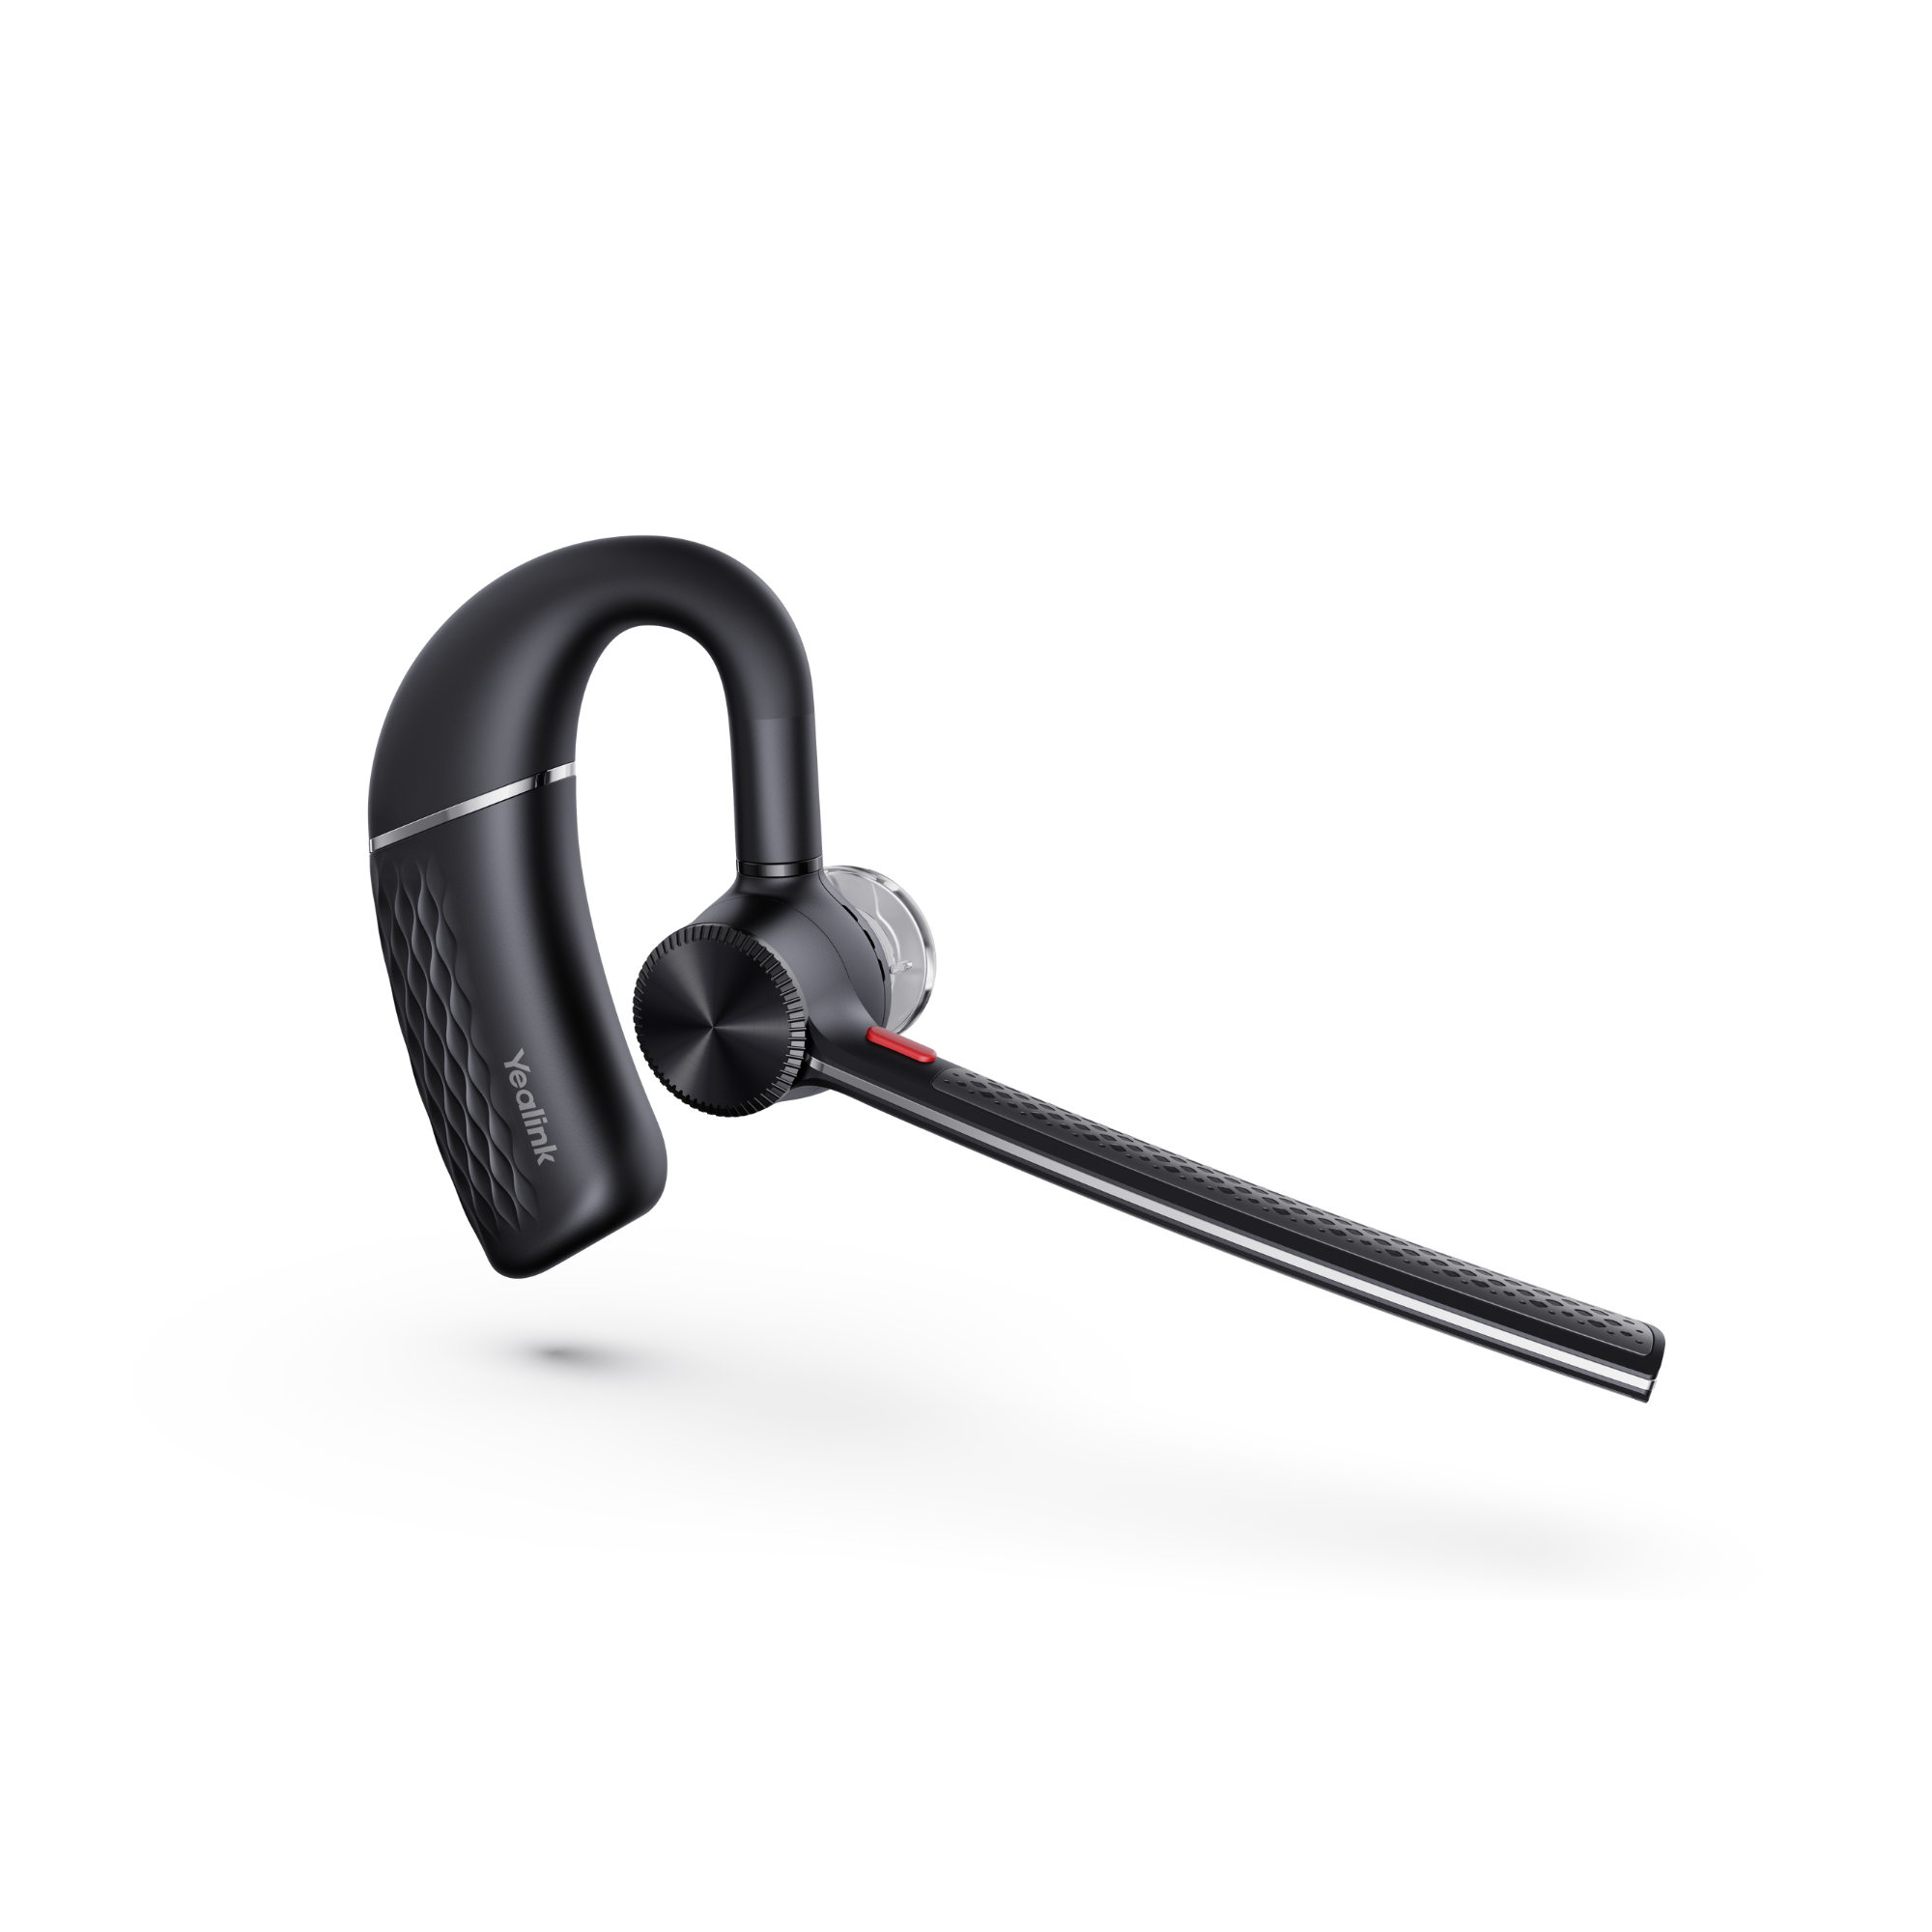
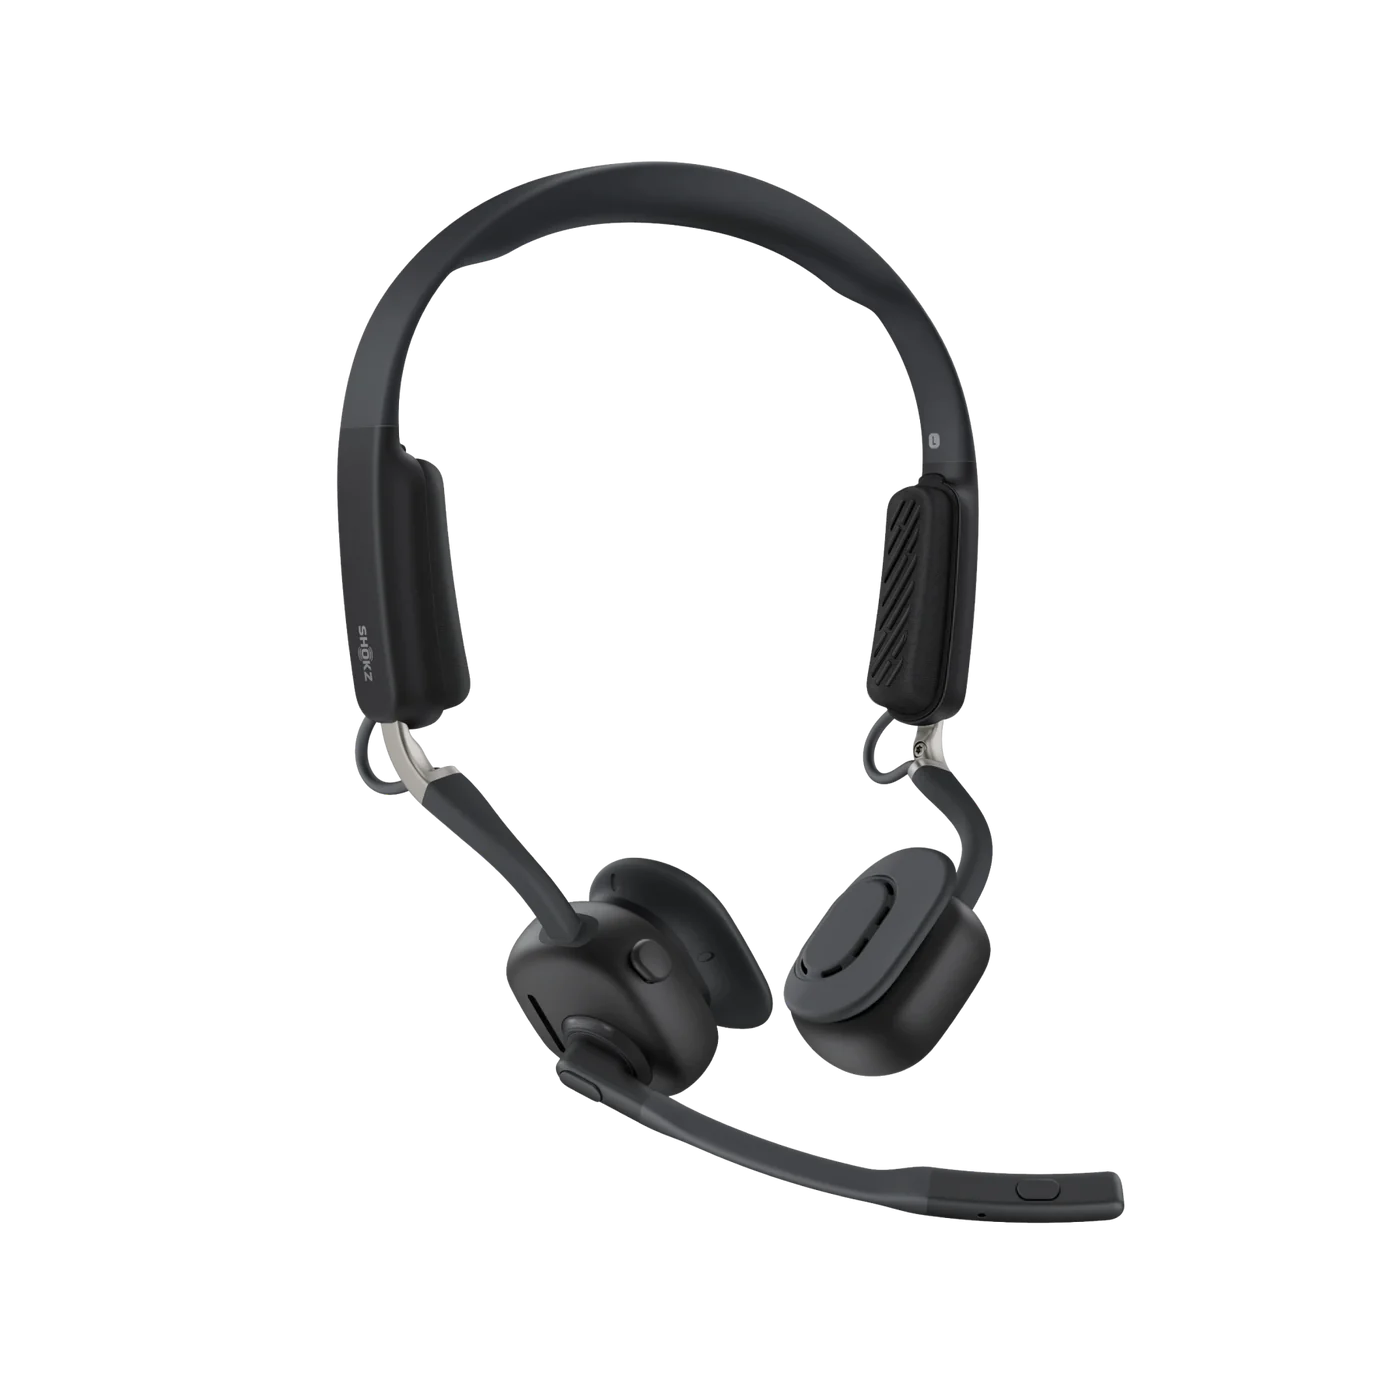
This guide is designed to provide you with helpful information to get your headset setup as well as tips on using and troubleshooting your headset. If you don’t find the information you need, don’t hesitate to contact us and we’ll be happy to help you.
WHAT’S IN THE BOX
- AC Power Adapter
- Wireless Headset Microphone
- Wireless Headset Base
- Attachable charge cradle (snaps onto the charge base)
- USB - Micro USB Cable
- Telephone Interface Cable
- Ear Tip Fit Kit Pack
BASE AND HEADSET BUTTONS
SETUP FOR PHONE WITHOUT A HEADSET PORT
STEP 1 Locate the AC Power Adapter and plug it into your wall power outlet.
STEP 2 Take the other end of the AC Power Adapter cord and plug it into the back of the Savi W740 charging base.
STEP 3 Place the wireless headset earpiece into the charging cradle and allow it to charge for a minimum of twenty (20) minutes.
STEP 4 Follow the handset coil cord and see where it plugs into the telephone. Unplug it.
STEP 5 Plug the telephone interface cable into the telephone HANDSET port. The interface cable has a large clear plastic clip on one end of the cable and a small clear plastic clip on the other. Plug the small end into the telephone handset port.
STEP 6 Plug the other end of the telephone interface cable into the back of the Savi charging base
STEP 7 Plug the telephone handset coil cord into the square box in the middle of the telephone interface cable.
STEP 8 Place the telephone handset into the cradle of the telephone, (hang up the phone).
NOTE: If you would like to answer your phone calls when away from your desk, you’ll need an optional Handset Lifter or Electronic Hookswitch Cable (EHS Cable). Contact us today for assistance in locating the compatible remote call answer device.
USING YOUR HEADSET
Now that your headset is setup, here are some step-by-step instructions on how to use it to make a phone call.
STEP 1 Put the headset on and press the call control button located on the side of the earpiece. This is a small, long silver button on the side of the headset top. Press it once to turn on the headset.
STEP 2 Take the telephone handset out of the cradle and place it on the desktop.
STEP 3 At this time, you should hear a dial tone in the headset earpiece
STEP 4 Dial the desired phone number and have a conversation as normal. Make sure that the microphone tip is located approximately two fingers width from the corner of your mouth.
STEP 5 When you finish your phone call, take the telephone handset receiver and hang it up.
STEP 6 If you have additional calls to make, return to step 2 and continue through step 5.
STEP 7 If you don't have any further calls to make, make sure the telephone handset is hung up and then return your headset earpiece to the headset charging cradle, or leave it on so you’re ready for your next call.
NEED TO CONNECT TO A COMPUTER OR MOBILE PHONE?
The Savi series of wireless headsets, including the W740, all offer you the ability to connect to a computer or mobile phone. This section will give you information on how to connect your headset to these devices.
CONNECTING TO A COMPUTER
STEP 1. Locate the USB cable that came in the box
STEP 2. Plug the standard USB end into your computer
STEP 3. Plug the micro USB end (the smaller end of this cord), into the back of the Savi charging base.
STEP 4. Wait for a couple of minutes while the computer and headset sync. You may see a pop up message on your computer screen that says, your device is ready to use. If so, you’re all set and ready to go.
STEP 5. Locate the three buttons located on the top of the Savi W730 charging base. The button on the left has an icon of a computer monitor. Press this button to access your computer on your headset. Make sure the headset is turned on.
CONNECTING TO A MOBILE PHONE
STEP 1 From the settings menu of your mobile phone, get your phone into the Bluetooth pairing or search mode.
STEP 2 Press and hold the Bluetooth pairing button on the front of the Savi charging base.
STEP 3 Continue holding this button down until you see the pairing light begin to toggle between red and blue. Release the button.
STEP 4. On your mobile phone, select Savi 7XXX and If a pairing code is requested, use 0000.
STEP 5. Locate the three buttons located on the top of the Savi W740 charging base. The button in the center has an icon of a mobile phone. Press this button to use your headset with your mobile phone. Make sure the headset is turned on. You’re all set!
TROUBLESHOOTING
Now that your headset is set up, does everything work correctly and sound great? If not, refer to the suggestions below to help troubleshoot.
NO DIAL TONE
After making a test call, did you NOT hear a dial tone? If not, try the troubleshooting ideas below to help resolve this.
- Double check to make sure that you have everything connected as per the setup instructions.
- Make sure that ALL cords are pushed in fully and have "snapped" into place.
- Locate the compatibility switch and while on a call, move it to other positions until you hear a dial tone.
STATIC
When making your test call, you may hear static. If you do, try the troubleshooting tips below.
- Locate the compatibility switch on the side of the charging base (under the side cover) and while on a call, move it to the other positions until the static is cleared up.
- 2. Try removing the battery from the headset earpiece. Once removed, wait for a minute and then reinstall the battery.
- If items 1 and 2 above don't work, try removing the battery and unplugging the power from the wall outlet. Wait for a minute and then reinstall the battery, place it into the charging cradle and then plug the AC Power Adapter back into the wall power outlet.
ECHO
If you hear echo when on a call, the steps below should help to resolve this condition.
- Locate the volume adjustment on your TELEPHONE. Set this to about the midpoint (half way between high and low).
- On the side of the charging base, locate the dial that has an icon of a microphone. Set this on the number 2.
- 3. Make sure that the microphone tip is approximately two fingers width from the corner of your mouth. Having the microphone too close or too far from your mouth can cause sound quality issues.
- 4. Try resetting your headset. This is done by removing the battery from the headset earpiece, unplugging the AC Power Adapter from the wall power outlet and then waiting for a minute. Then, reinstall the battery, place the headset into the charging base and then plug the AC Power Adapter back into the wall outlet.
If you need additional troubleshooting assistance or help setting up your Handset Lifter or Electronic Hookswitch Cable, feel free to contact us and we’ll be happy to assist you further, no charge!

