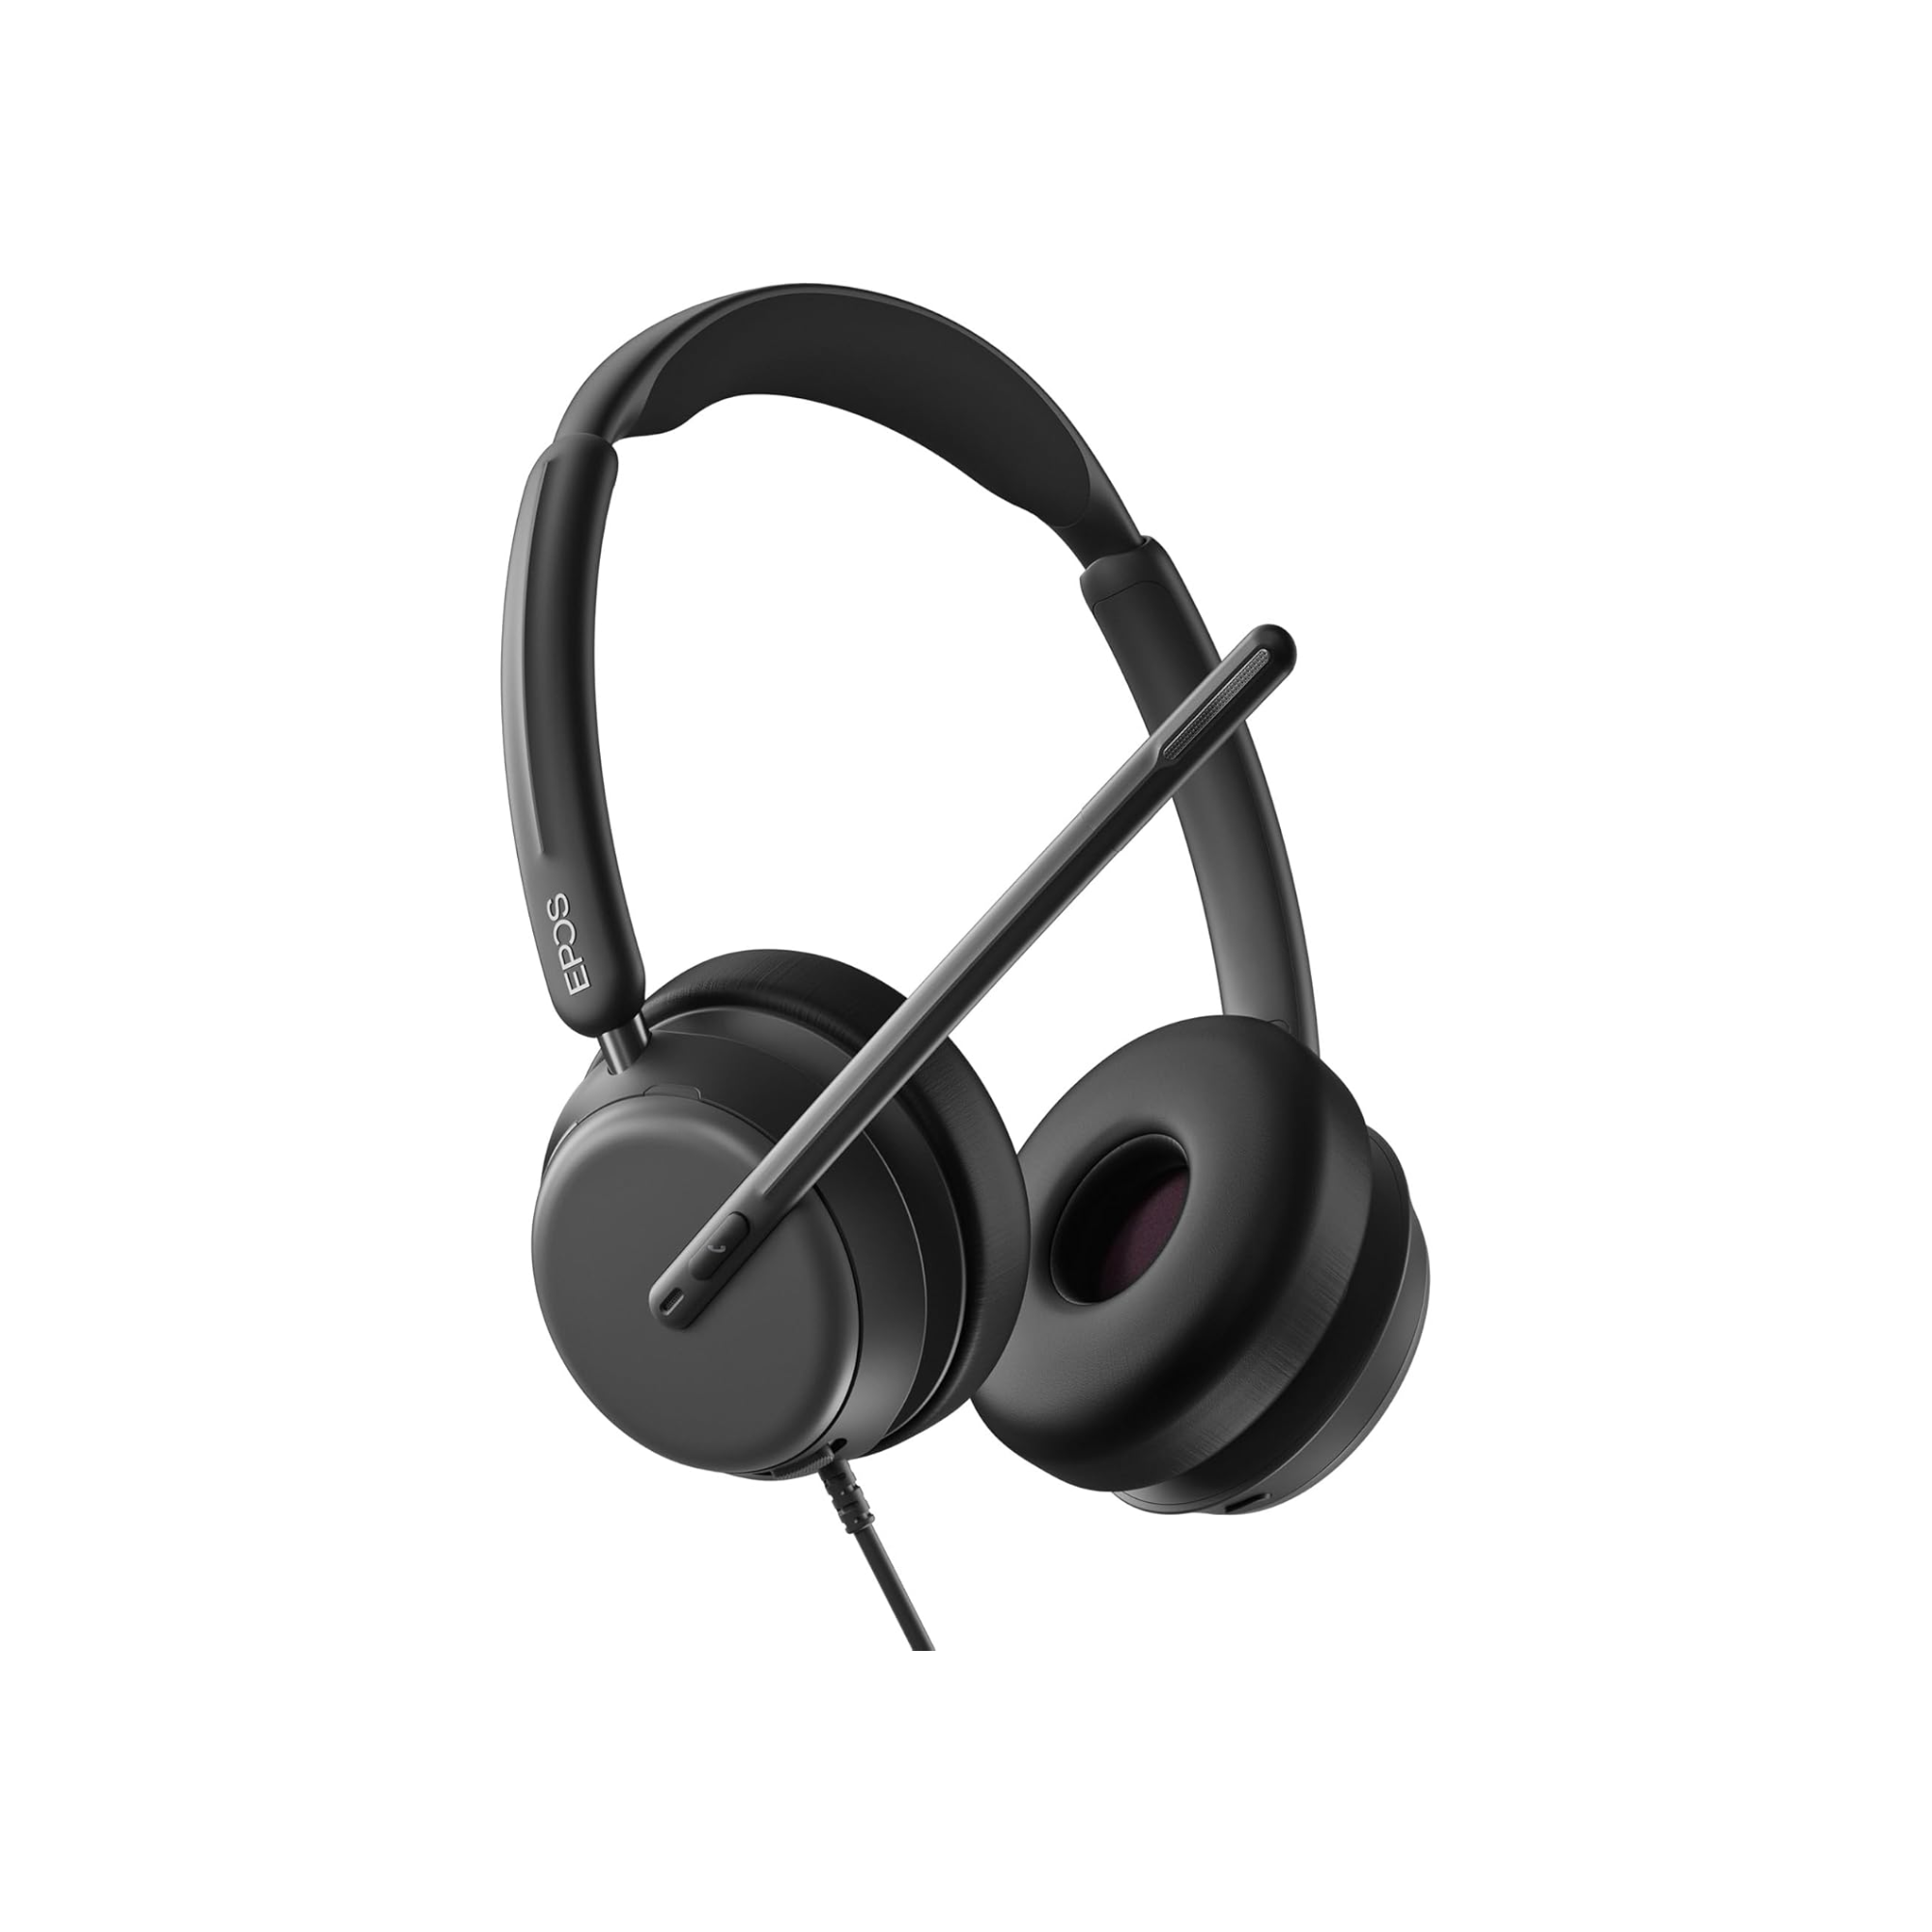
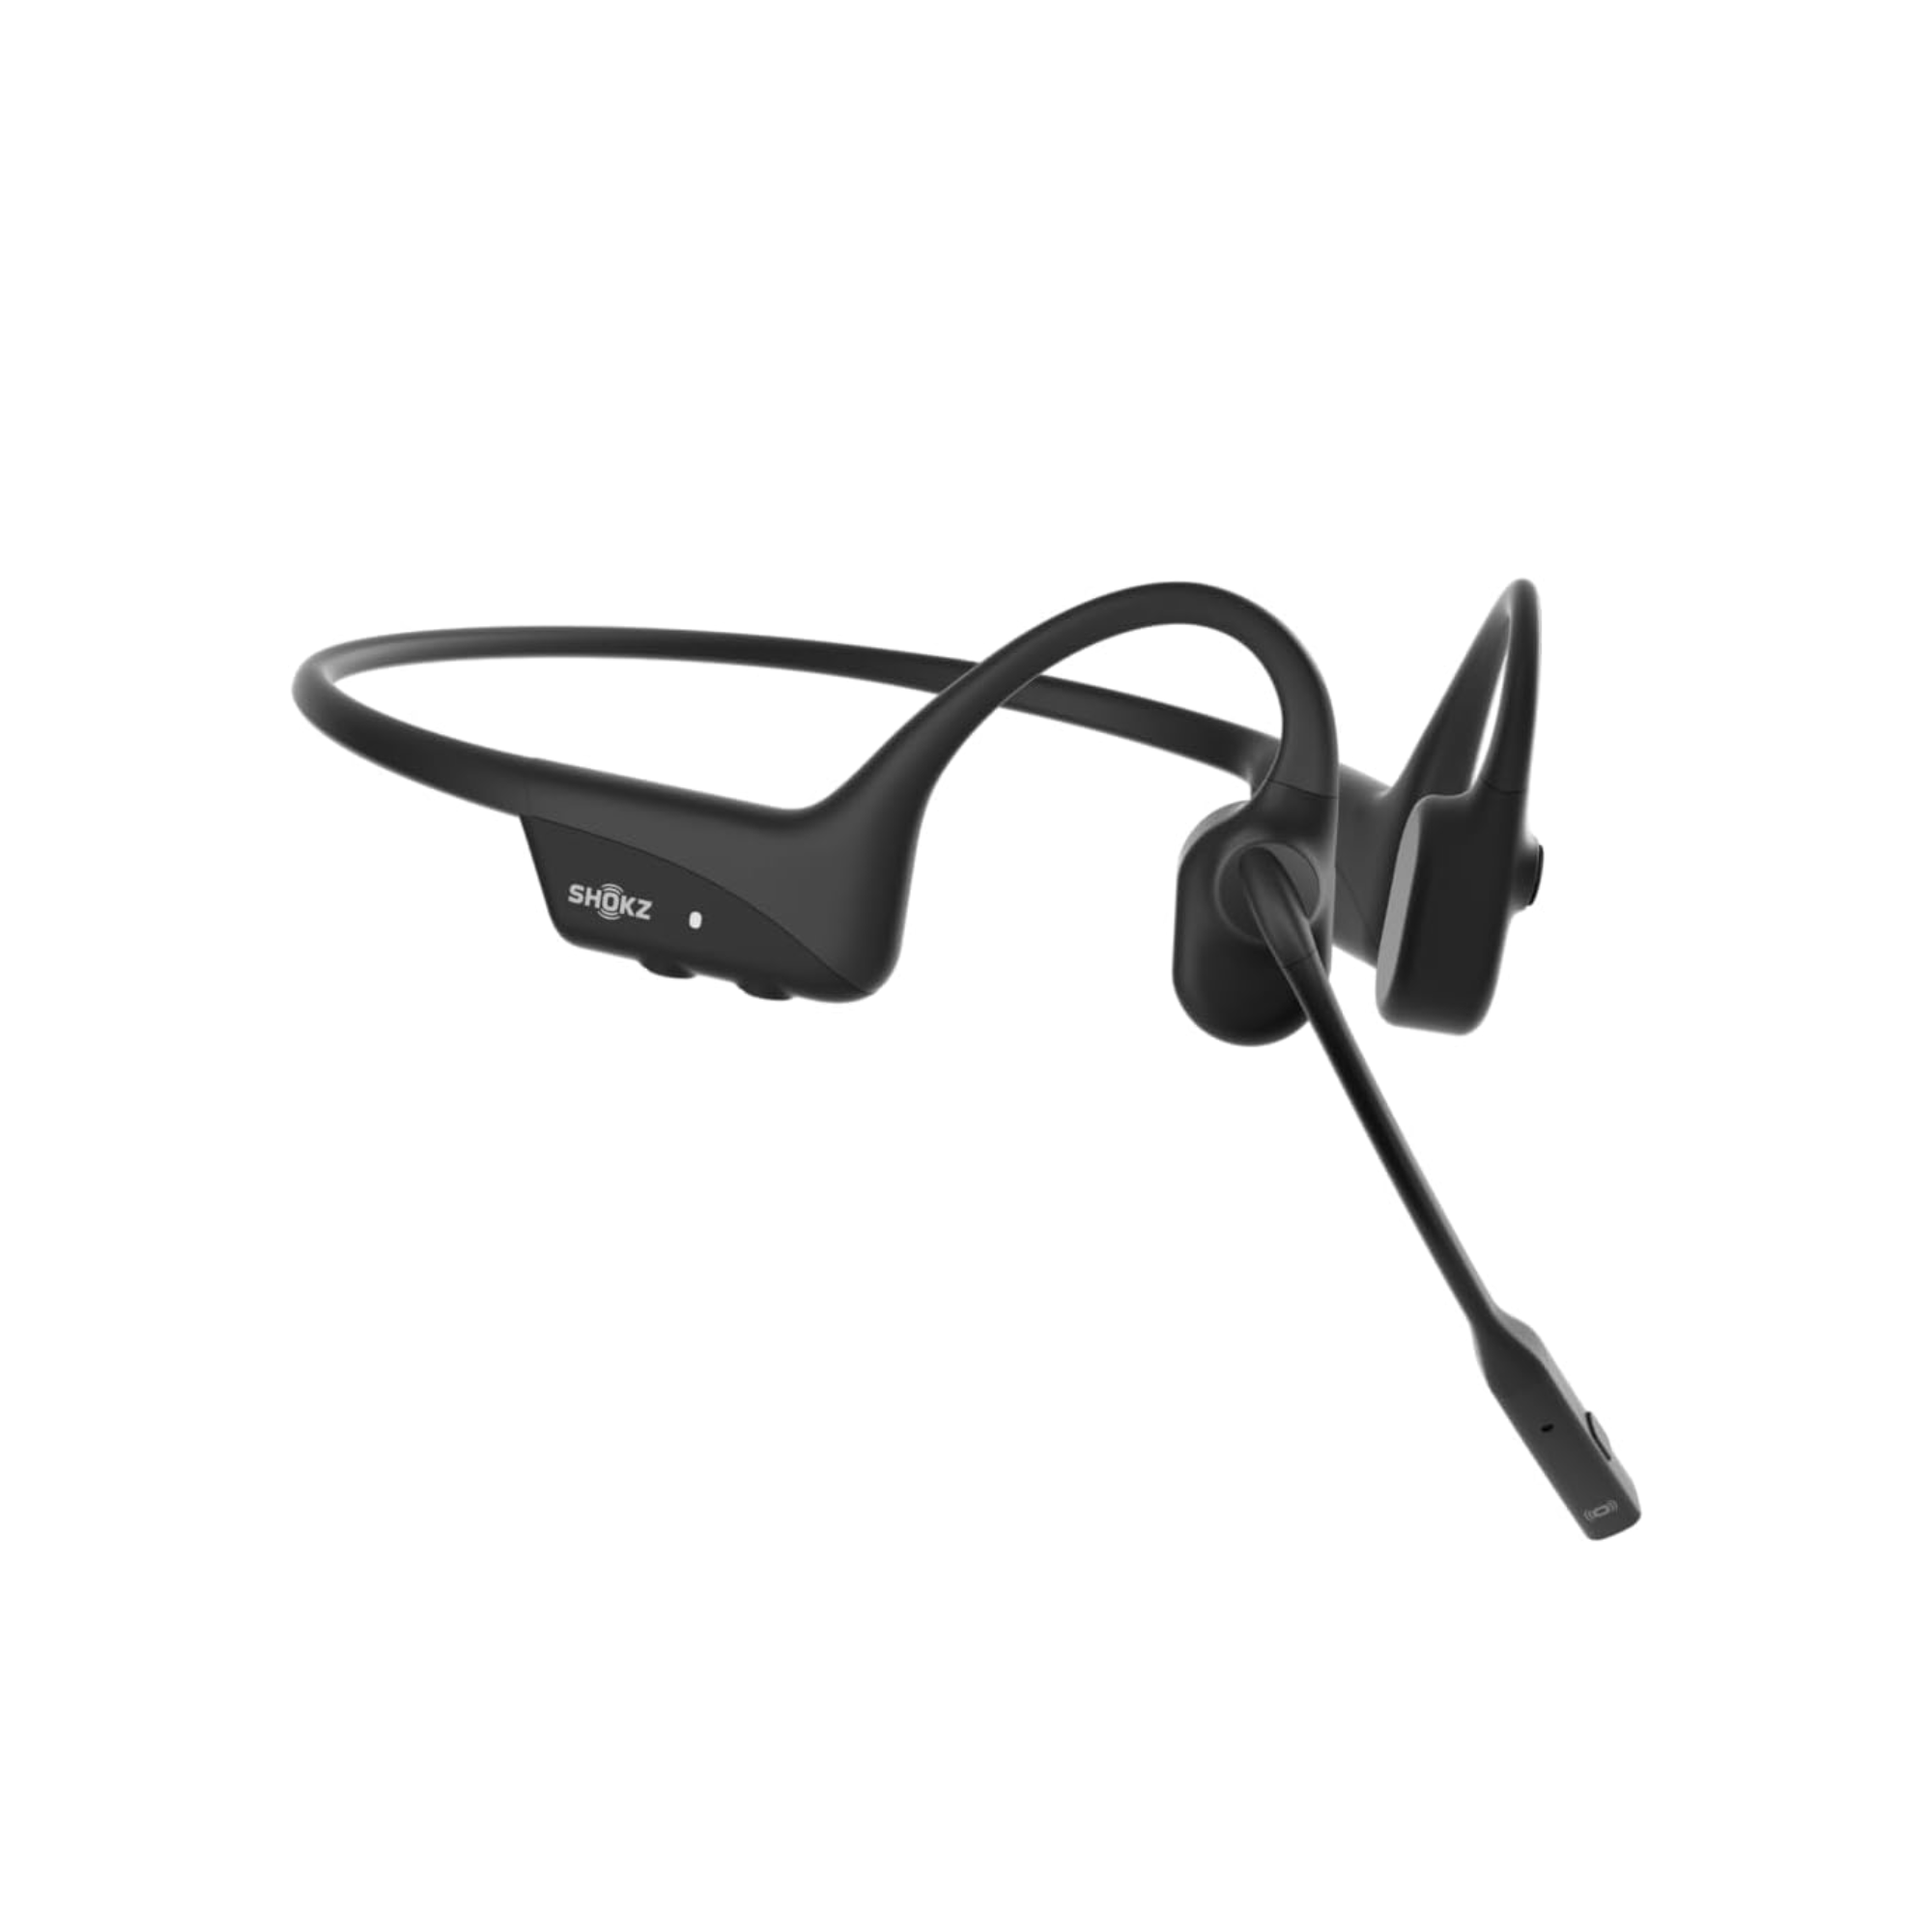
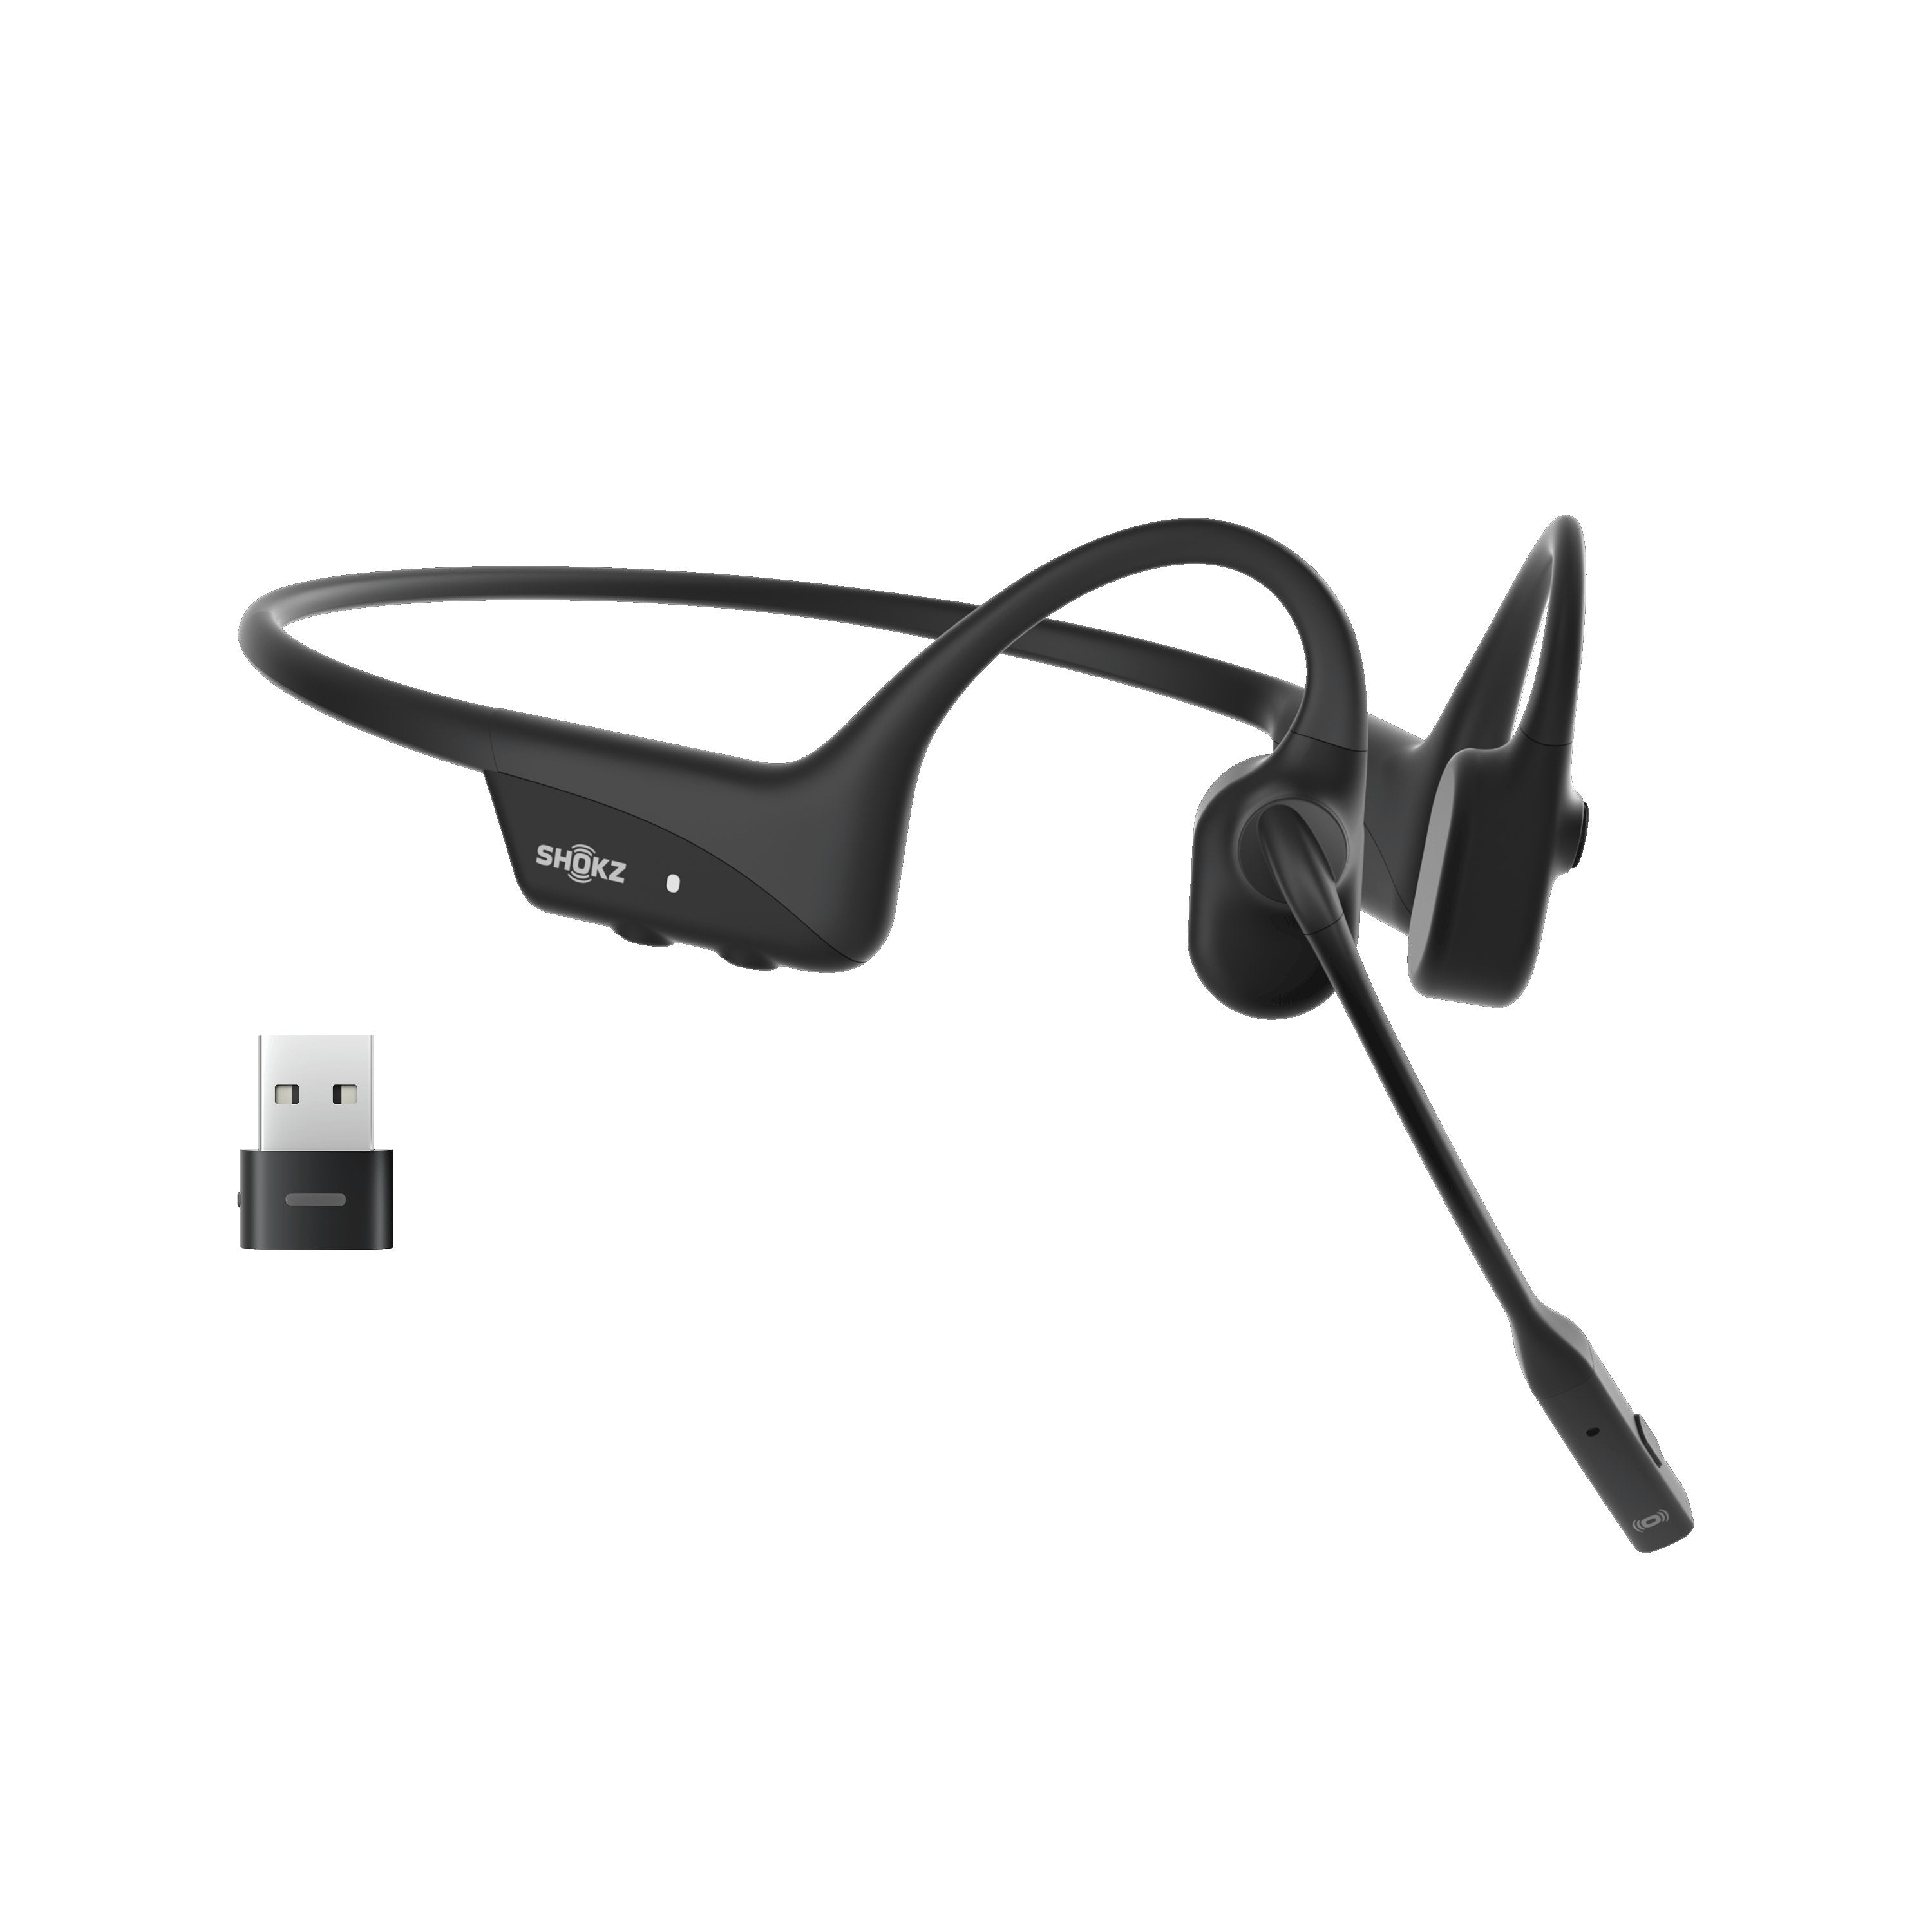
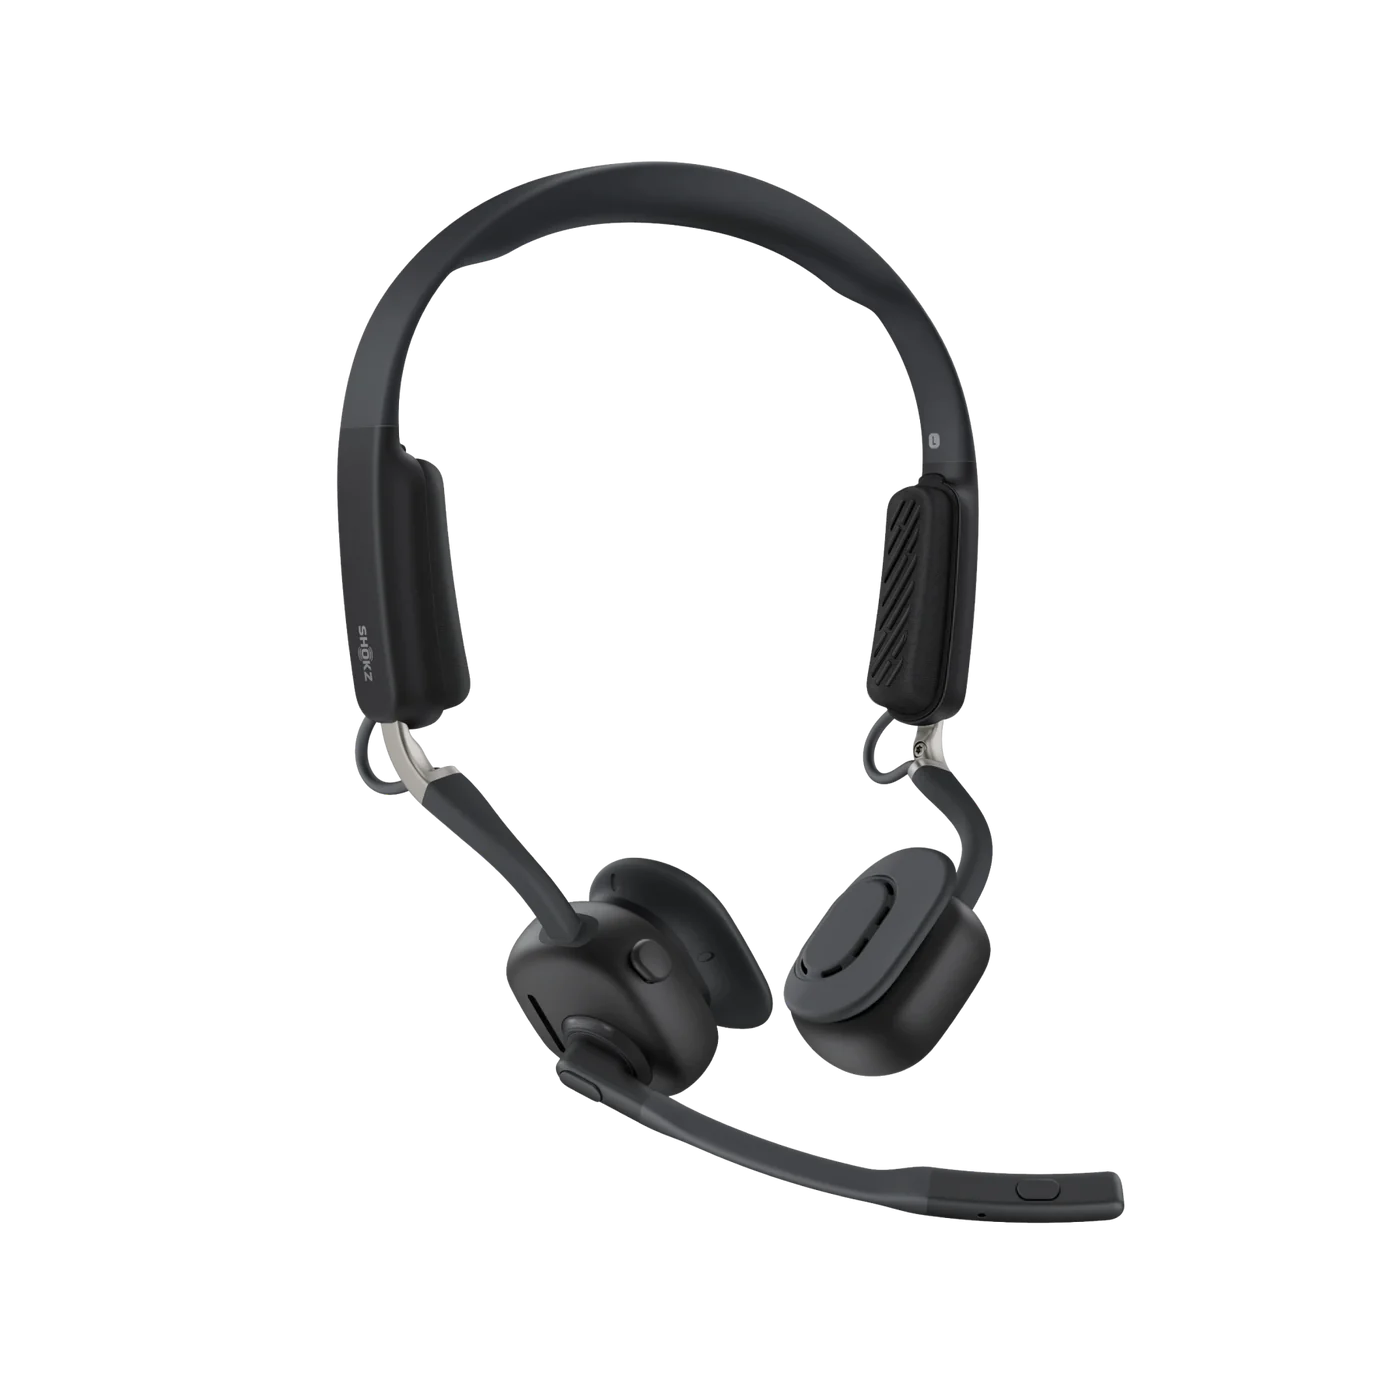
Microsoft Teams is a highly popular platform for audio and video communications. In fact, it’s so popular that several leading headset manufacturers produce headsets that are designed for use with it.
One question that we get asked a lot is how to connect a headset when using Microsoft Teams. The answer to this question depends on the headset you’re using.
In this blog, I’m going to provide you with an easy to follow guideline on how to connect your headset to Microsoft Teams no matter whether you’re using:
- A Wired Headset
- A Wireless Headset
- A Bluetooth Headset
- A Microsoft Teams certified Headset
- A Headset that’s not MS Teams certified
So sit back, grab a cup of your favorite beverage and get the 411 on getting your headset up and running when using Microsoft Teams.
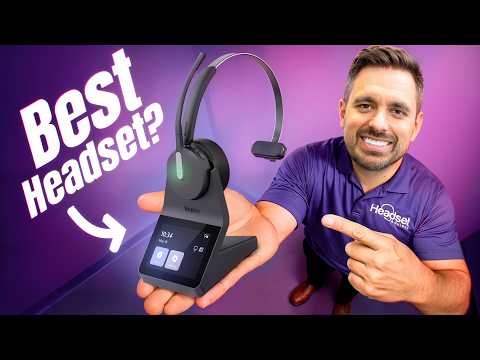
Before I jump into the details, I need to let you know that we recorded a Youtube video on this very subject. With that in mind, you might be one of the millions of people who prefer to consume content via video rather than reading it.
How to connect a headset to Microsoft Teams Video
Ok, if you’re still reading this blog, then I’m going to assume that you’re giving the video content a pass, and opting to read this instead. Welcome, and let’s get this going.
In order to provide this content in a logical manner, I decided to break it down into these categories:
- Connecting to Teams via a Teams certified wireless headset
- Connecting to Teams with a wired headset
- Connecting to Teams with a Bluetooth headset
In the process, I’ll discuss the value of having a headset that’s Teams certified, and what that headset provides to you over headset models that aren’t certified. With that said, let’s get started.
The key difference between a Microsoft Teams certified headset and those that aren’t.
Anyone who uses a wireless headset, whether it’s connected to Microsoft Teams, Zoom, or even a traditional desk phone, appreciates the ability to take a call, and end a call when away from the desk.
The main difference between a Microsoft Teams certified headset, and those that aren’t comes down to remote call control. That is, being able to step away from your desk, and if you get an incoming call while away, you can take the call, and end it remotely. In a nutshell that’s the difference.
If you use a headset that isn’t MS Teams certified, you must be at your computer to accept a call, and end it. In other words, you can’t be away from your desk and take a call while away.
There are several reasons why remote call control is highly valued. Among these reasons include:
- Allows you to provide a higher level of customer service as calls get answered and don’t go to voicemail.
- You avoid the task of having to listen to voicemail messages, and returning calls
- You can confidently step away from your desk to grab a cup of coffee, speak with a coworker etc knowing that if a call comes in, you can take it.
- Essentially, it unchains you from your desk, and gives you the freedom to move around your workspace while still being accessible
This is a very valuable feature that helps you to be more productive too.
Connecting to MS Teams with a Teams certified wireless headset
For those who are using a Microsoft Teams certified wireless headset, this is the section for you. In my example here, I’ll be referencing a Jabra Evolve2 75 that’s MS certified, and uses a USB adapter. Though you may be using a different brand or model, this process will still apply.
- Make sure your wireless headset is charged, and turned on
- Plug the USB adapter is plugged into the computer USB port
- Once the USB adapter is plugged in, the computer will recognize it
- Open up Microsoft Teams
- Go to the top, right part of the screen where you’ll see three dots, click on them
- From the pull down menu, select settings
- Go to devices
- Select audio devices - you should see a list of available devices
- From the pull down menu, select your device - in this case, I’m selecting “Jabra Link 380” as I’m using that with my Evolve2 75 wireless headset.
- Double check that the “speaker” and “microphone” show your headset. Click on “test call” to make sure that everything is working correctly.
- To end the call, simply press the call control button on the headset.
If you’re having trouble with the computer not recognizing your headset, there will be some troubleshooting suggestions at the end of this blog.
Connecting a wired headset with Microsoft Teams
When using a wired headset with Microsoft Teams, you won’t be able to answer a call when away from the desk simply because of the headset being wired vs. wireless.
But, with a Microsoft certified headset, you can answer and end calls more easily by simply pressing the call control button located on the inline controller. Wired headset models that aren’t MS certified require that the call be accepted and ended on the computer screen.
With that said, here’s how you’d connect a wired headset, in this case, a non MS certified model, to a computer.
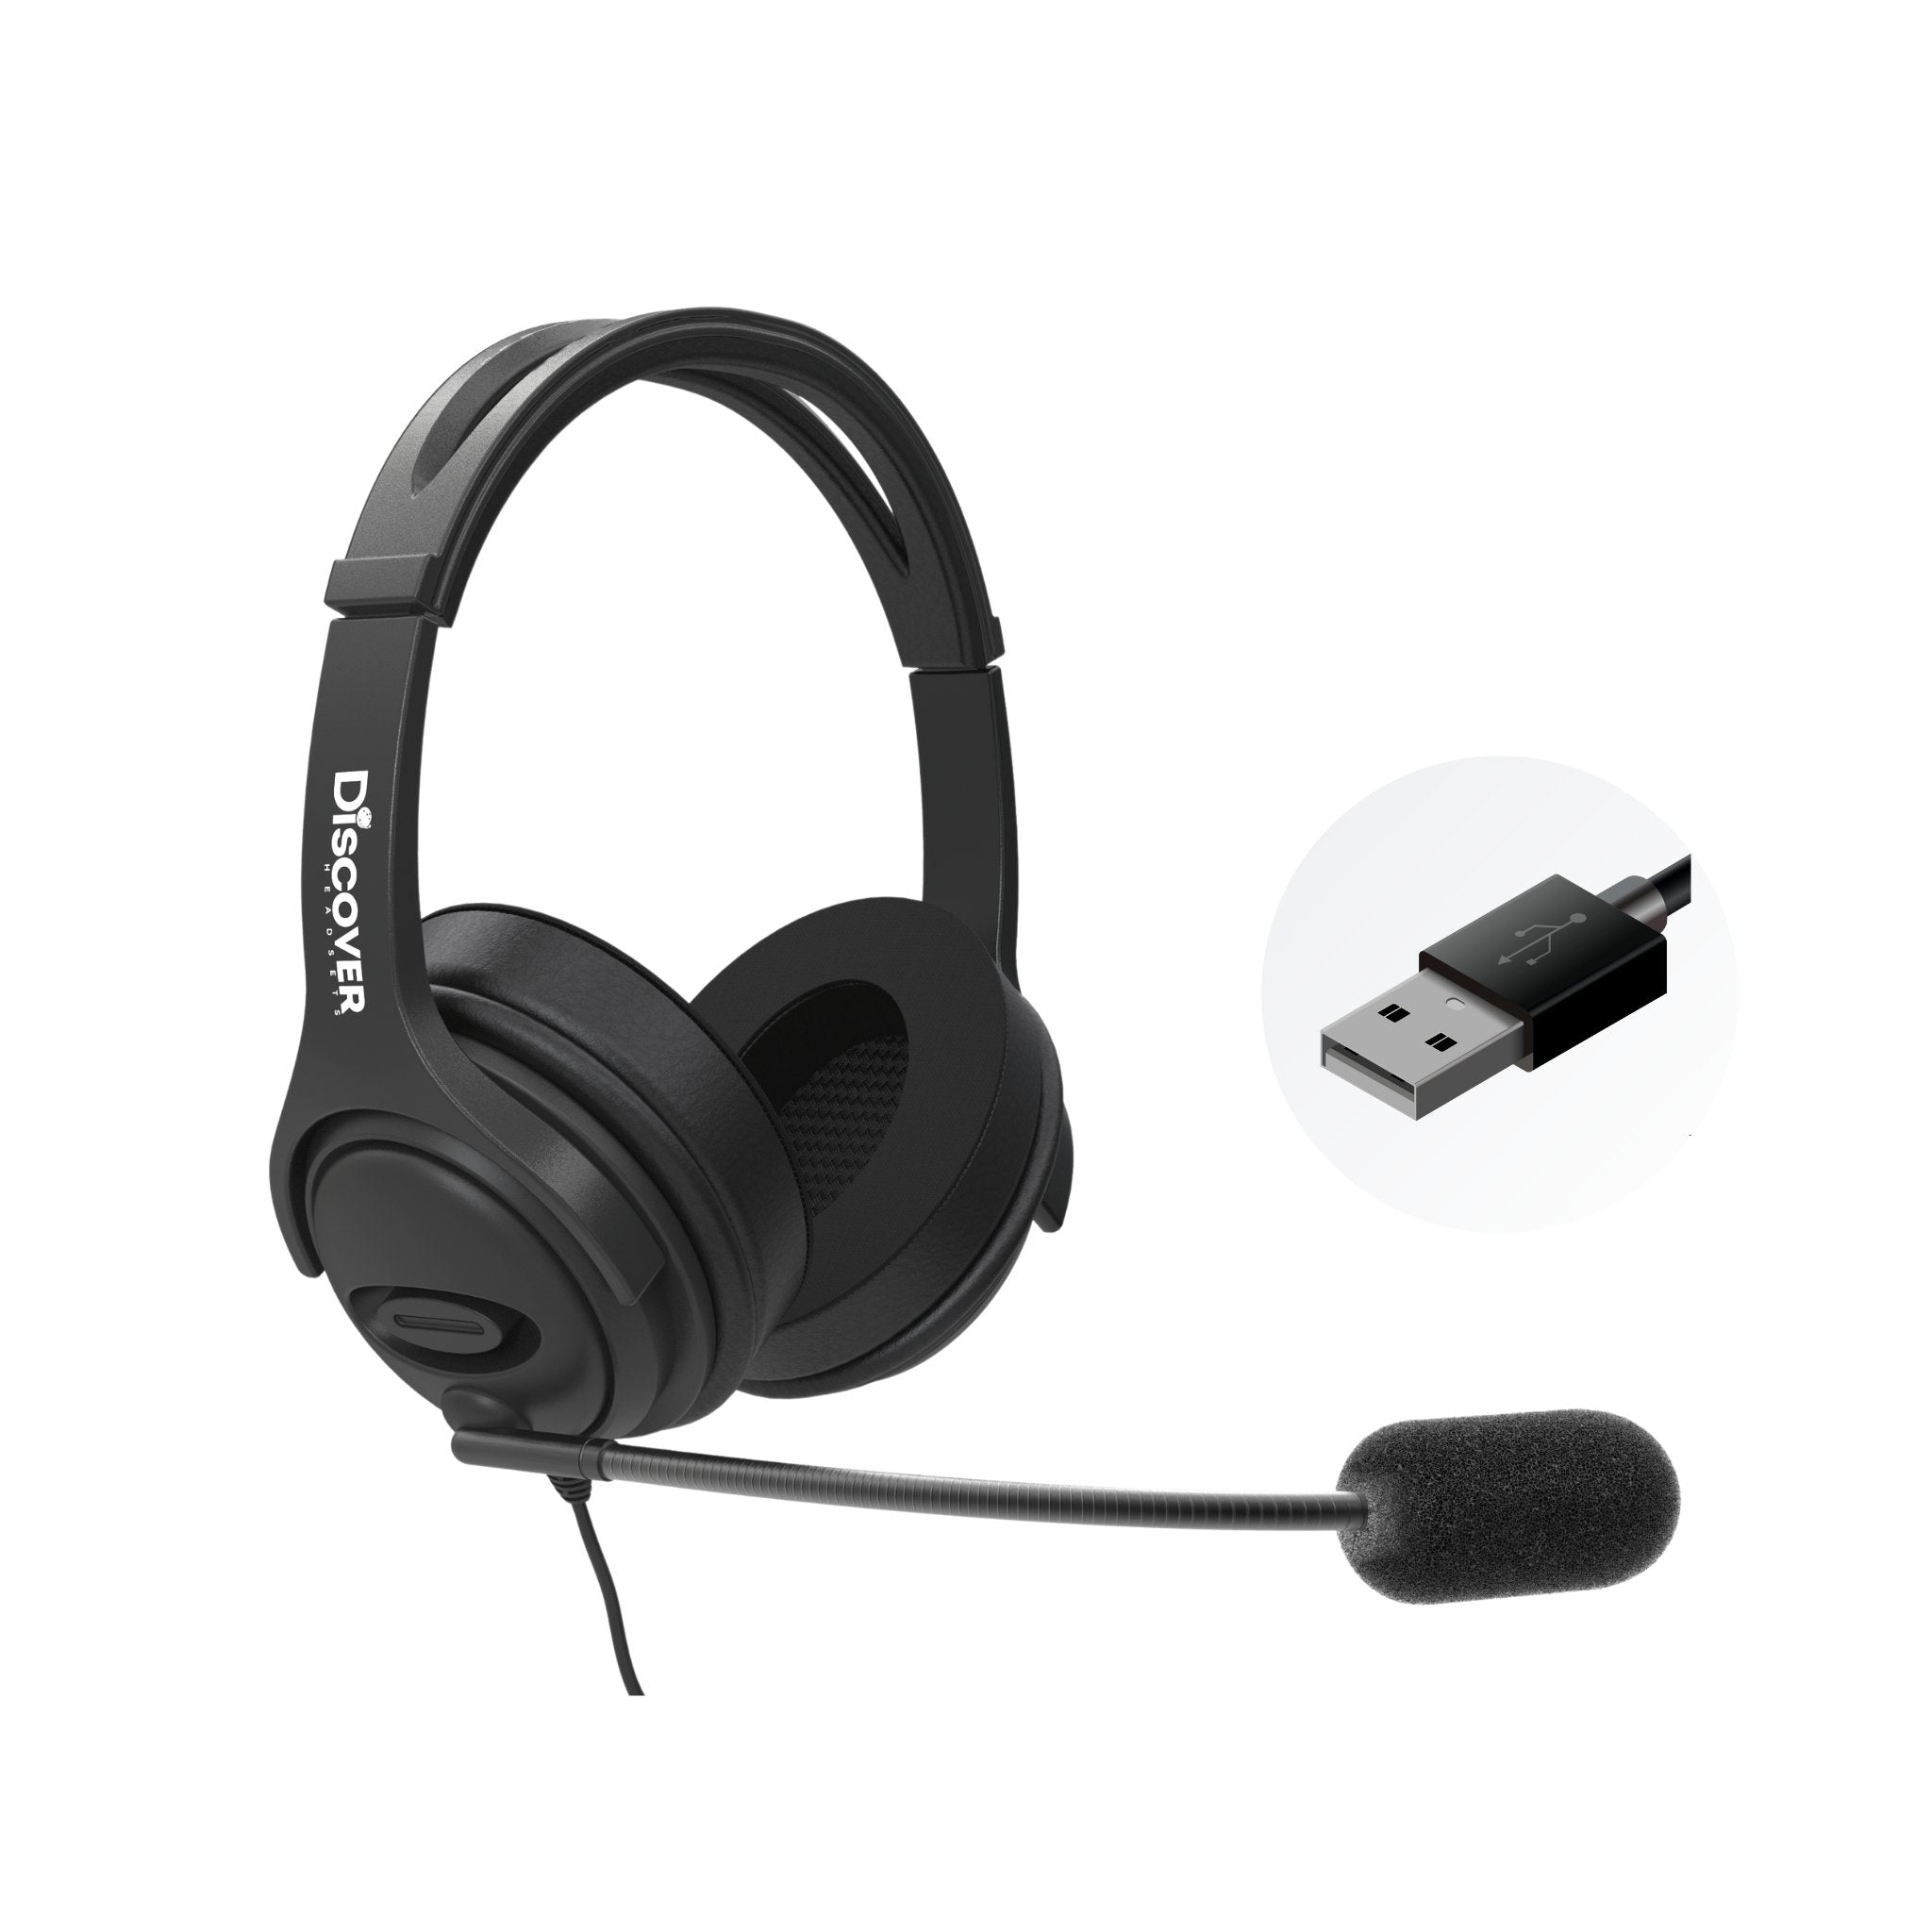
- Plug the wired headset into the computer USB port
- Allow the computer time to load and recognize the headset
- Open up MS Teams, and go to the three dots in the upper right corner 4. Select “settings”
- Select “devices”
- Check to make sure that your headset is shown in the speakers and microphone sections.
- Select “test call” to make sure that your headset is working properly.
Connecting a Bluetooth headset to Microsoft Teams
The third way you can connect a headset to Microsoft Teams is through a Bluetooth headset without a USB adapter. This requires that your computer has Bluetooth capability. To accomplish this connection, here are the steps you’ll need to go through.
- Make sure your Bluetooth headset is charged up, and turned on 2. Get your Bluetooth headset into pairing mode
- Find your computer Bluetooth settings
- Select Add a Bluetooth device - your computer should begin searching
- Your Bluetooth headset should appear in the list of available devices
- Select your Bluetooth headset to pair
- To check to make sure your headset has been recognized, and paired, go to your computer settings and then audio devices to confirm your headset shows in the input/output areas
- Also, open up Microsoft Teams and go to the upper right corner and click on the three small dots.
- Select “settings”
- Select “Devices” and confirm that your Bluetooth headset is shown.
- Make a test call to make sure that your headset is working correctly.
Note: Given that this Bluetooth headset is being connected without the use of a USB adapter, remote call answering will not be available.
What if Microsoft Teams isn’t recognizing your headset?
- Go to your computer audio settings and select “sound settings”
- Go to “input” and “output” and select your headset from the list
- Go to Microsoft Teams three dots in the upper right corner
- Select “settings” then, “devices”, then “audio devices”
- Your headset should now be displayed. If not, try resetting Microsoft Teams
Headset still not showing?
- Go into your computer’s “manage devices” section in control panel
- Then to “input/output”
- Look to see if your headset is populated, and shows as “disabled”
- If your headset shows disabled, click on “enable”
These troubleshooting tips should help you to get your headset to be recognized. If not, feel free to contact us for further support.
What's the difference between a UC and Teams Certified headset?

When you look at the image above you'll see a listing on our website and across many others that will show a choice between UC and Teams variants to choose from.
It can easily get confusing which to choose. To keep it short, if you strictly use Microsoft Teams, you'll want to choose the Teams version for a more plug and play experience without needing to download software.
Meaning, as soon as you plug it in, your device will be set to default and without software you can answer/end calls from the headset when away from the computer. Teams will also recognize when you adjust volumes and mute/unmute your microphone.
Read the in depth differences between a UC and Teams headset here

