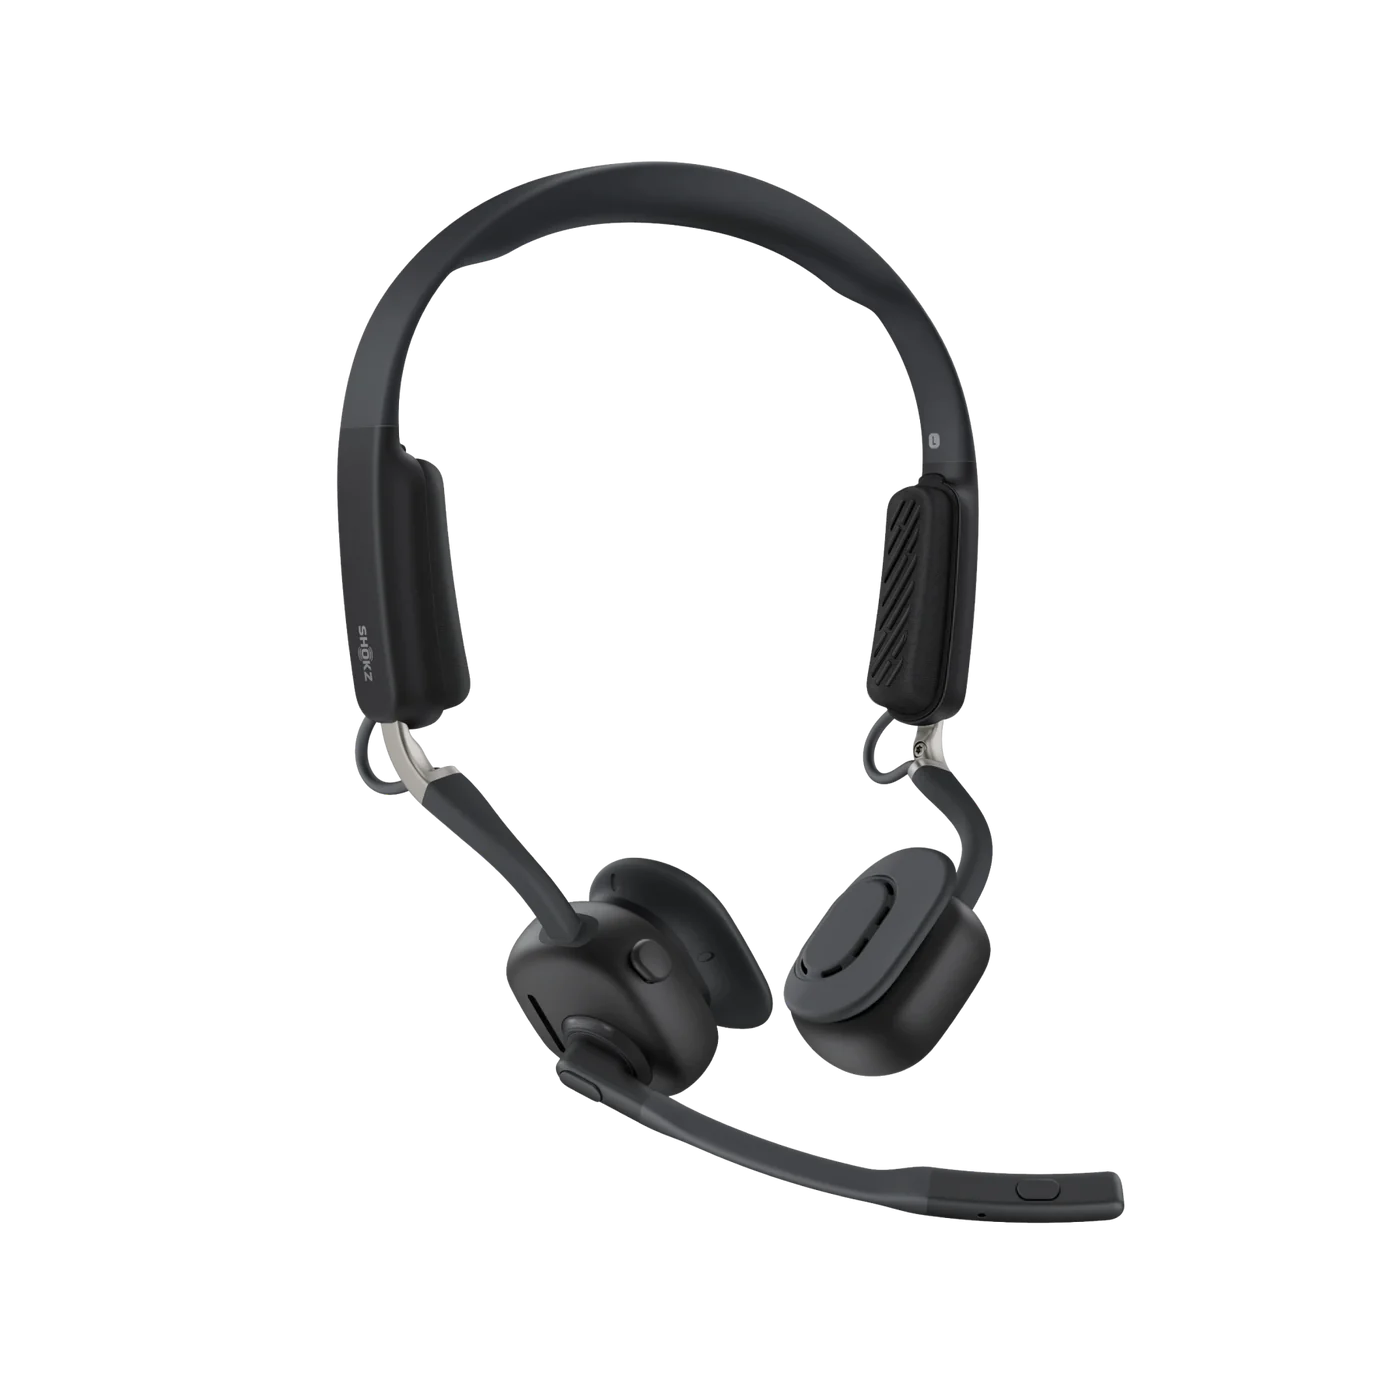
Many people get confused very quickly when they see a wireless headset connected to a desk phone. It’s hard to know how the two devices can work together so seamlessly.
This blog is designed to shed some light on how a wireless headset for phone works.
- The technology behind a wireless headset
- How wireless headsets have evolved
- How a wireless headset connects to a desk phone
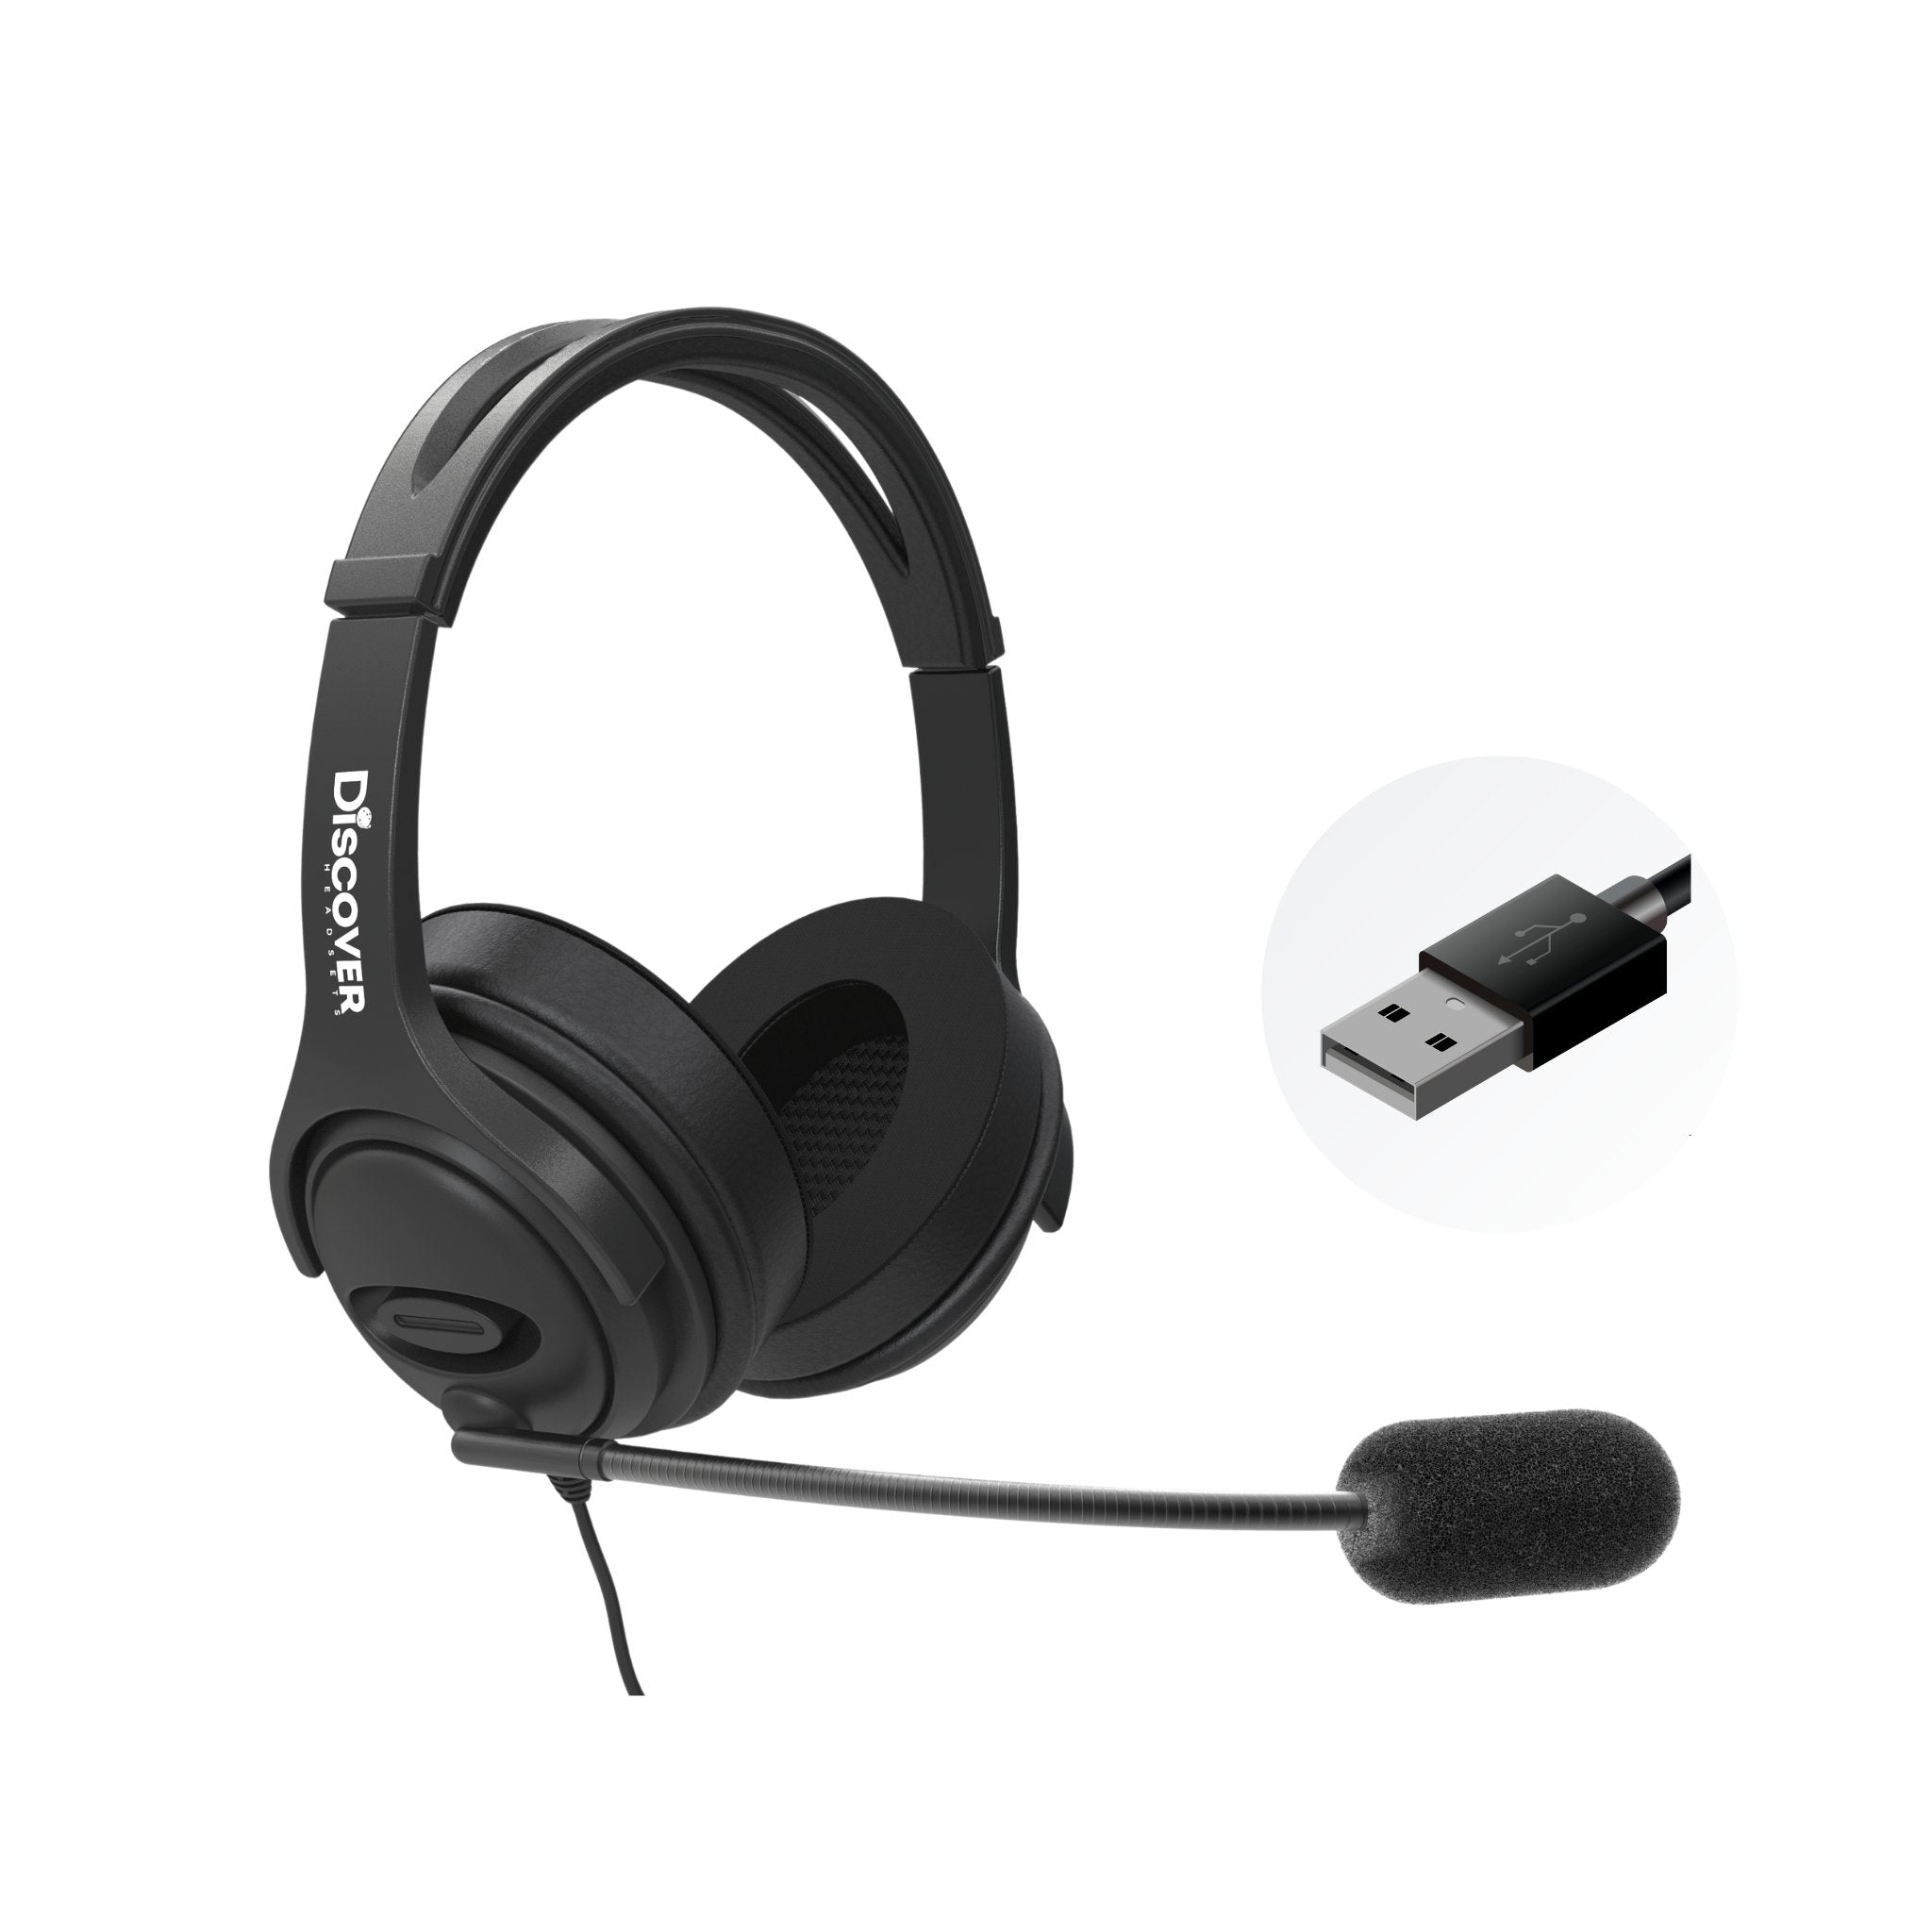
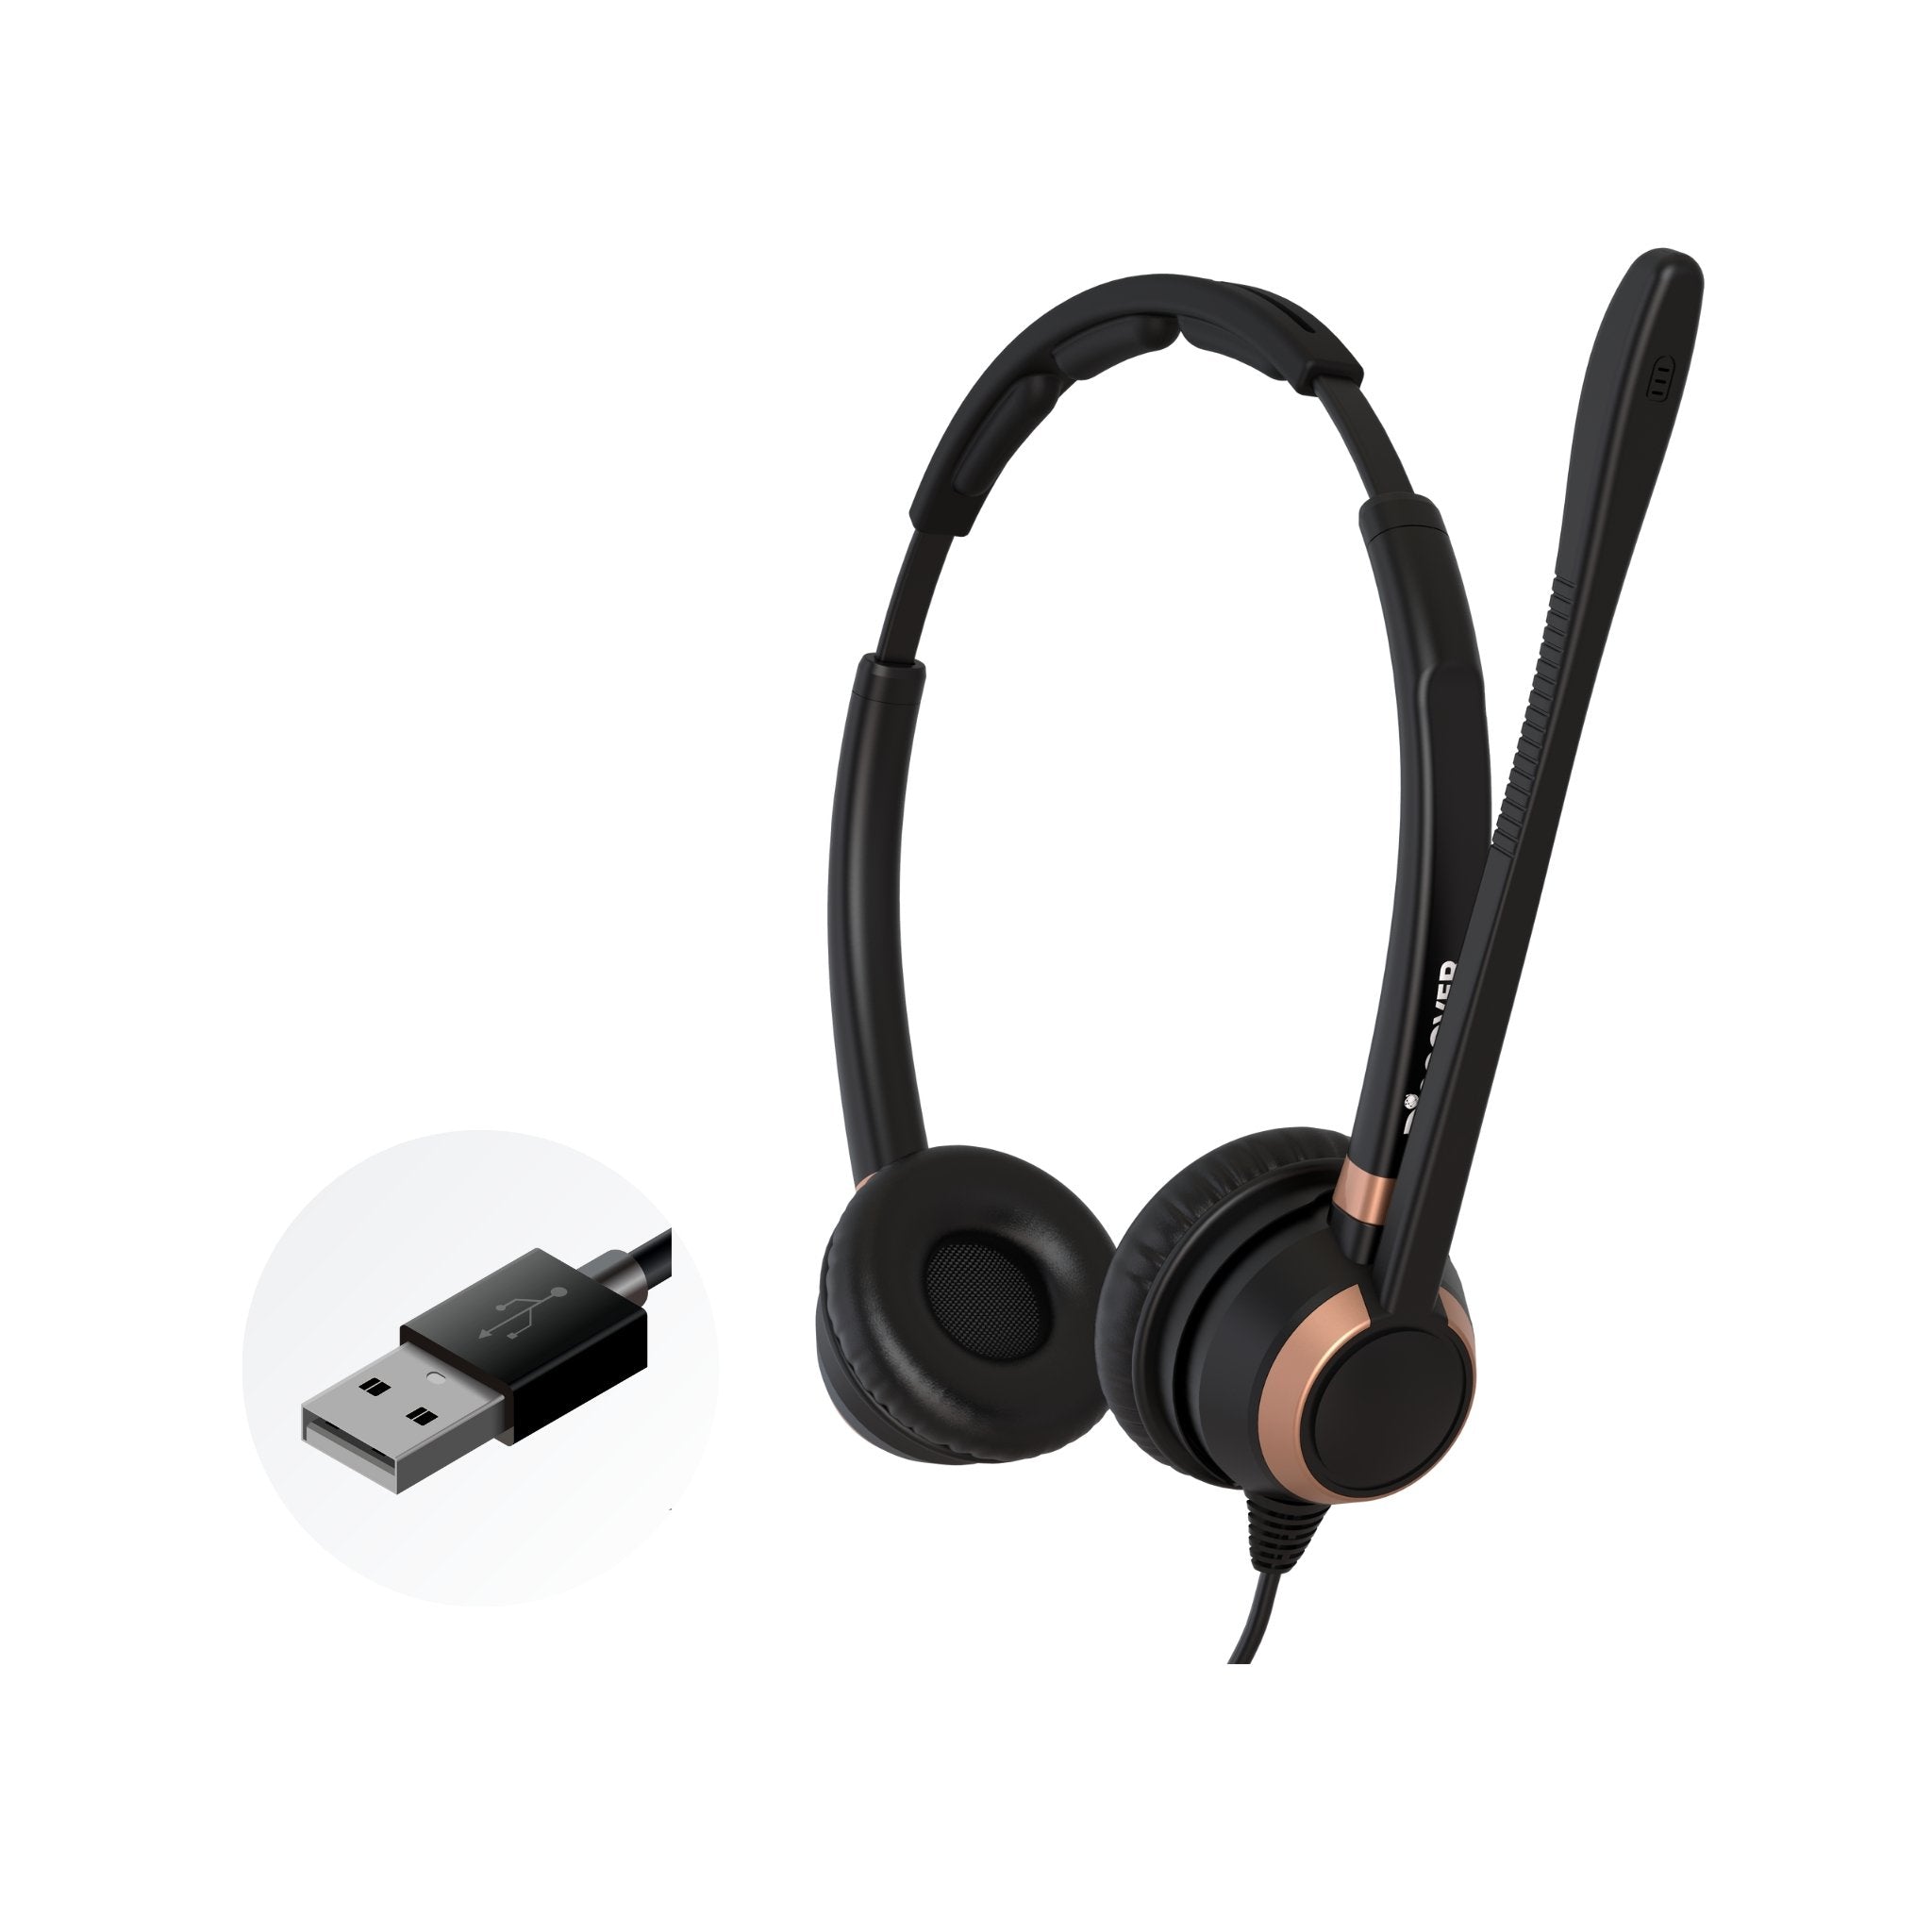
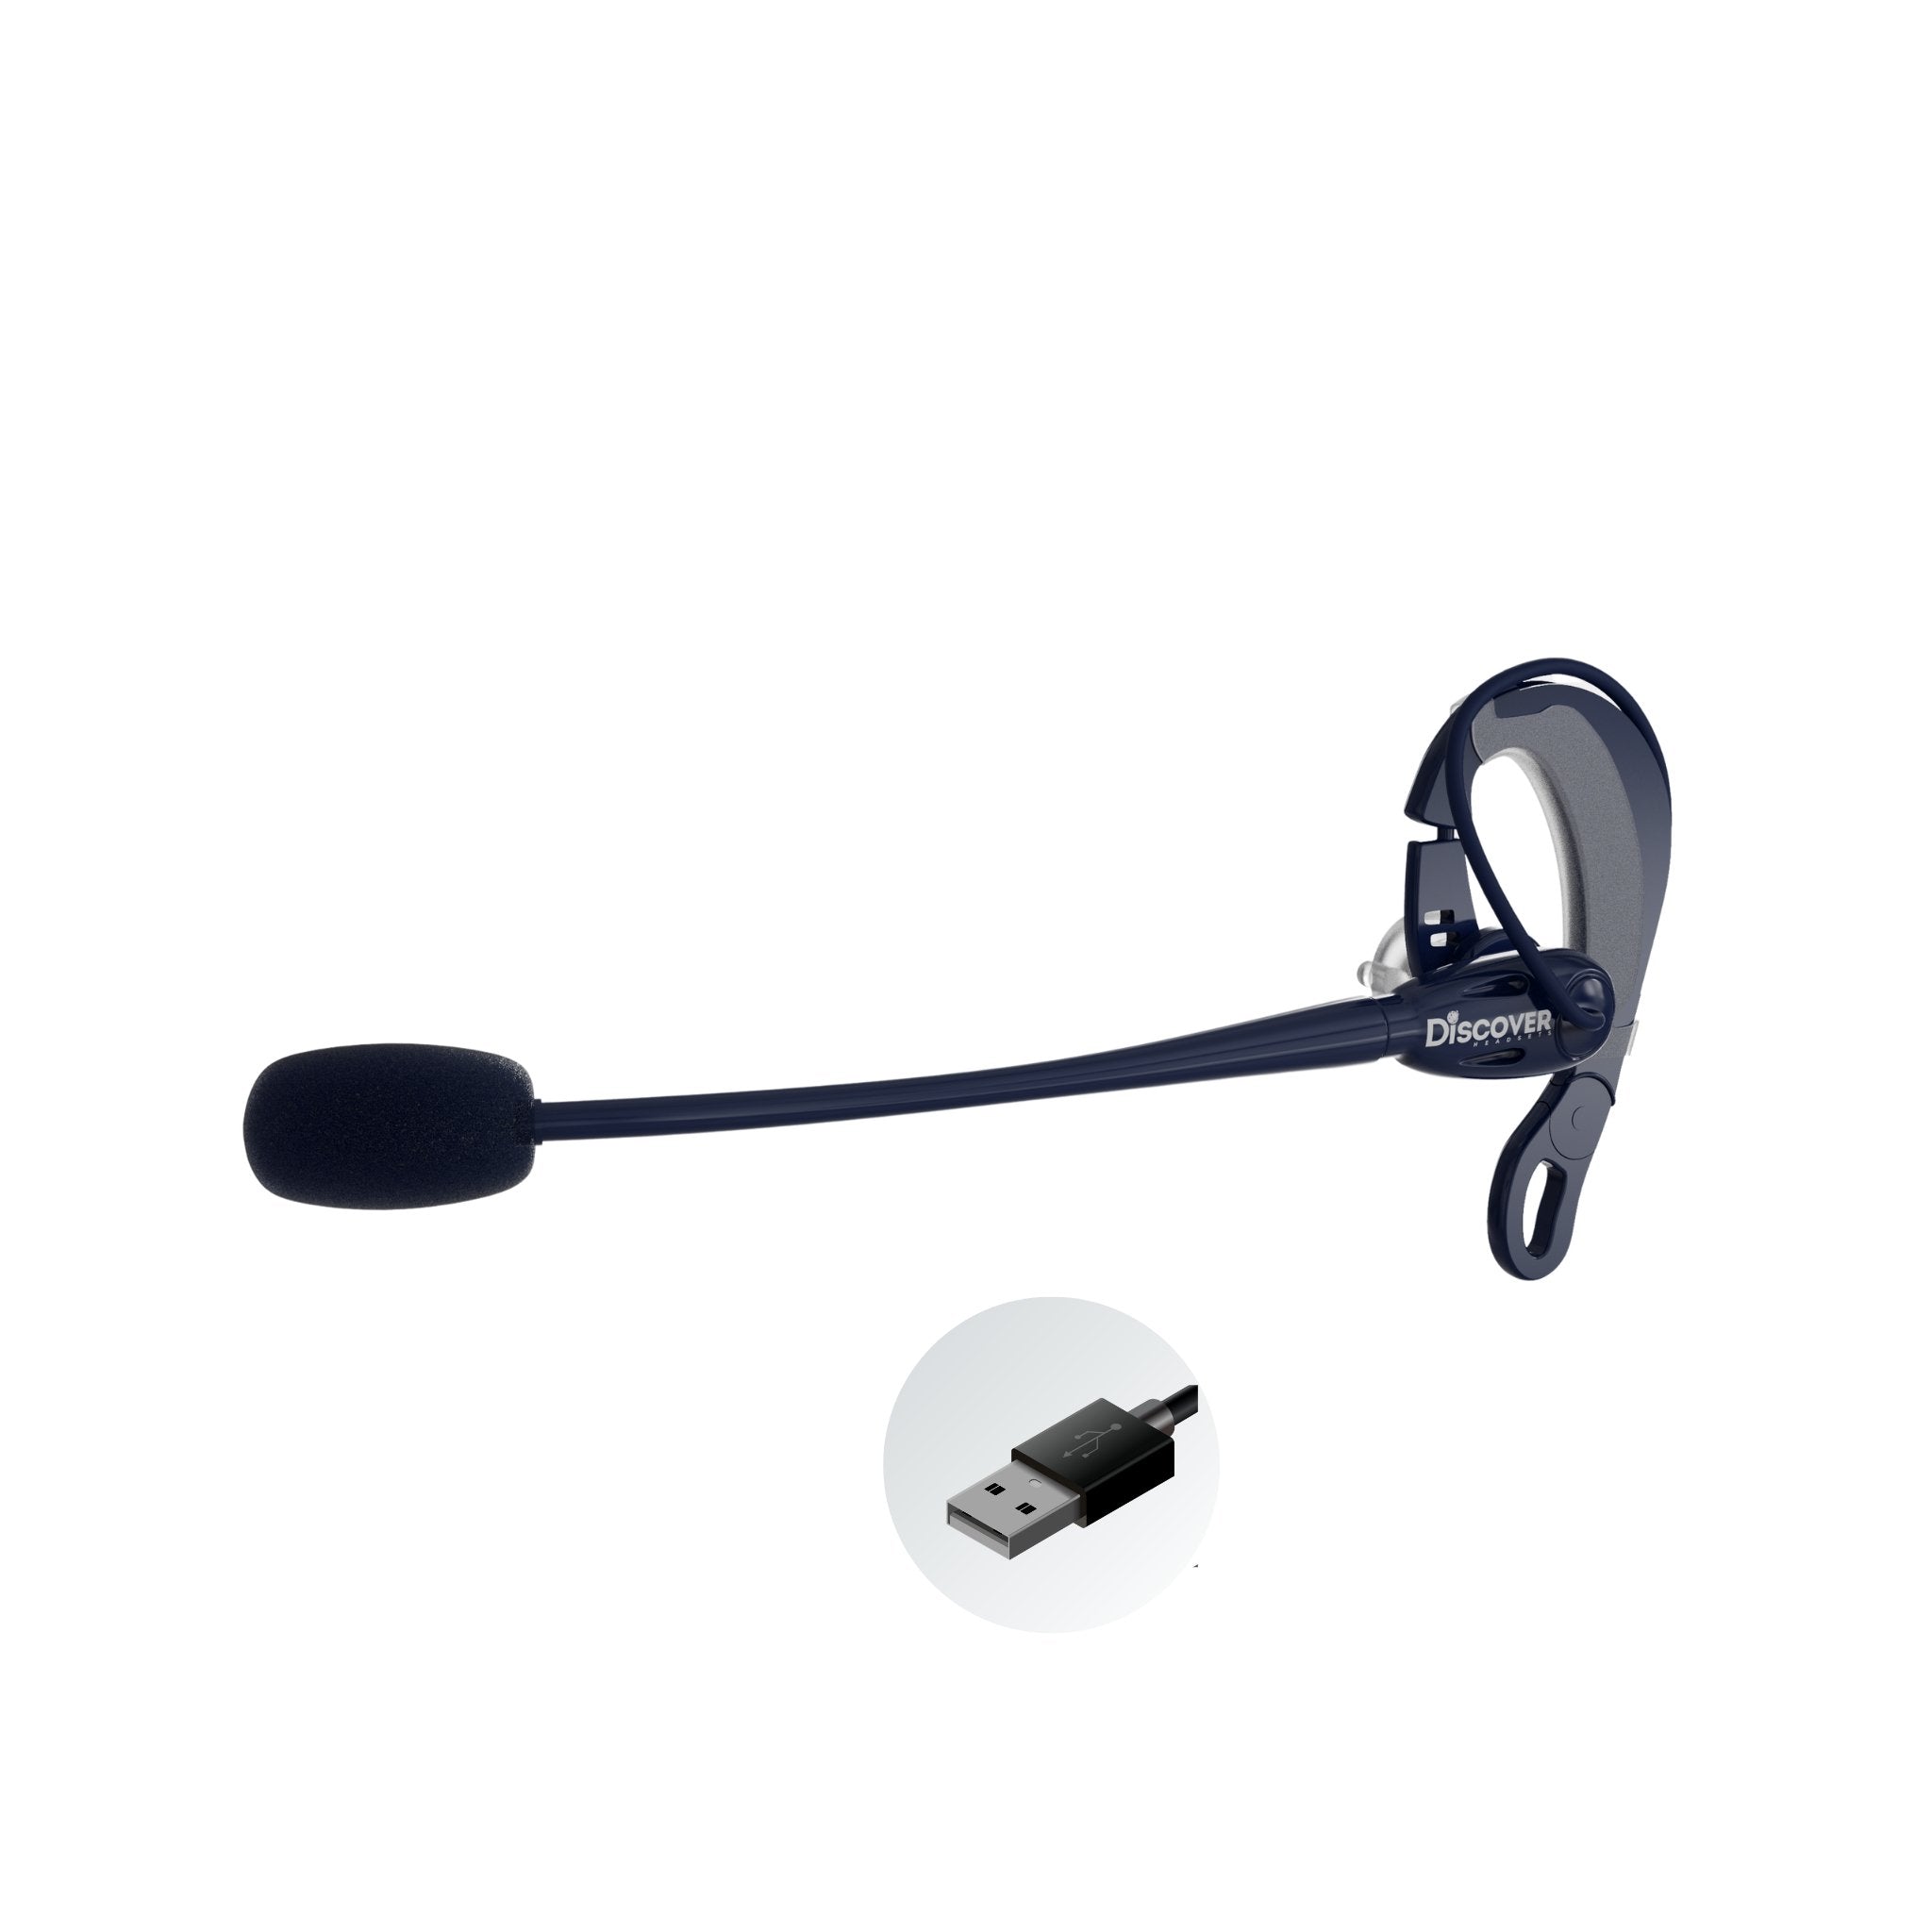
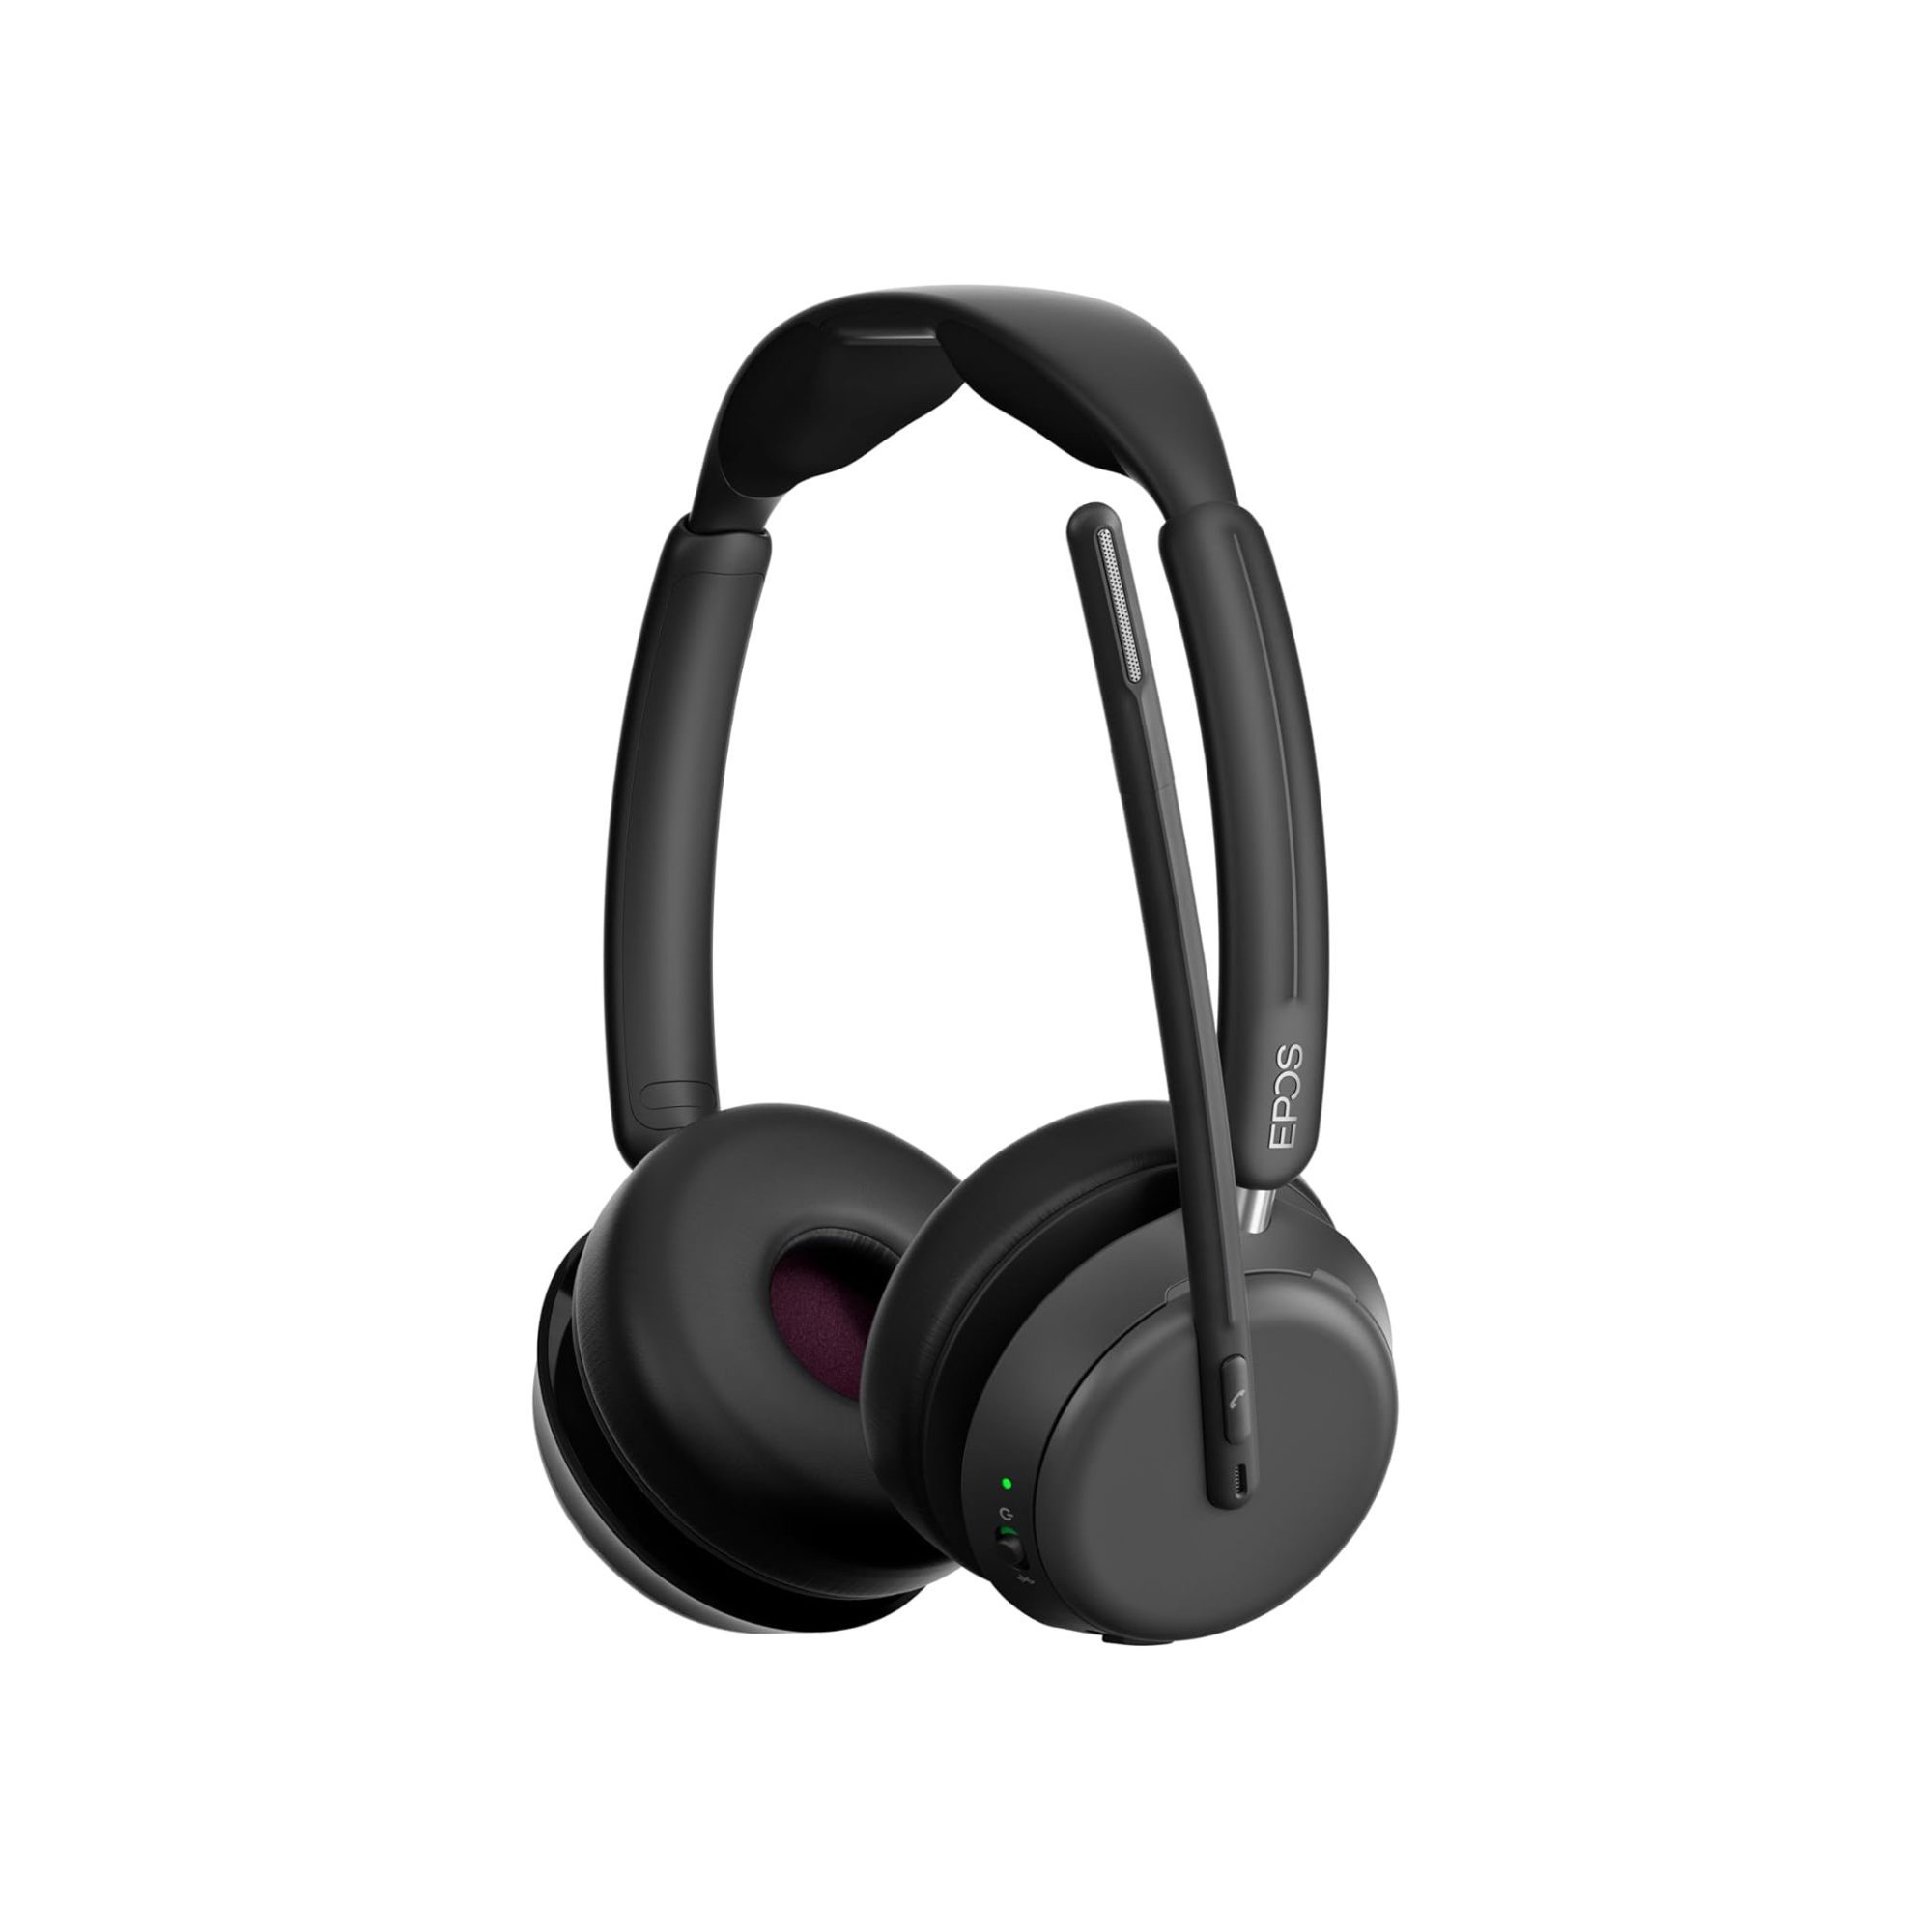
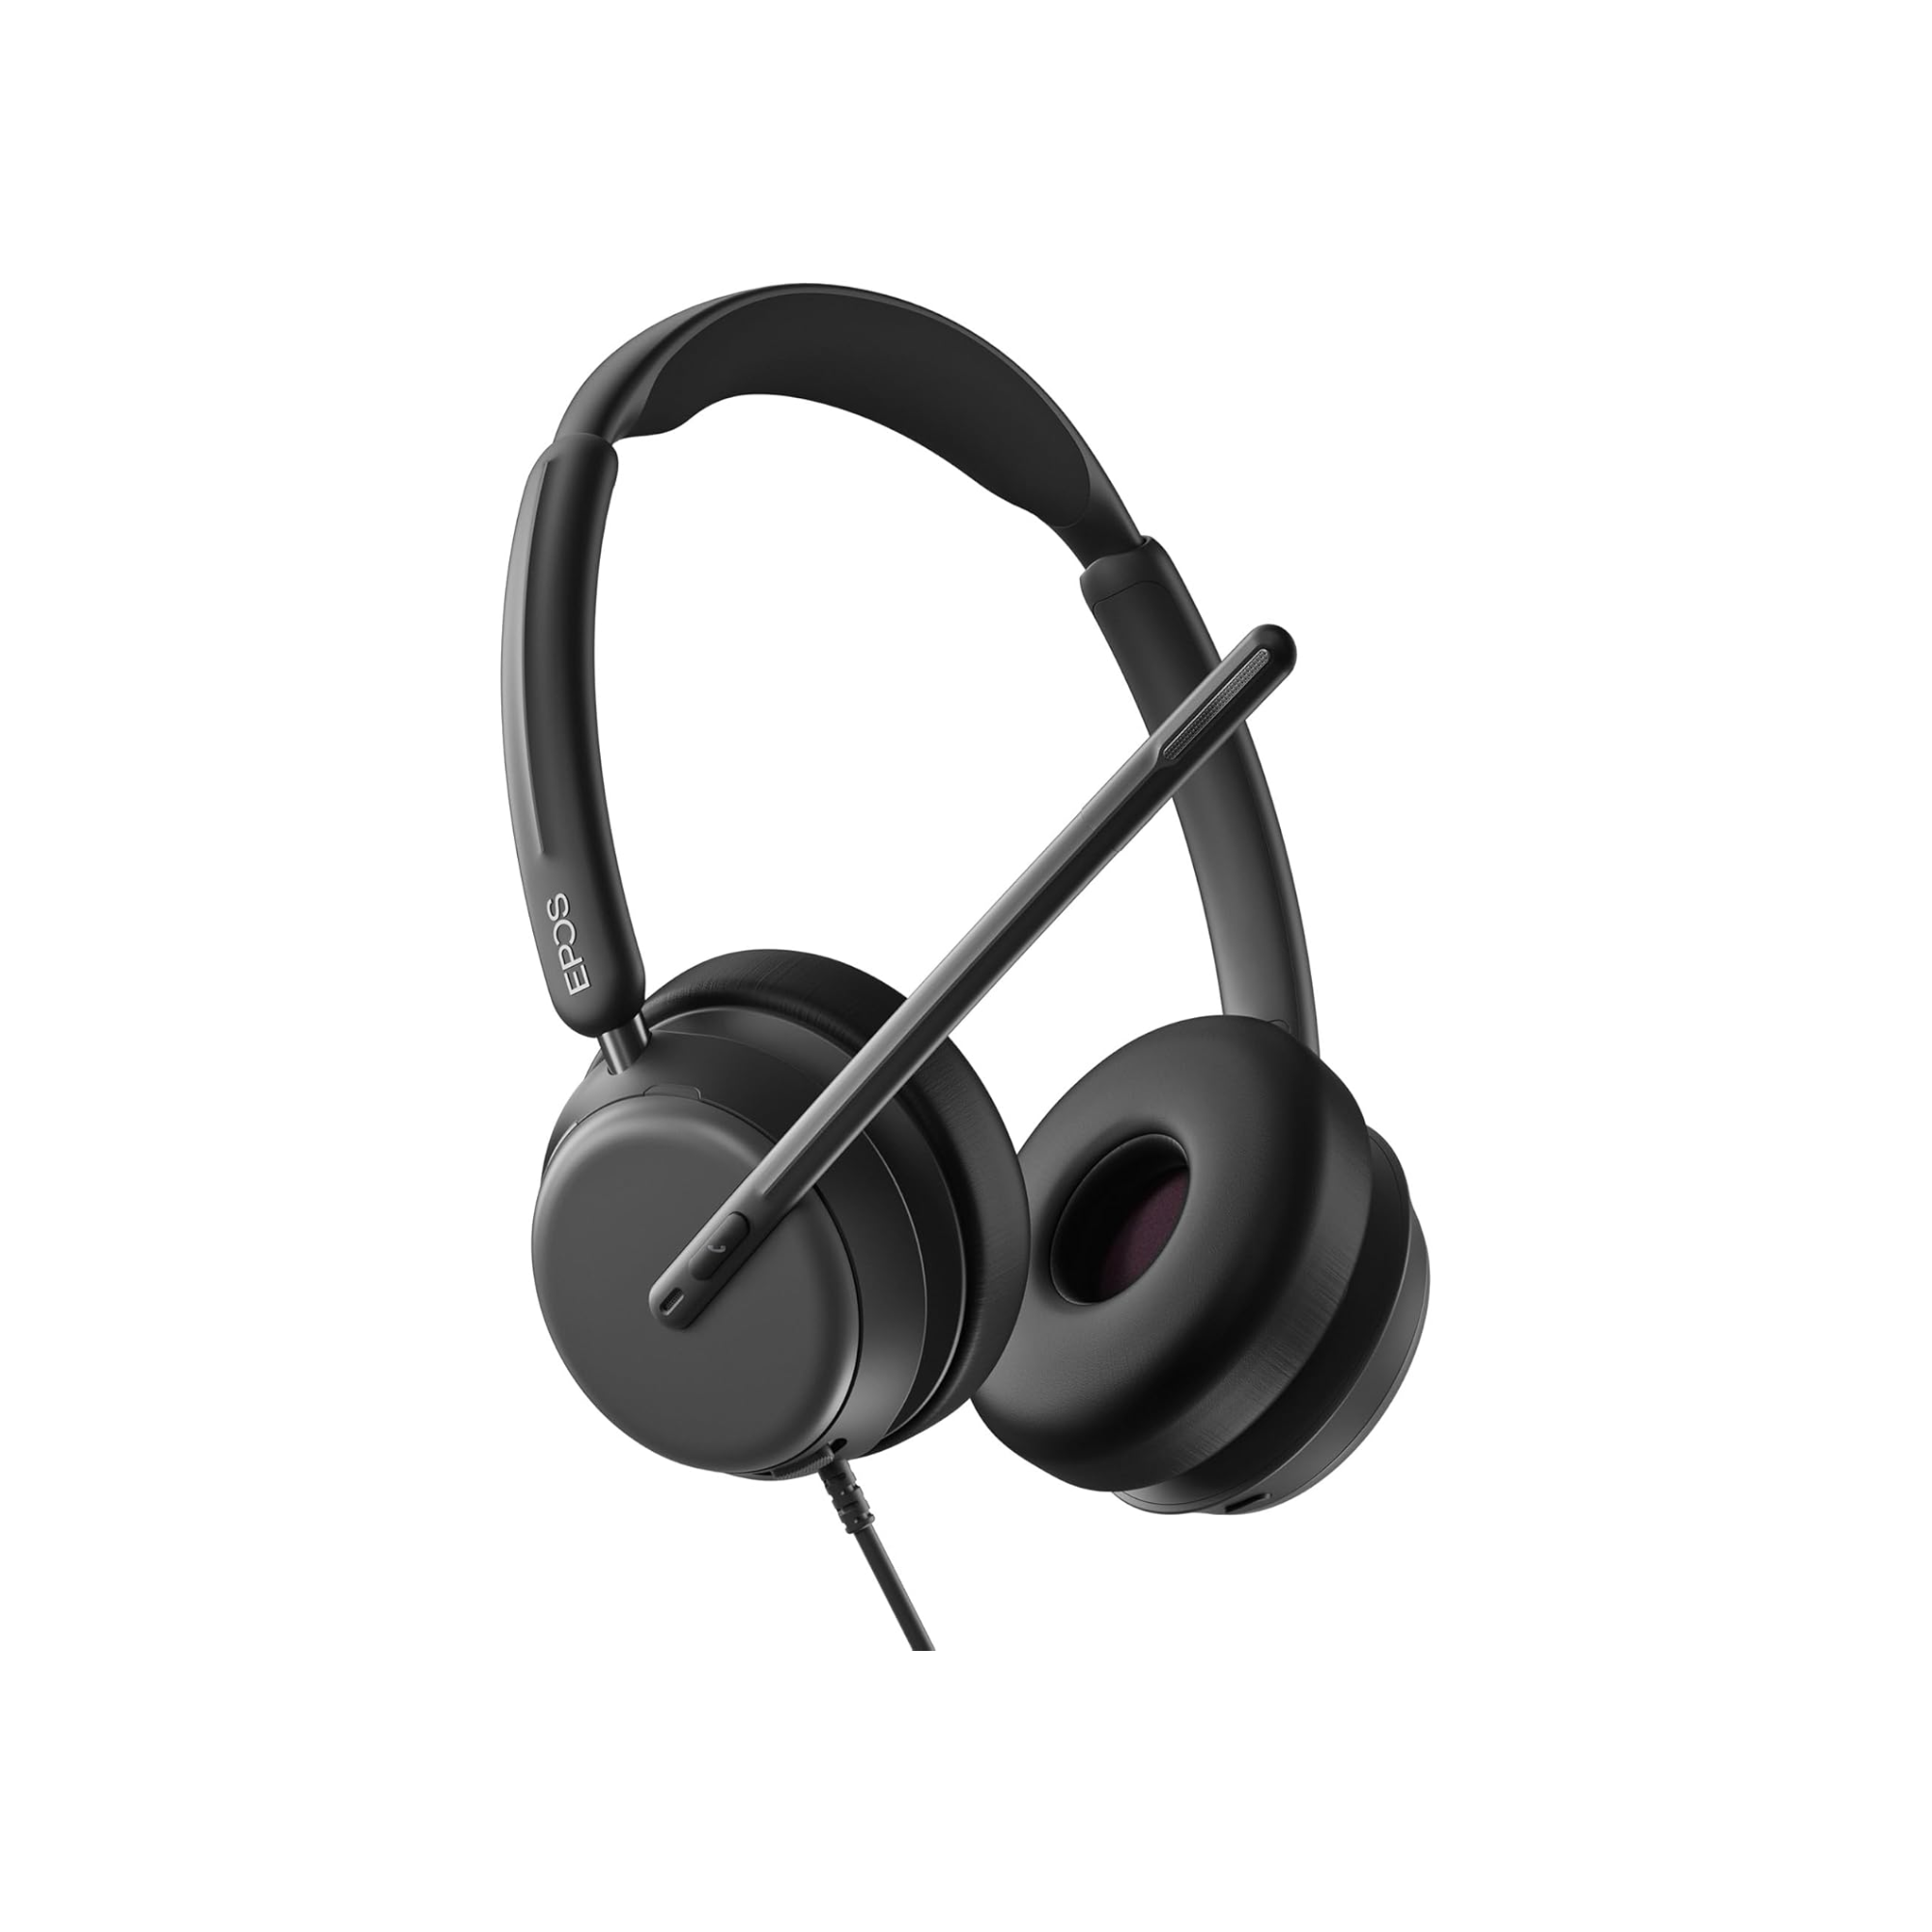
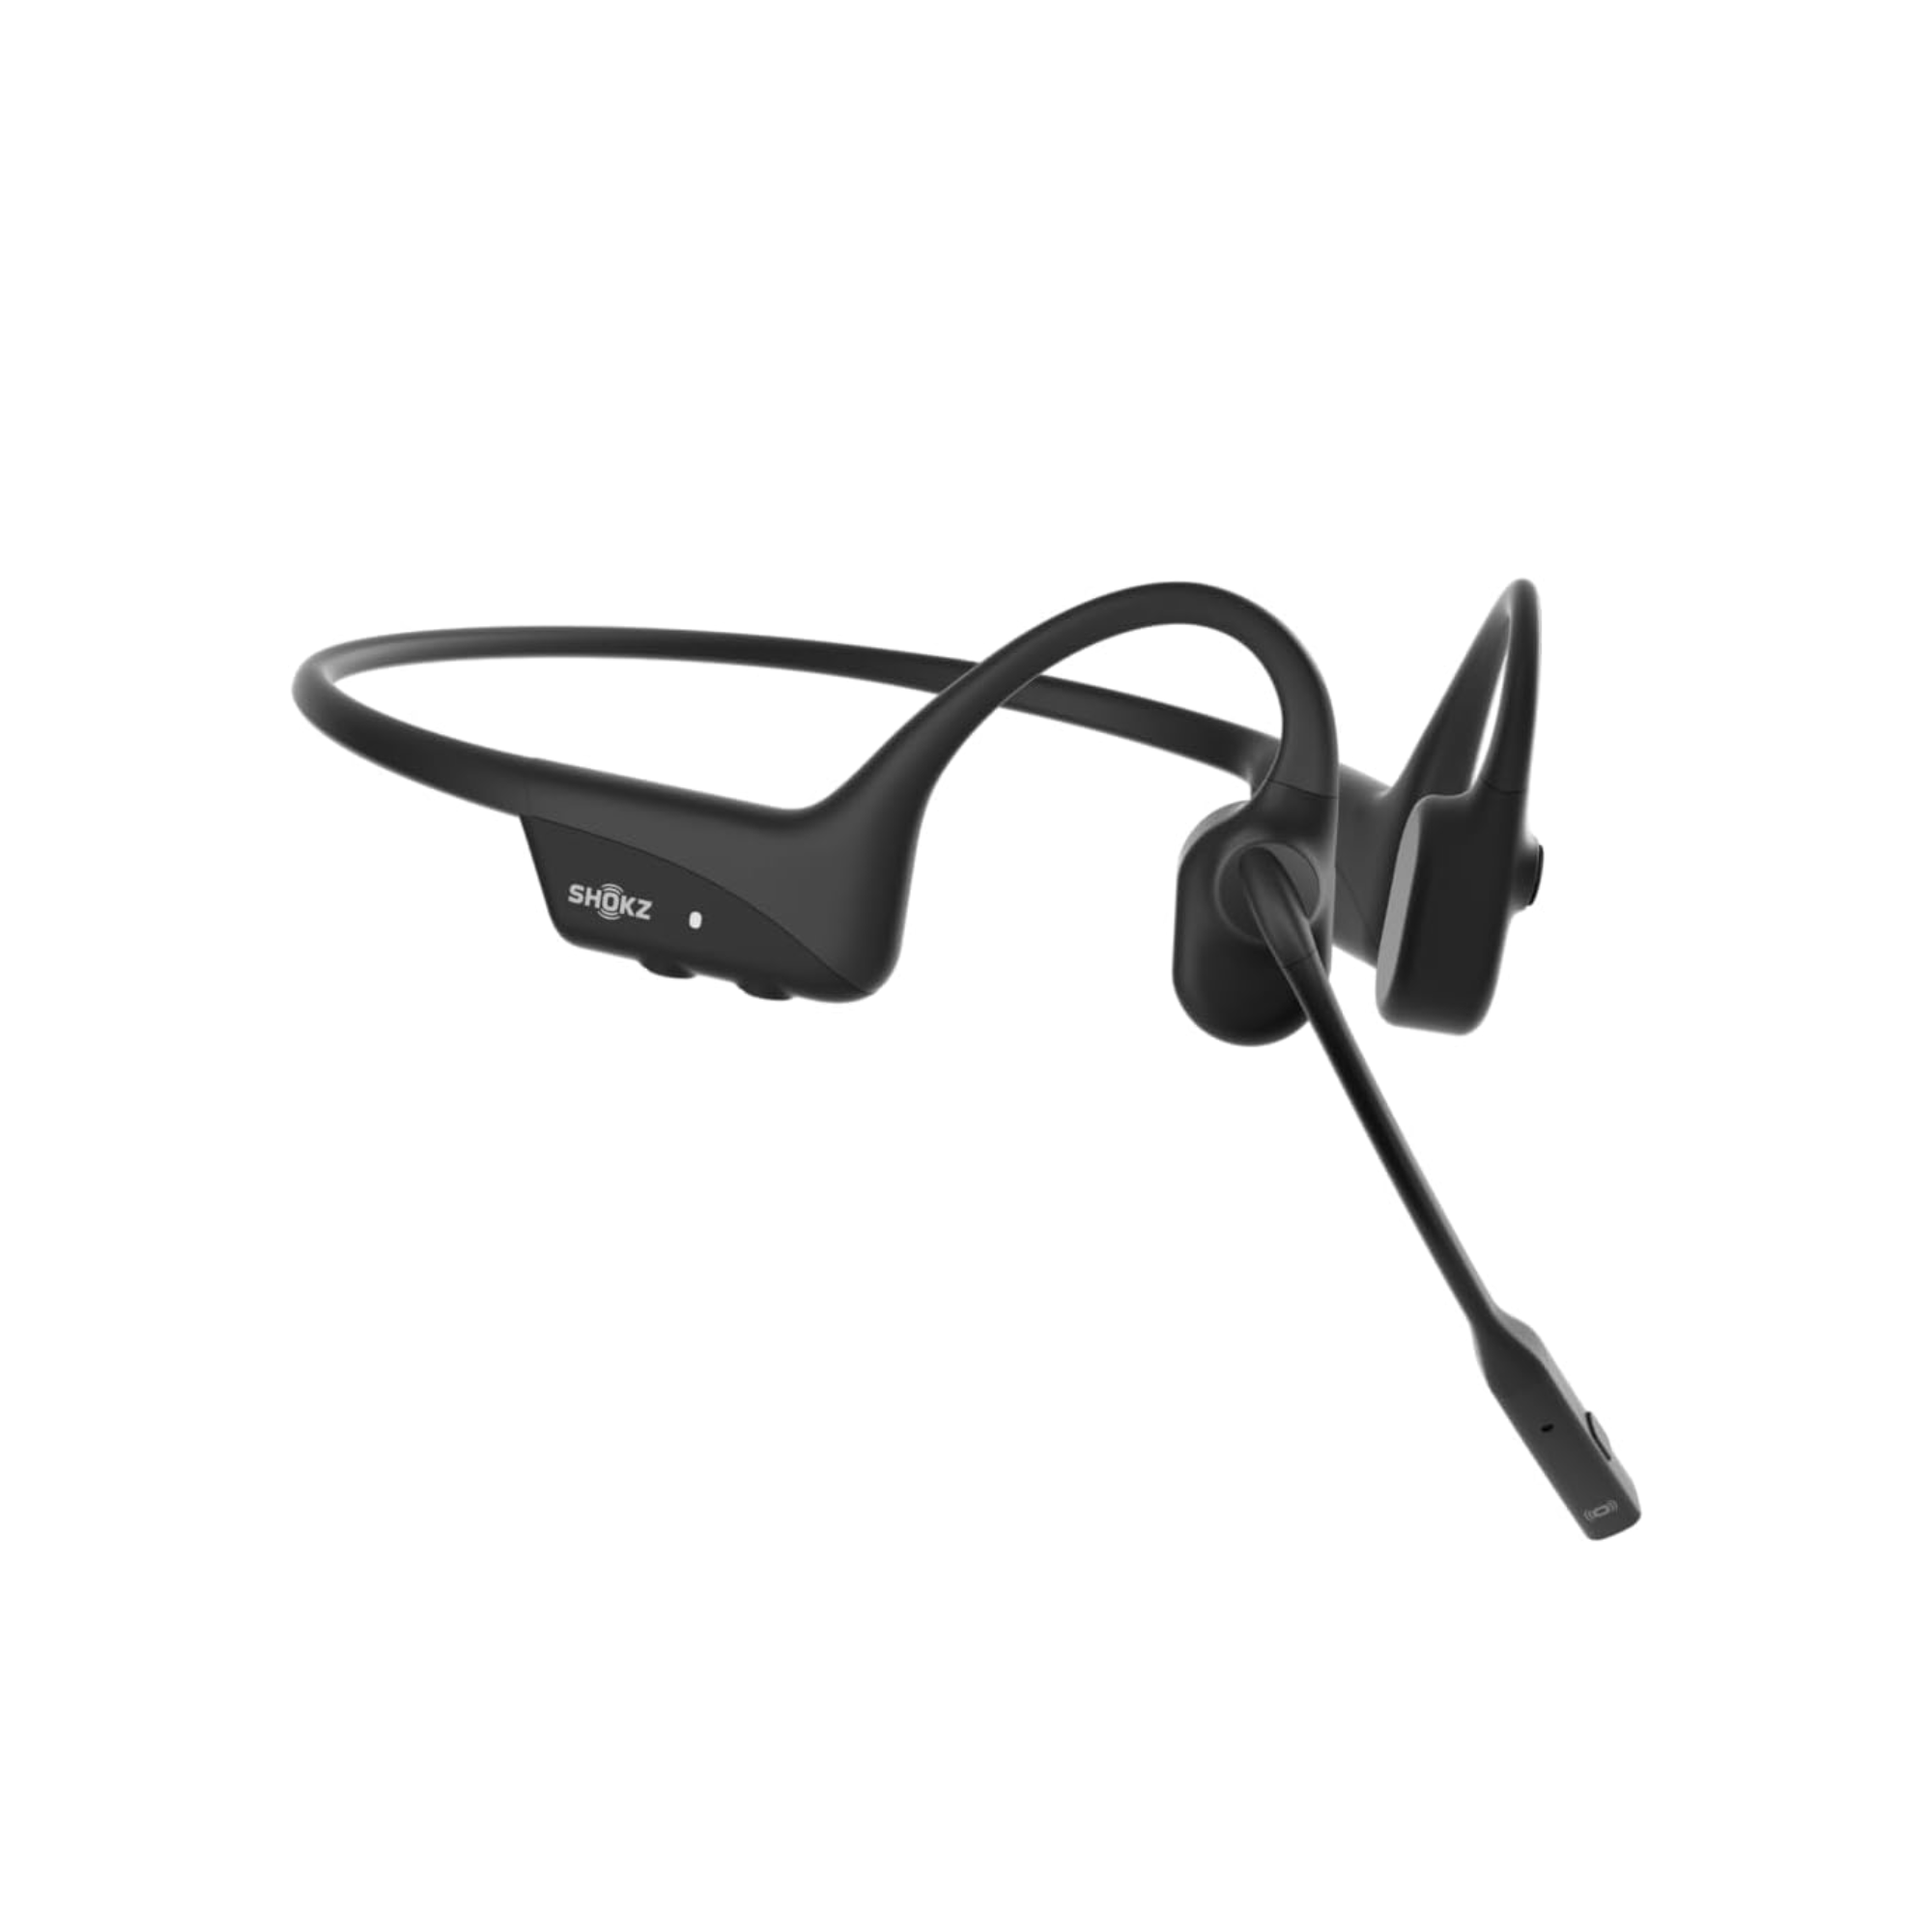
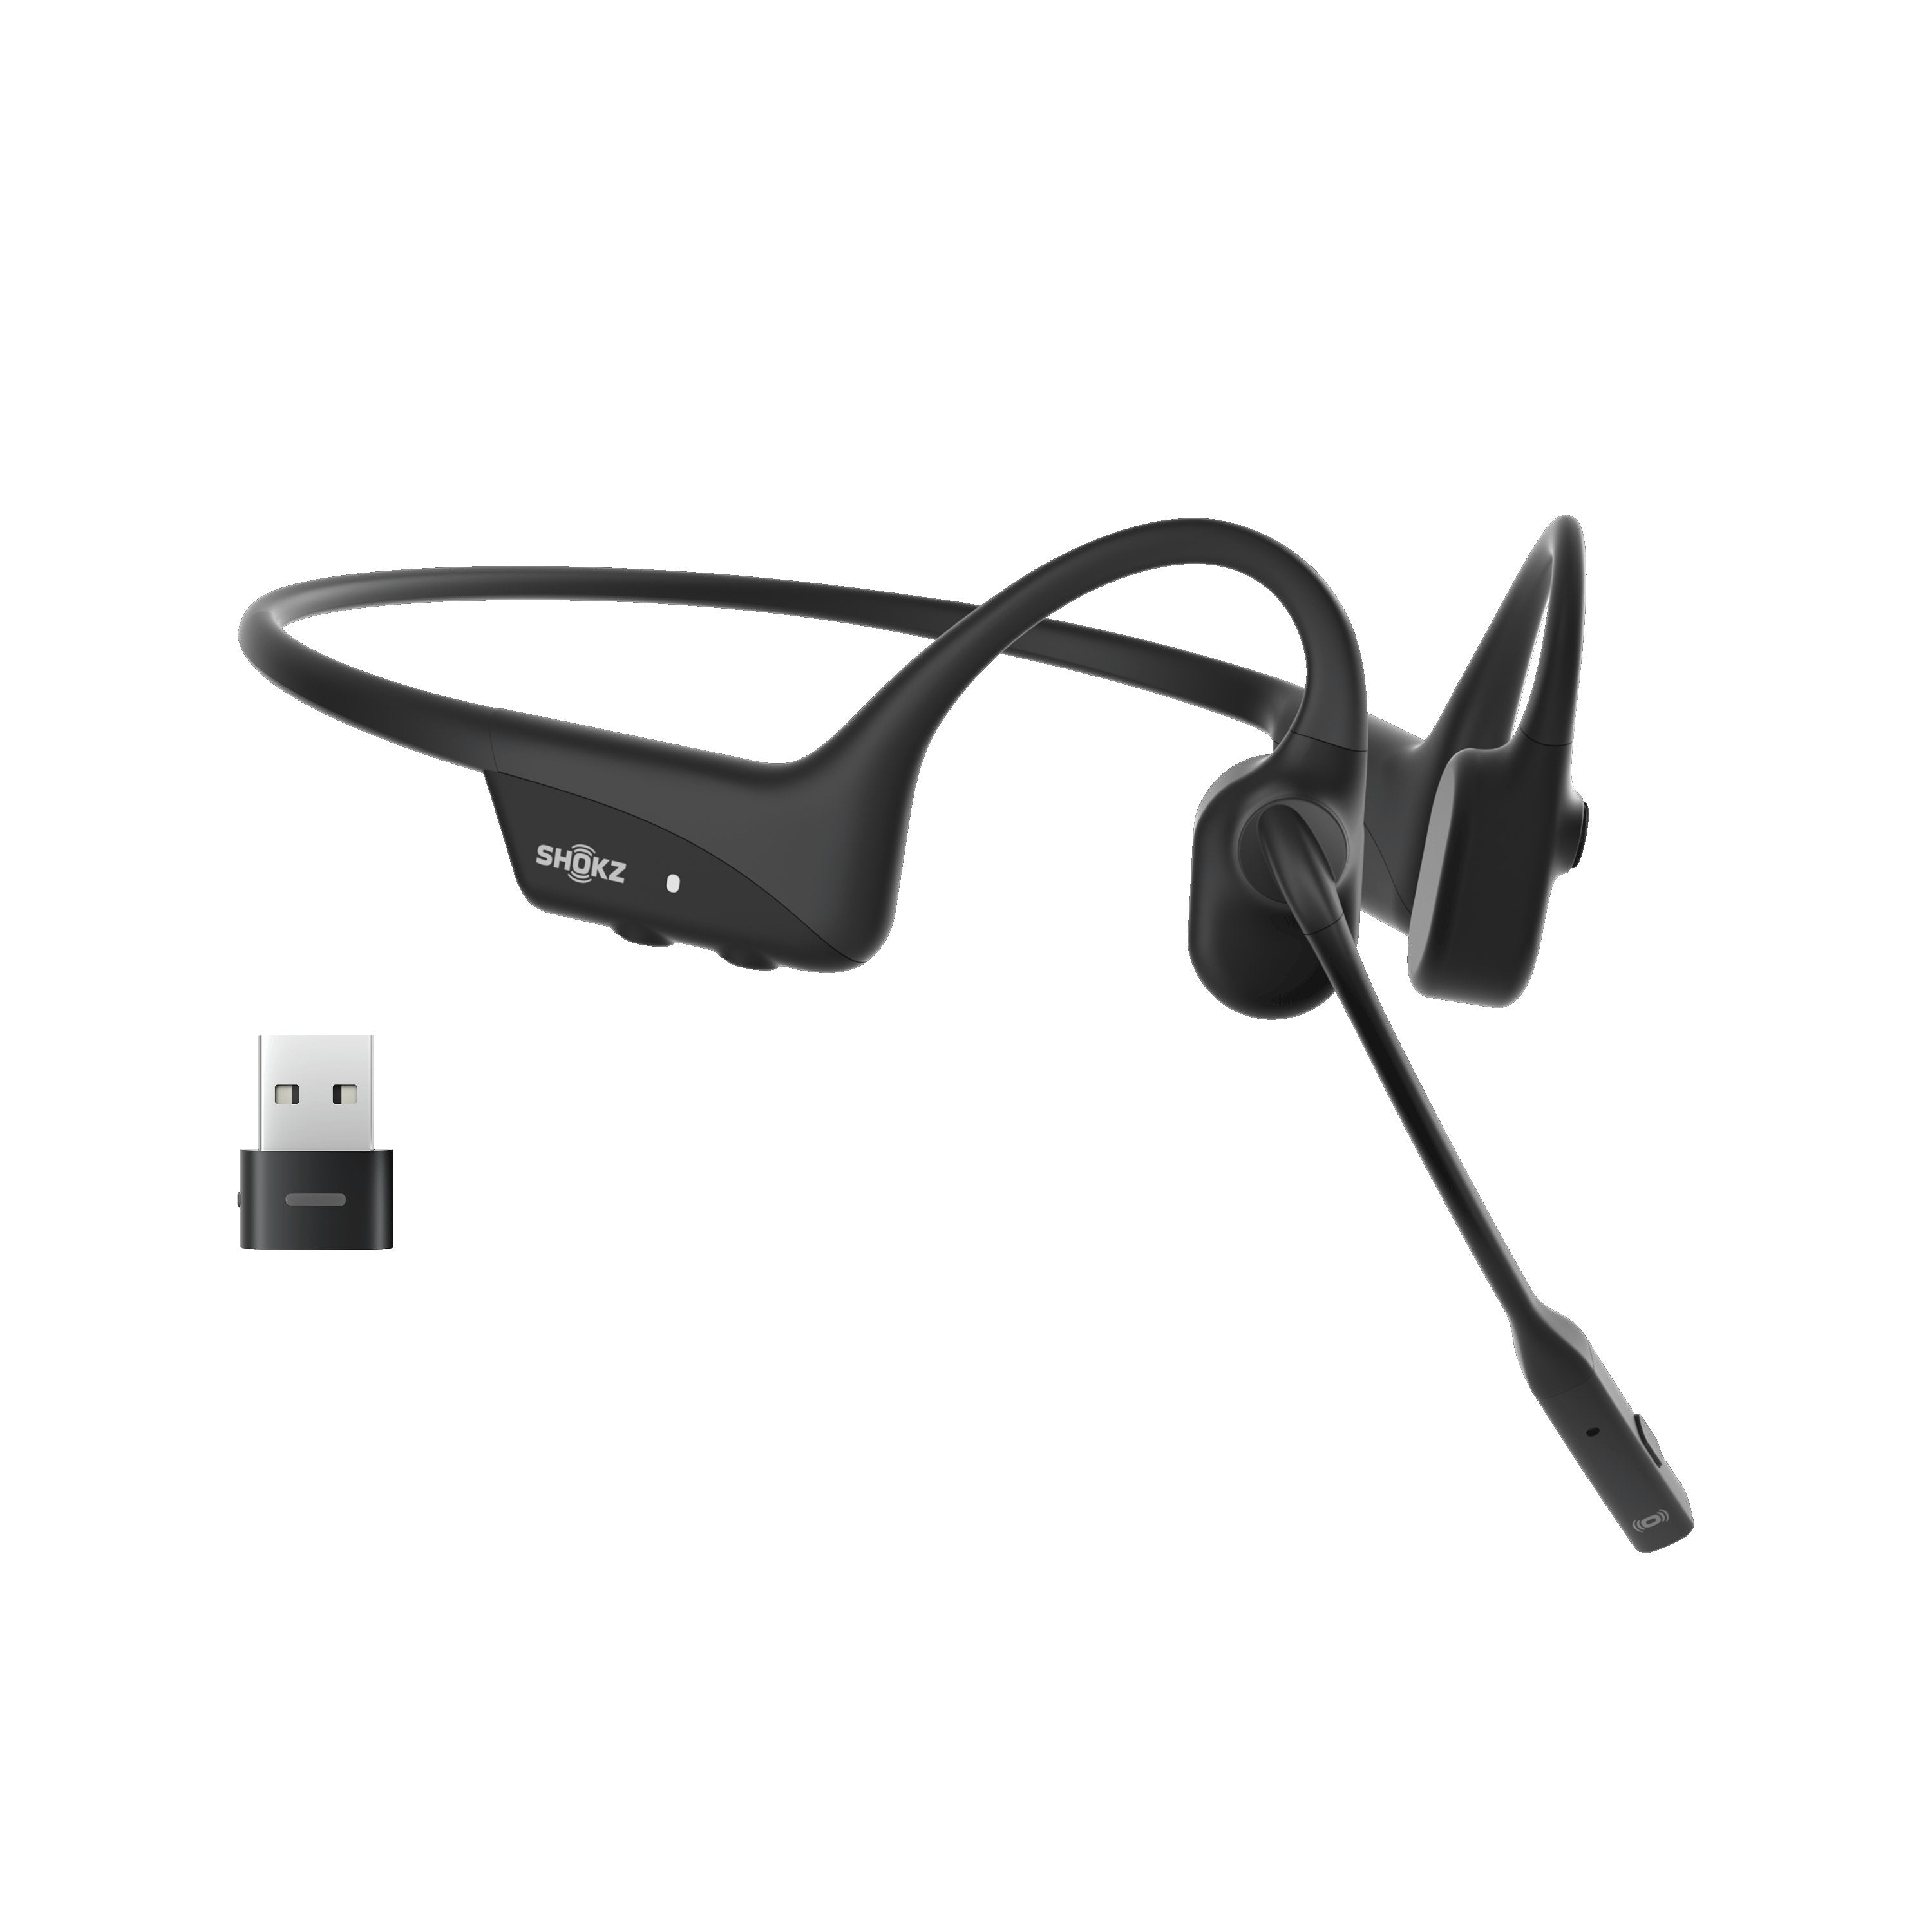
- Examples of different wireless headsets
Ready for a little headsets 101? Great! Let’s get started.
What counts is what’s on the inside- a peek into headset tech.
Over the years, a wireless headset has gone through an evolution in terms of the technology used to drive it.
The gold rush of 49
The first generation of wireless headsets used 49 MHz technology but that was short lived as it lacked a number of things, most notably, call security and wireless talk range. If you were on a call, for example, and someone else within range was also talking on a 49 MHz device, you often had “crosstalk” meaning, you could hear each other's conversations. Naturally this proved to be problematic, and when you combined this along with a limited maximum wireless headset talk range of about 50 feet, the writing was on the wall.
Close, but no cigar
49 MHz gave way to 900 MHz. This change proved to be a vast improvement over its predecessor. The wireless headset talk range expanded from about 50 feet to 300. Though this was substantially better, even 900 MHz wasn’t without it’s problems. For example, like the 49 MHz, 900 MHz wasn’t fully secure. This led to a 900 MHz upgrade.
The great digital divide
Digital 900 MHz was ushered in to fix the problems associated with standard 900 MHz. Unlike standard 900 MHz, Digital 900 MHz performed frequency hopping on its 30 plus
available communication pathways. Essentially, this meant that a given phone call would only be tied to a channel for a split second before hopping to the next, and strongest available channel. This feature alone bolstered security and resolved the issue of crosstalk while not compromising wireless headset talk range. Still, Digital 900 MHz wasn’t without it’s issues. Specifically, interference from other wireless networks and devices. Unlike previous concerns of crosstalk, Digital 900 MHz signals could drop when it encountered a signal from, say, a premise based wireless network.
This could interrupt a signal mid-call or when the wireless headset was idle. The fix was to reset the headset. Sounds simple enough, right? And yes, it was a simple process, but when you have to do it daily, it became a chore, and one that needed a resolution.
Megs to Gigs
2.4 GHz finds its way into wireless headsets, paving the way for gigahertz technology.. GN Netcom headsets, now branded Jabra, were among the first to introduce this technology in a commercial grade office wireless headset under the name Elipse.
2.4 GHz worked well, but like its predecessors, it wasn’t perfect. The wireless headset talk range was very good, but the sound quality wasn’t perfect. Additionally, the wireless headset signal was susceptible to interference from other wireless devices which led to compromised sound quality including significant static.
The solution
Dect 6.0 also known as 1.9 GHz. This technology solved the problems that affected earlier models of wireless headsets. Dect 6.0 offers an acceptable wireless headset range with most brands and models reaching an estimated talk range of up to 300 feet. Best of all, Dect 6.0 operates off of a voice only channeling system which means it isn’t affected by other nearby wireless signals. In aviation terms, this is like flying at a different altitude with no other planes in sight.
Today, all the major brands such as Plantronics (now called Poly), Jabra, Sennheiser and Discover all utilize the Dect 6.0 (1.9 GHz) technology. This has now become the industry standard due to its superior performance and reliability.
The evolution of wireless headset design
The evolution revolution - Gen 1
The first generation of wireless headset was referred to as a “belt pack” design. This generation of wireless headset contained two pieces; the headset top, which contained a wire, and a belt pack unit which attached to a belt or waistband. Though you could enjoy mobile communications, there was still the issue of a cord leading from the headset. And, like with all wired headsets, the cord is the most vulnerable component and is susceptible to fractures which lead to poor sound quality, static or no sound at all.
The evolution revolution - Gen 2
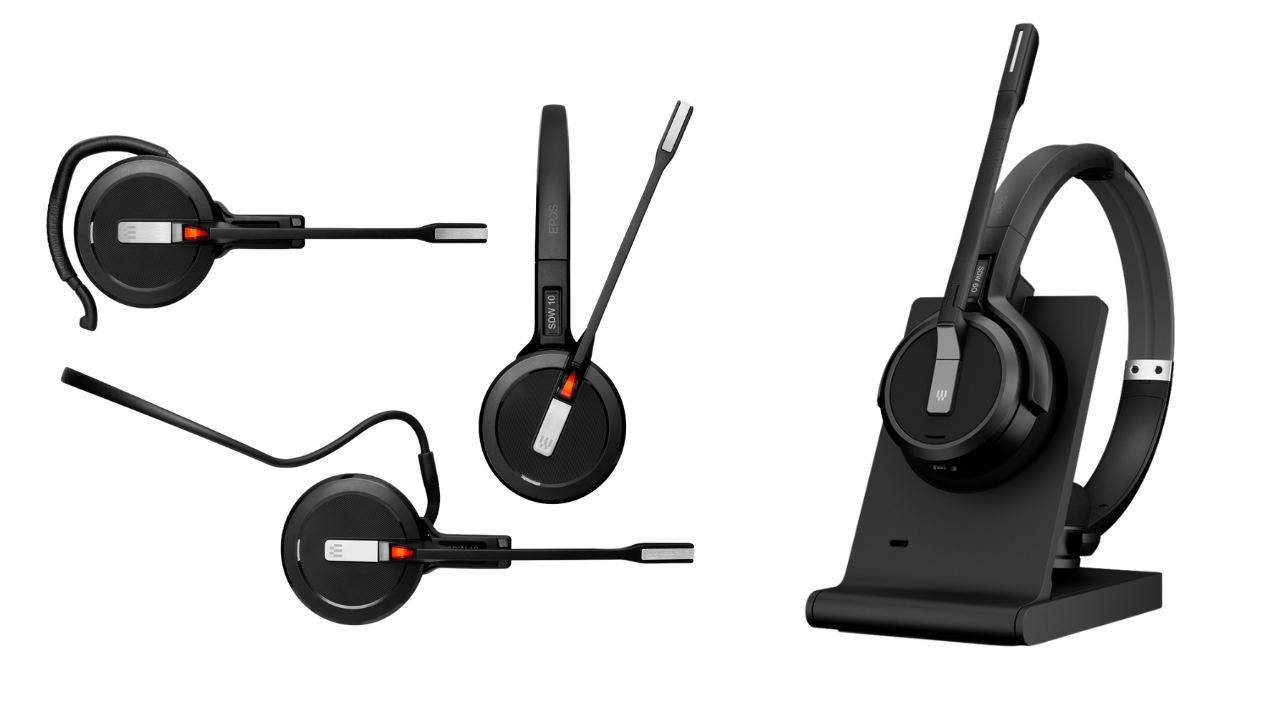
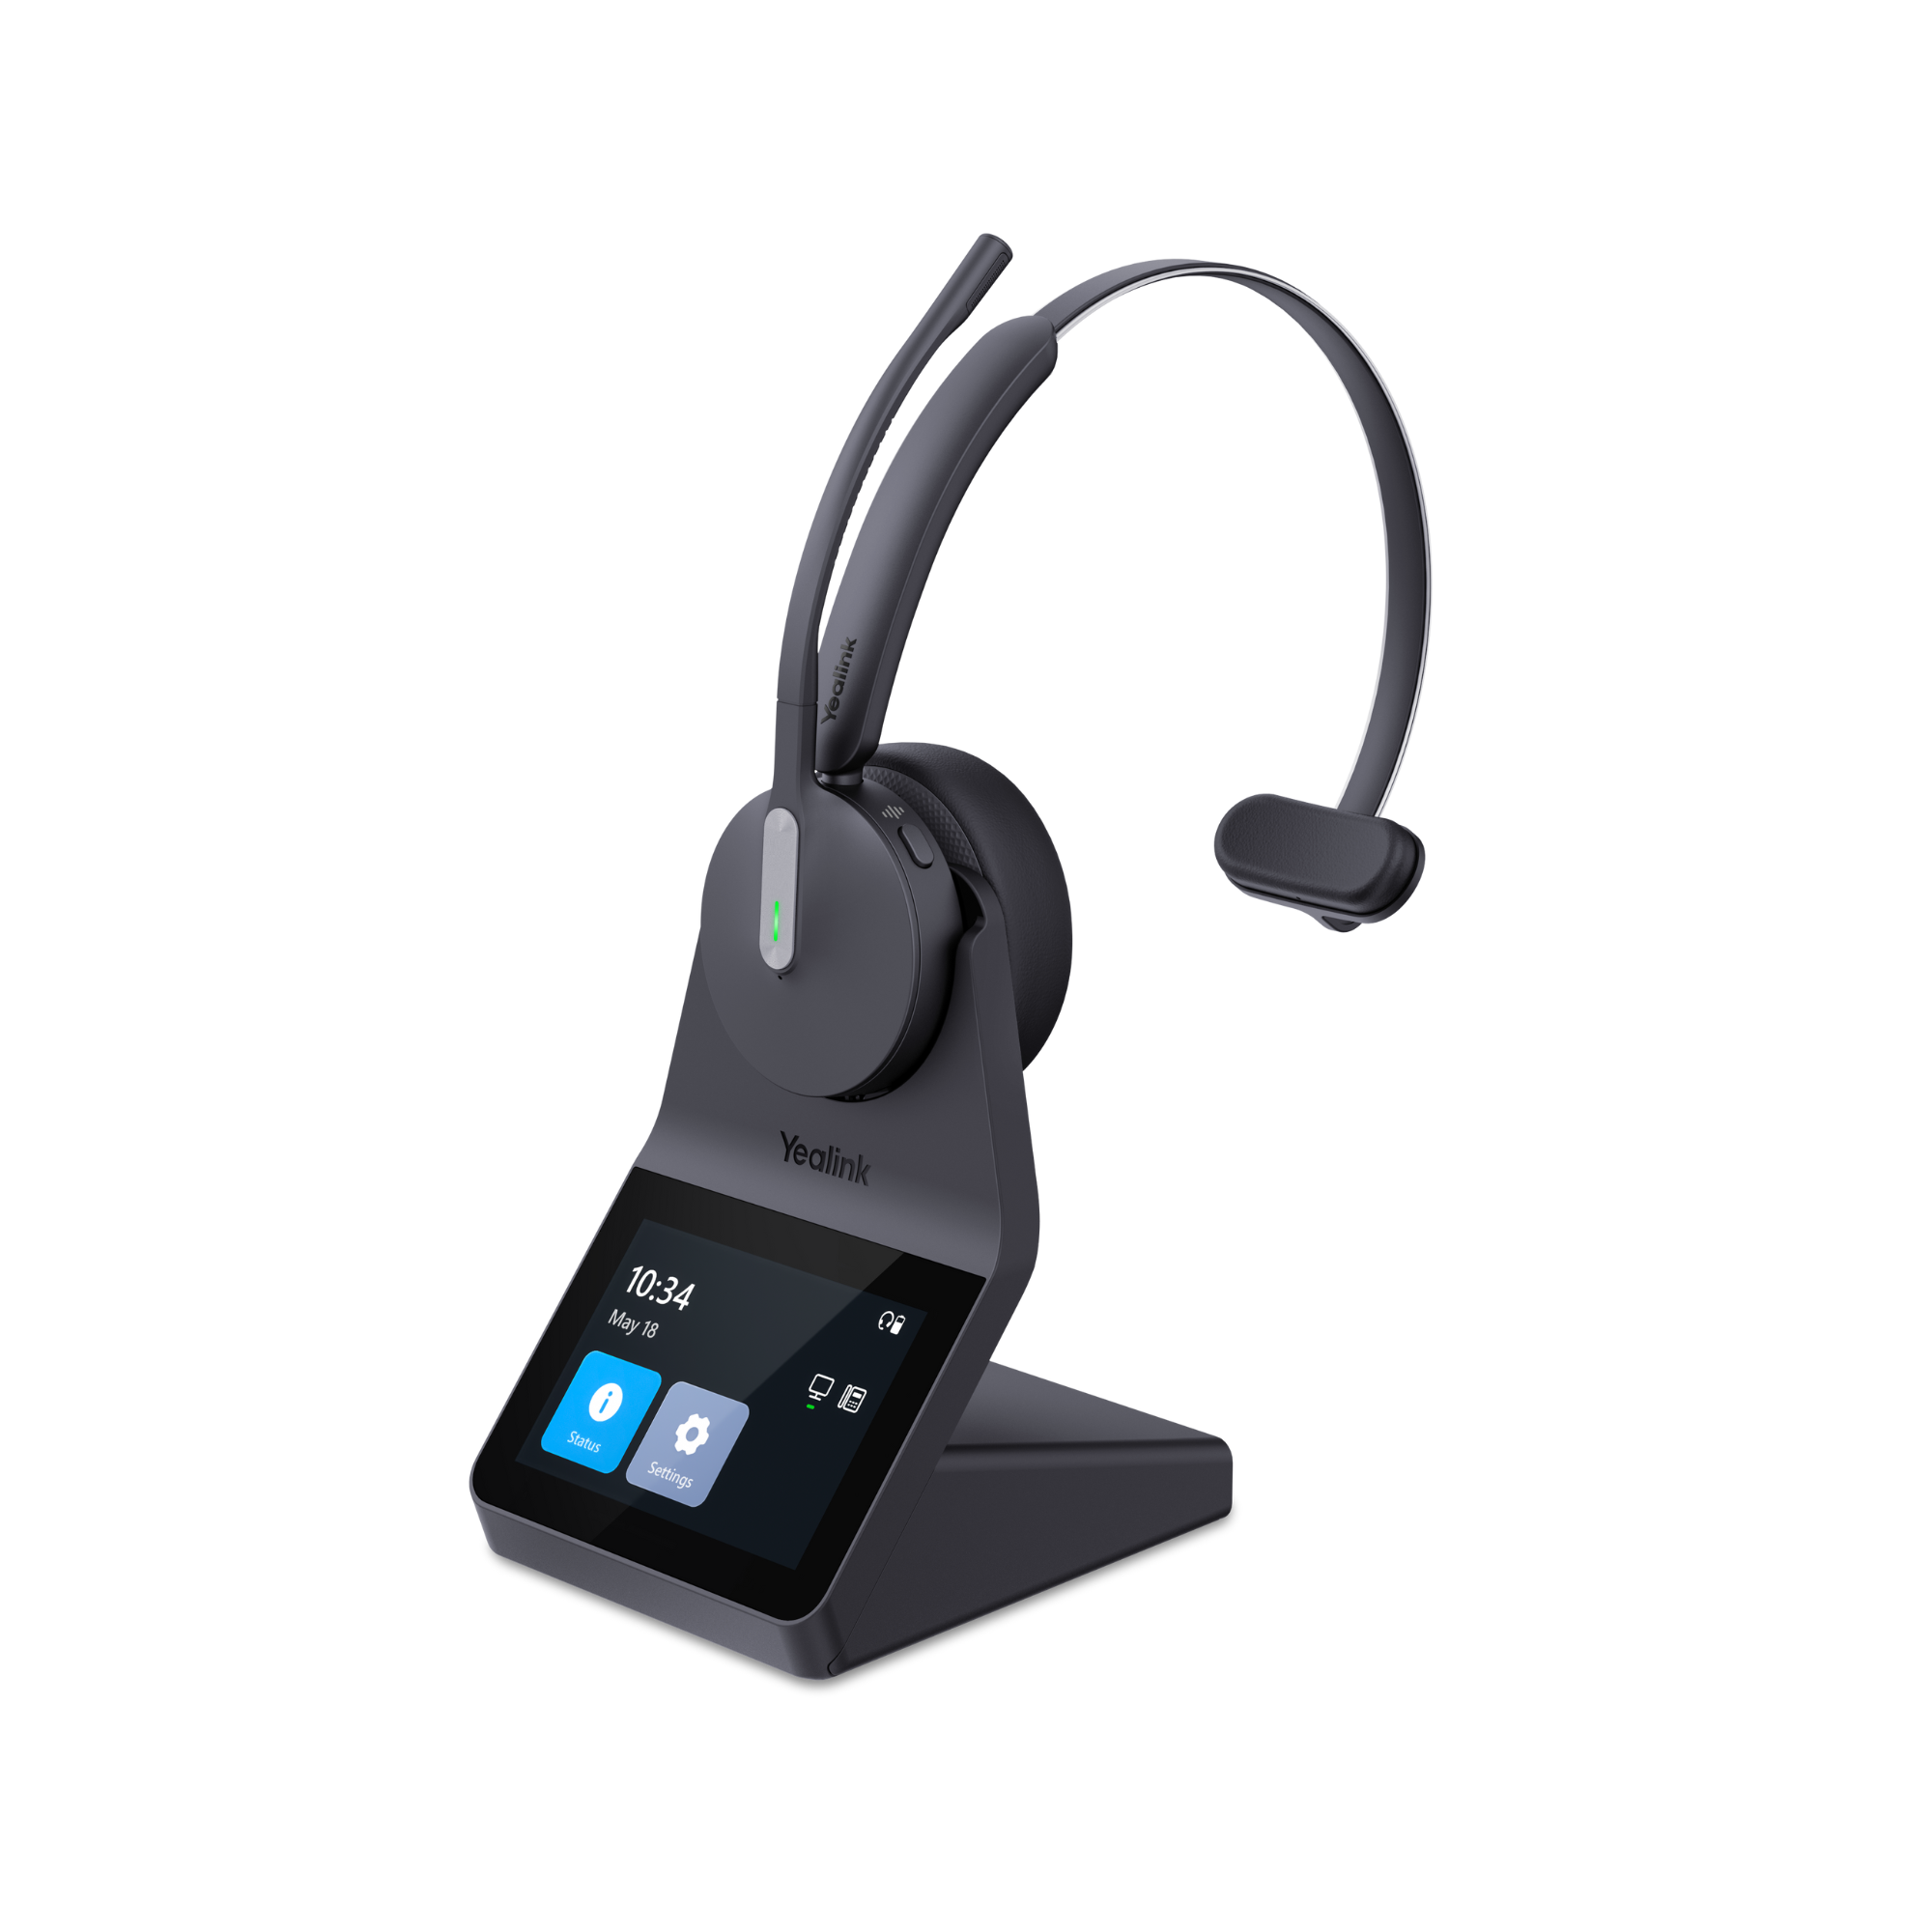
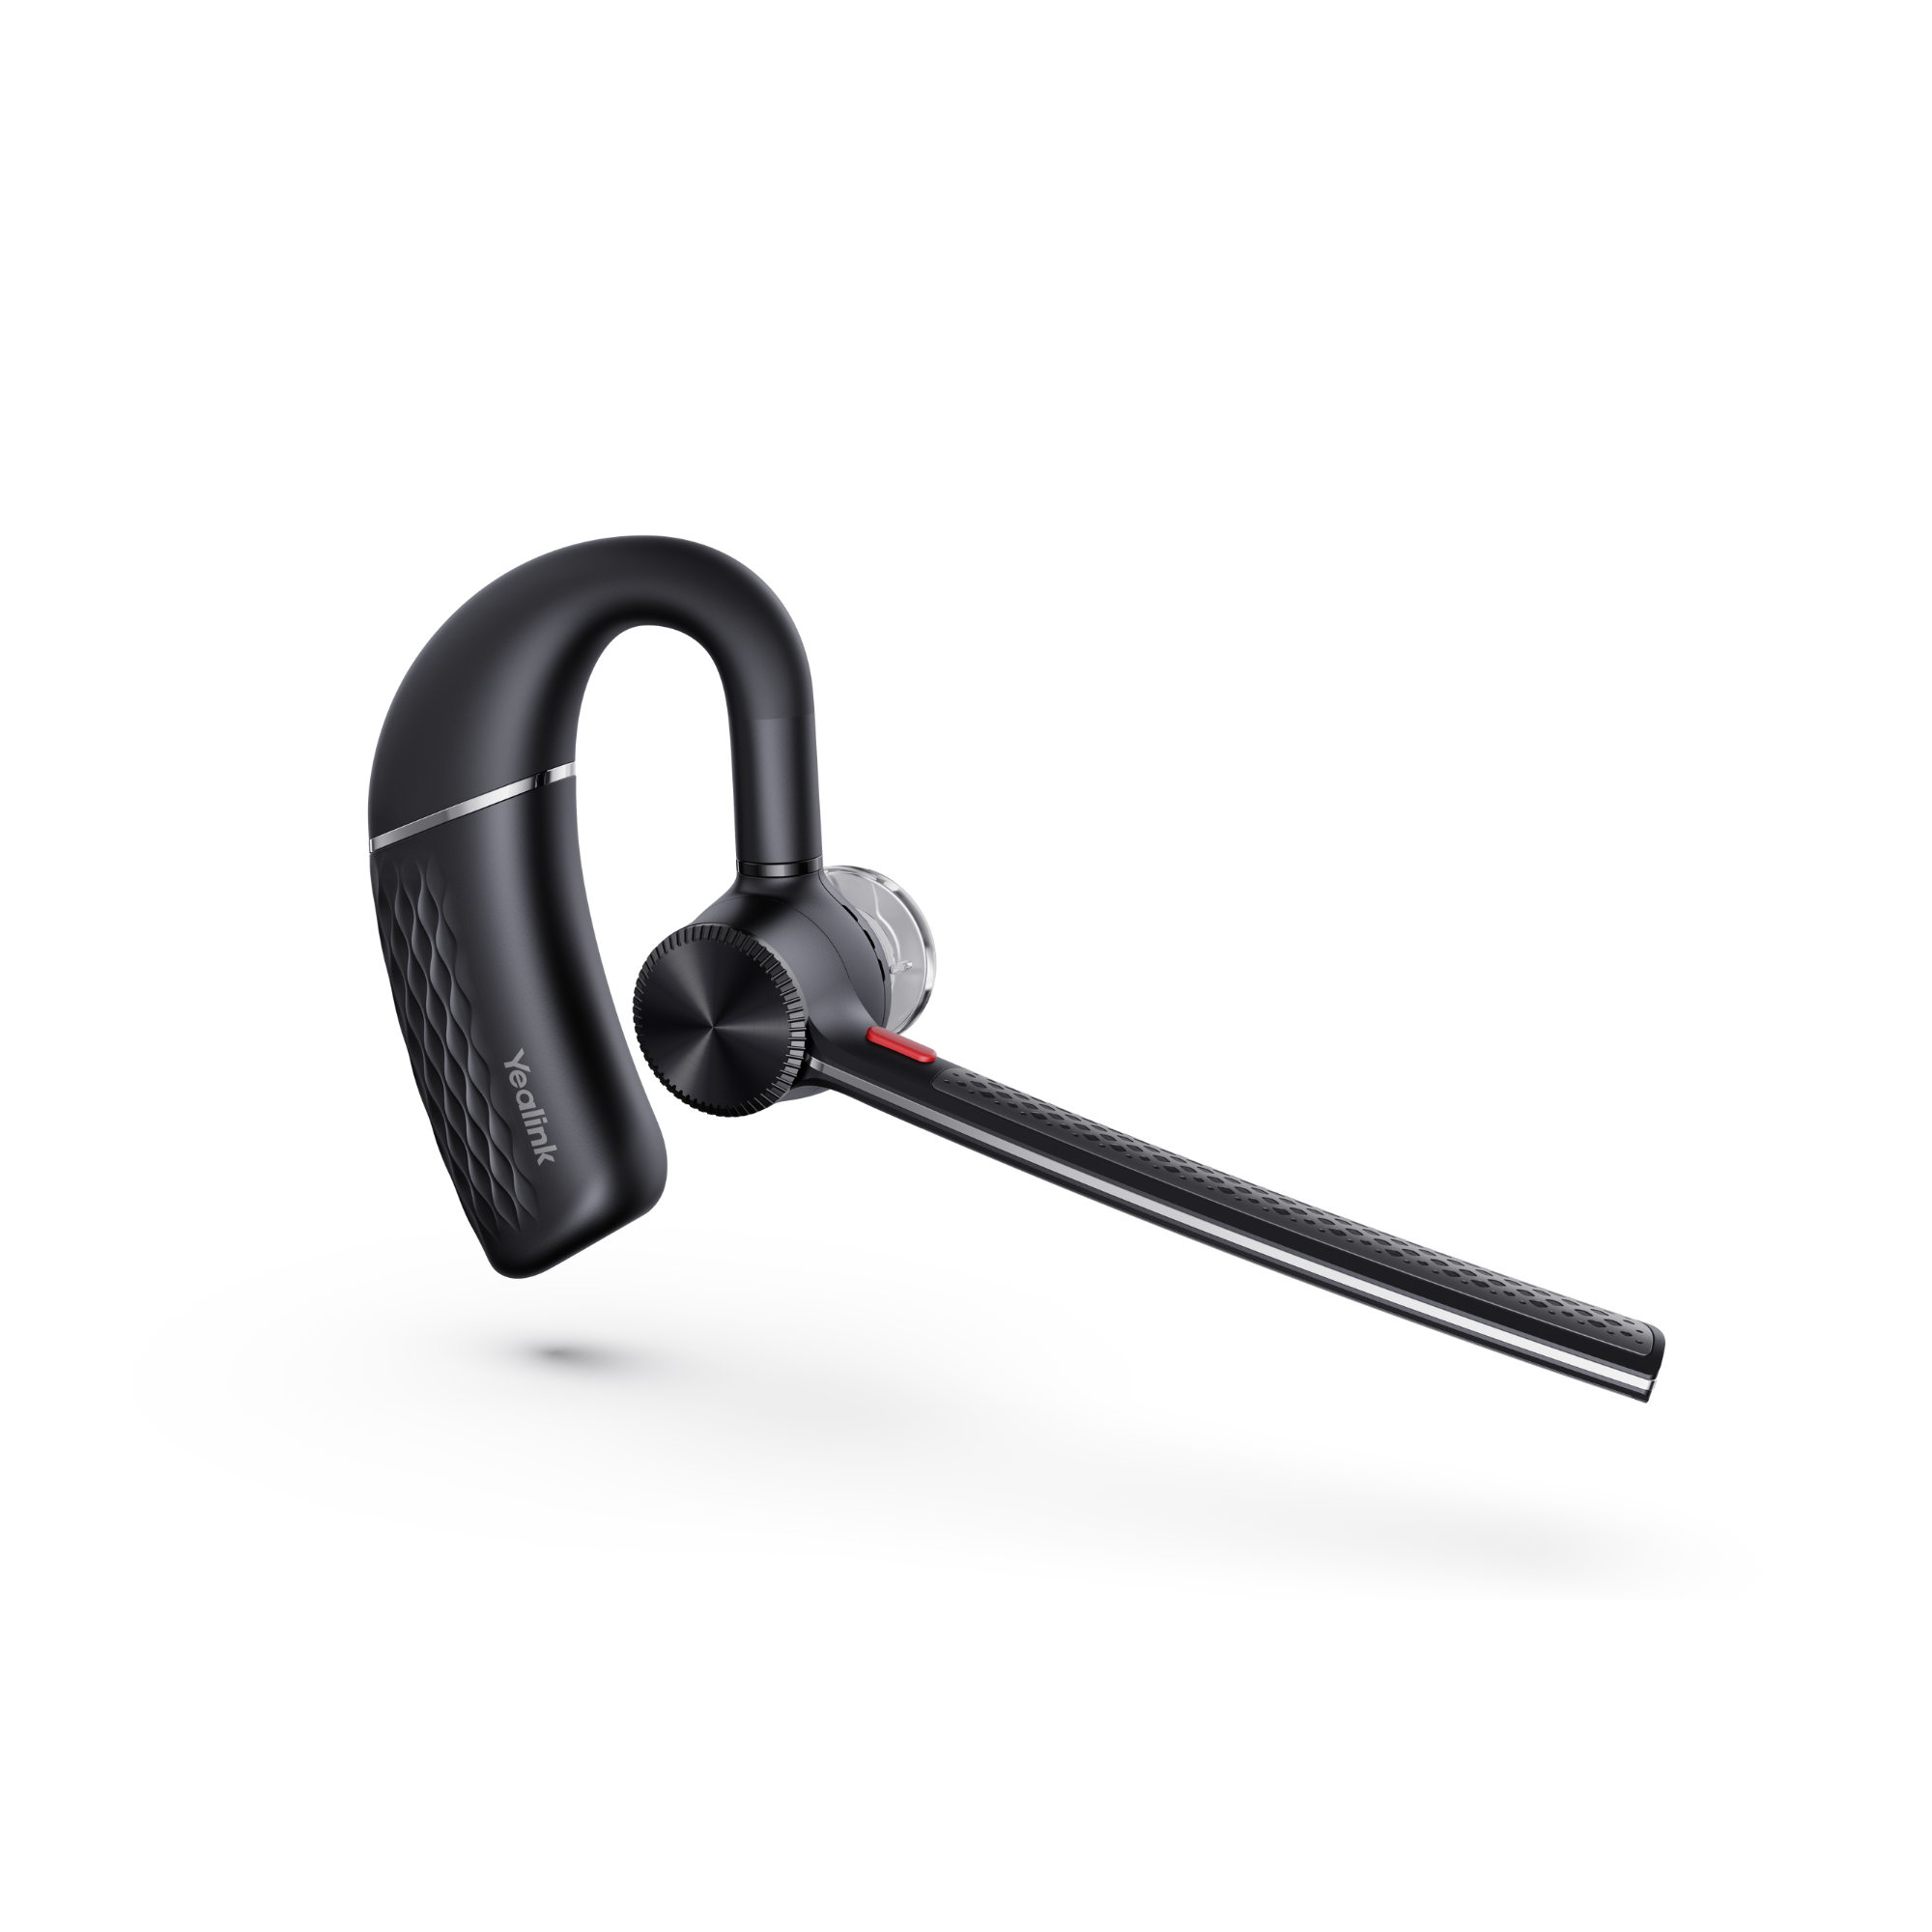
The next generation of wireless headset evolved into a fully wireless product which eliminated the headset cord and the need to wear a transmitter/receiver device. These headsets contain a base station that connects to a desk phone (or computer), which works in tandem with a fully wireless earpiece. Earpieces can be worn over the head covering one ear, two ears or worn over the ear. There are even models that allow you to convert from an over the ear wearing style to that of an over the head. These are referred to as “convertible” headsets.
So, whether you prefer a wireless headset that’s worn over the head or over the ear, rest assured there’s a lightweight, great sounding reliable headset waiting for you.
If you’d like to see some different examples of wireless headset models and brands click on this link to check them out.
Connectivity - how do wireless headsets connect?
Connecting a wireless headset for phone is pretty universal across all major brands and models. So, once you understand the basics of connecting them, the same principles apply to most all headset brands and their corresponding models.
- Telephone interface cable. All commercial wireless headsets come with a cable that allows you to connect to a desk phone. This is a cable that’s about 8 inches in length and contains a clear plastic clip on each end. One end plugs into the headset port on your desk phone, while the other plugs into the port on your wireless headset base where you see a headset icon.
- Battery. Being these are wireless headsets, they come with a rechargeable battery. Some are customer replaceable while others aren’t. In either case,
charge the battery fully before your first use. This may require that you install the battery into the earpiece if your model has a replaceable battery. Charge the battery by placing the earpiece into the charging base.
- Remote call answering. If you purchased the remote call answering feature (handset lifter or Electronic Hookswitch Cable), then you’ll need to connect this to your desk phone and also to your wireless headset charging base station. This is a highly popular feature that allows you to step away from your desk but still be able to know when your phone is ringing and then be able to answer it. Over 80% of people who purchase a wireless headset purchase this feature at the same time. It helps to avoid missed calls, helps to improve customer service and significantly reduces the amount of voicemails you’ll have to listen to. Beyond that, it’s convenient and provides a wireless headset customer with far more flexibility such as stepping away to grab some coffee, going to the printer etc.
- Power. Make sure that the AC power adapter is plugged into a working wall plug and also into the back of the wireless headset charging base. You’d be surprised how many times troubleshooting a headset issue is traced back to no power to the unit, or a bad wall outlet.
Ok, now that everything is set up, how does this thing work? Great question, I’m glad you asked. Here’s a quick overview so you’ll have a good idea how wireless headsets work overall.
Generally speaking, a wireless headset is a device that allows you to communicate on your business calls wire free and hands free. This is done by having a desk phone connected to a wireless headset base. The wireless headset base, in turn, works in tandem with a wireless earpiece to take calls or make calls from your desk phone.
Incoming calls.
When you receive an incoming call, simply press the “call control” button which is generally found on the side of the earpiece. This turns it on, or, in the case where you have the remote call answer feature, pressing this button will allow you to go live on the incoming call. So, press the call control button and answer as though you were picking up the handset.
While on the call, you have the ability to turn up the hearing volume, turn down the hearing volume, mute the wireless headset microphone, turn up or turn down the speaking volumes as well as ending the call. All the adjustments except the wireless headset microphone volumes can be performed while away from your desk. Though
you won’t find a need to make a lot of adjustments, it’s nice to have the capabilities because you will find times when more or less volumes are required.
Outbound calls.
If you want to make an outbound call, make sure your headset is turned on by pressing the call control button on the side of the earpiece. At this point you should hear a dial tone. This assumes you have the remote call answering feature. Now, it’s a matter of dialing the desired phone number as normal, with the added convenience of mobility.
Once you’ve completed your call, simply press the call control button again and the conversation is ended.
A few helpful tips when using a wireless headset
- When taking a break or going to lunch, drop your headset into the charging base. This helps to give you the assurance that you will have enough battery talk time in your wireless headset to cover you for the balance of your day.
- Don’t forget to place your headset into the charger before you leave for the day. If you don’t, you’ll come to work the next day only to find the battery is dead. This means you’ll likely be using a handset until your headset gets charged back up. So, take a moment before you leave work and make sure that your headset finds its way into that charger. Your neck, shoulder and back will thank you.
- Wireless headset microphone. In order to have optimum sound quality, it all starts with where you position the wireless headset microphone. This should be positioned approximately two fingers width away from the corner of your mouth. In doing so, if you find that sound to your callers is either too high or too low, you’ll need to make the adjustment on the wireless headset charging base.
- Headband adjustment. Out of the box, a wireless headset that has a headband will fit everyone differently. After all, we all have different sized heads, right? So, what if the headband fits you too tightly or too loosely? Begin the returns process? Before you go down that road, try making a subtle, but meaningful adjustment to the HEADBAND. Whether it’s made of metal or a rubberized material, you can adjust it. In doing so, be very careful! Grasp the headband and gently, but firmly, apply pressure inward (to tighten) and in an outward direction to loosen. Go at this slowly but deliberately testing along the way until you find a fit that’s comfortable for you.
- Talk volume. Being that a wireless headset gives you the freedom to walk and talk, please be mindful of your fellow coworkers. You may find yourself having a
conversation in their proximity and that can be distracting. So, practice good office etiquette by keeping your voice at a reasonable level out of respect for others around you.
If you’re using a wireless headset currently, congratulations. They’re awesome. If you’re considering one, don’t hesitate a minute to pull the trigger. You’ll be so happy that you’ll wonder why you didn’t do it sooner. Yes, they’re that good!

