This guide is designed to provide you with helpful information to get your headset setup as well as tips on using, adjusting and troubleshooting your headset. If you don’t find the information you need, don’t hesitate to contact us and we’ll be happy to help you.
GETTING FAMILIAR WITH YOUR NEW HEADSET
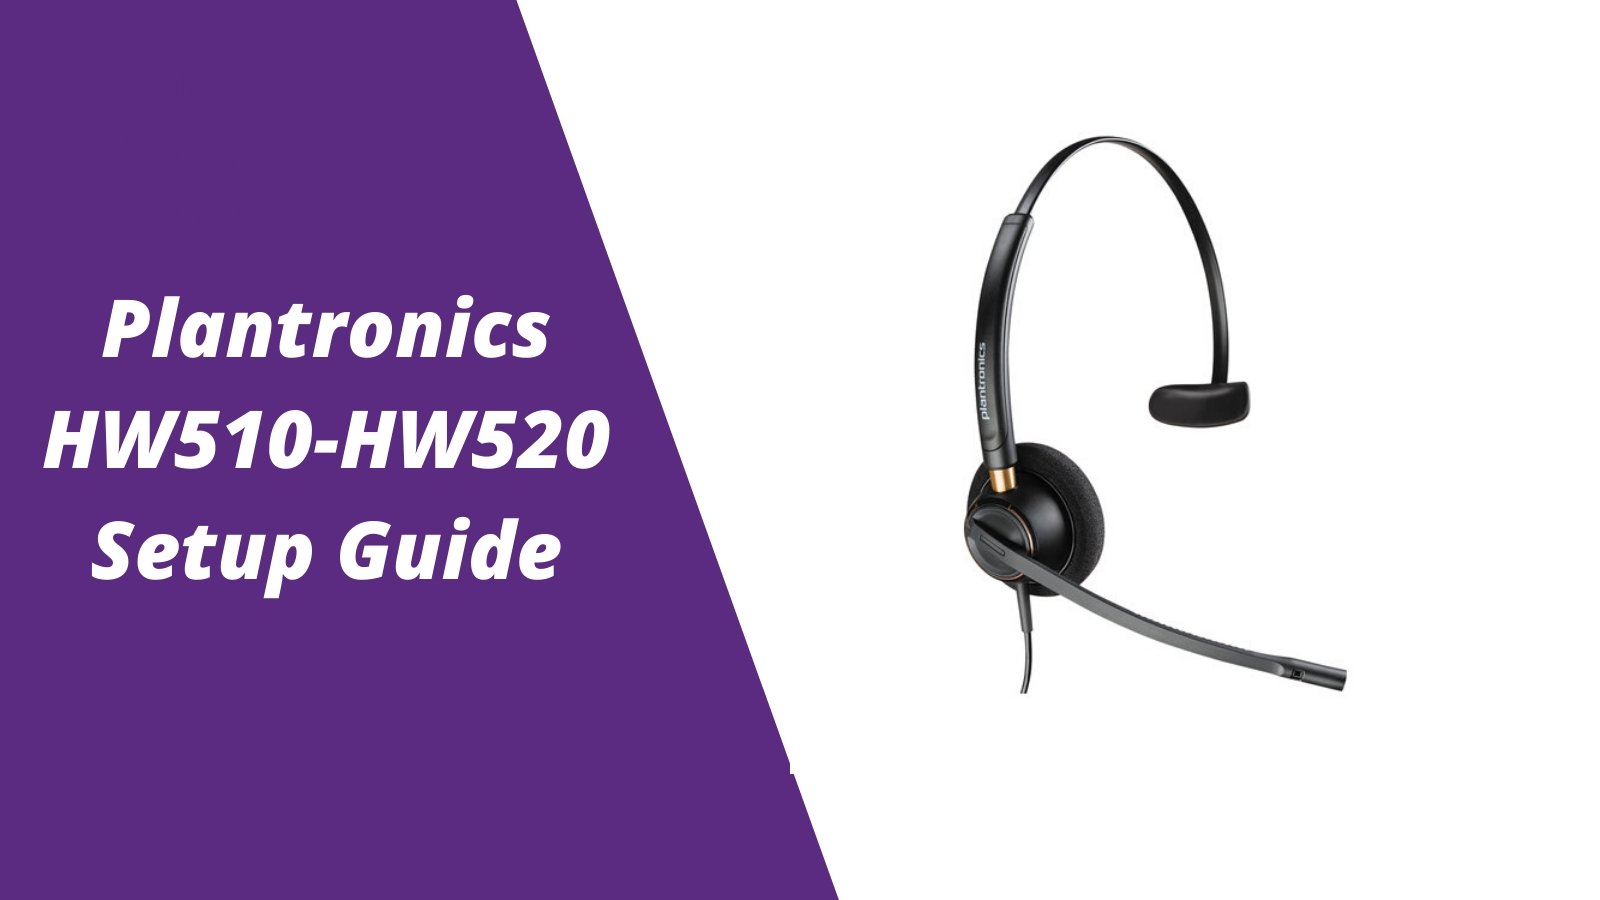
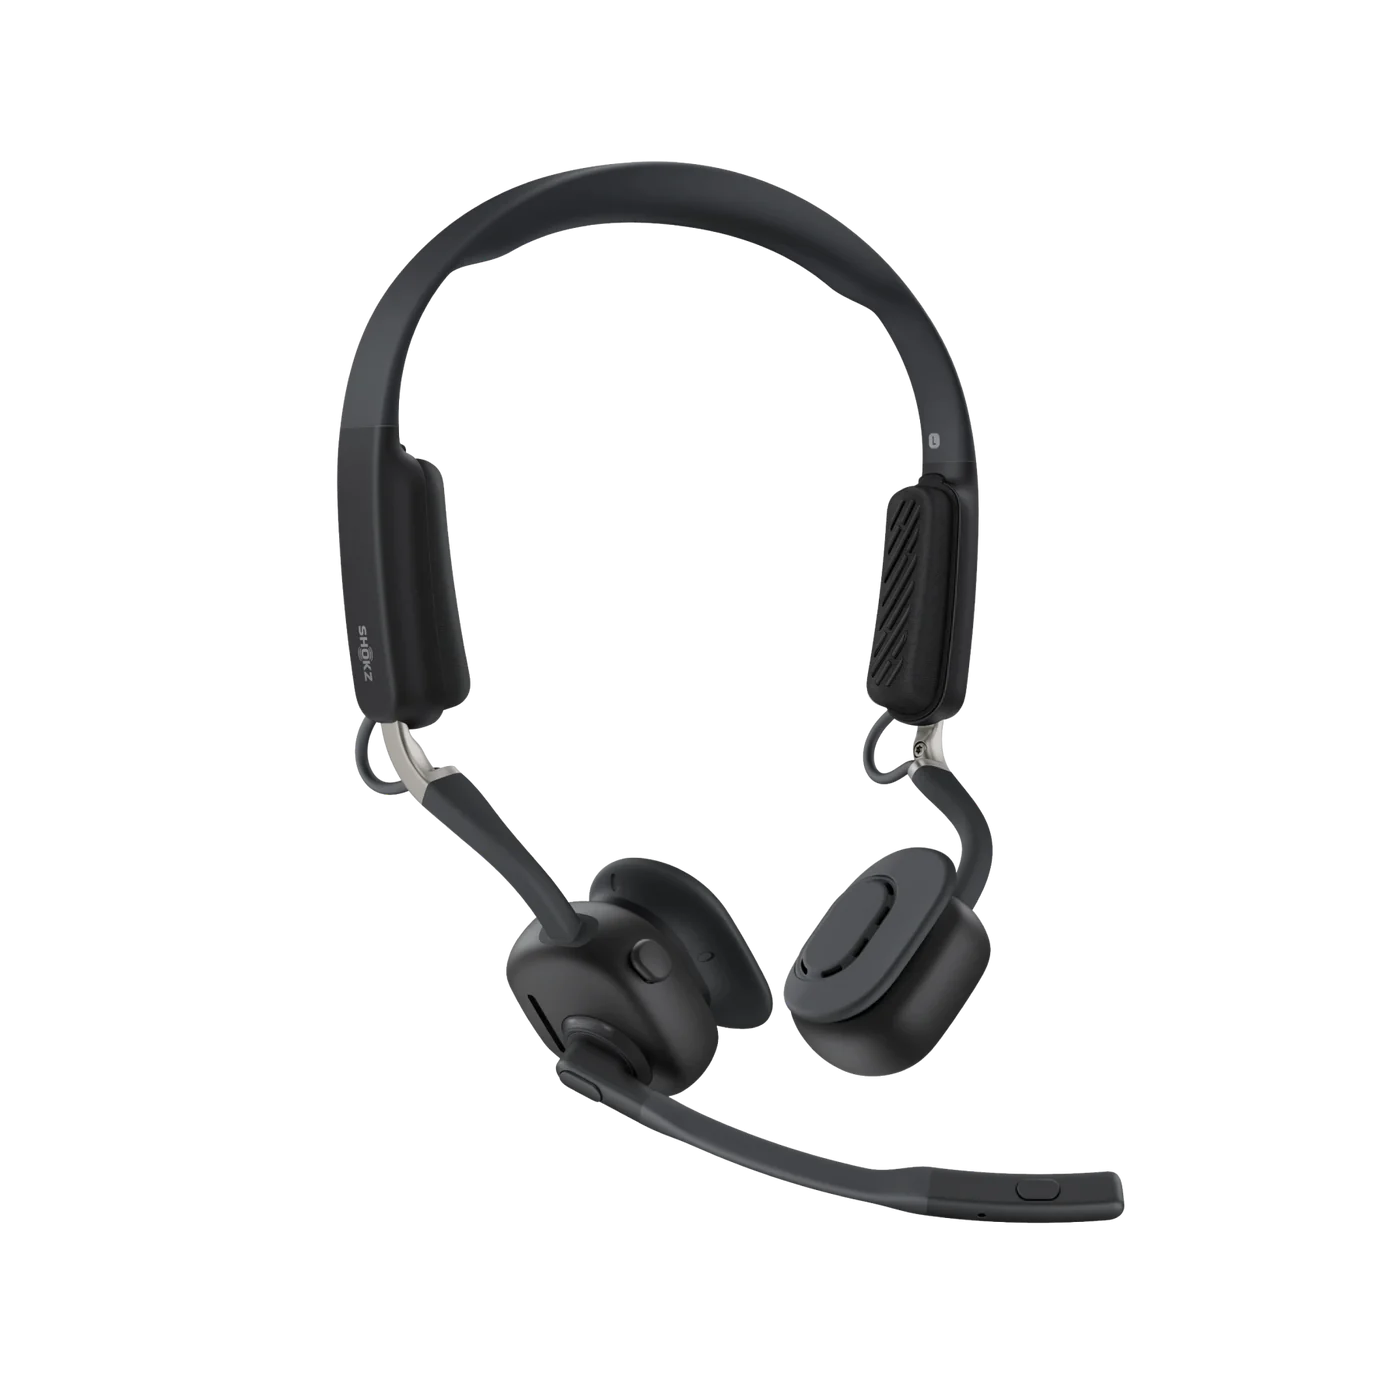
- The Plantronics HW510 and HW520 headsets are worn over the head and cover one ear (HW510) or two ears (HW520).
- The HW510 headset can be worn over the right ear or left ear.
- Both headset models allow you to position the microphone on your right or left side.
- The HW510 and HW520 come with a 2-year warranty.
KEY HEADSET FEATURES
- Adjusting the microphone volume (how loud your callers hear you)
- Adjusting the hearing volume when no amplifier base is being used (how loud you hear your callers)
- How to mute the microphone (this allows you to hear your callers, but they cannot hear you). Used if you want to have a private side conversation, cough, snack etc).
- Proper microphone positioning. Position the microphone two fingers width from the corner of your mouth for optimum sound quality.
- Adjusting the headband so it fits you comfortably.
ADJUSTING YOUR AMPLIFIER BASE
If your telephone doesn’t have a headset port, you’ll need a headset amplifier in order to connect your HW510 or HW520 wired headset to your phone. The adjustments explained below will help you to better know the amplifier and how to make adjustments.
- Adjusting your hearing volume when using an amplifier base (how loud you hear your callers)
- How to mute (turn off) your headset microphone
- How to switch between using your headset and using your handset.
- How to increase or decrease your microphone volume (how loud your callers hear you).
- Locating and making adjustments for phone compatibility.
- Replacing the two AA batteries in your amplifier base.
- Amplifier ports / connections explained
SETUP FOR PHONE WITHOUT A HEADSET PORT
The first thing you need to determine is whether your telephone has a headset port or not. In this section, it assumes that your phone does not have one.
If you want to use your Plantronics HW510 or HW520 headset on a phone without a headset port, you’ll need a headset amplifier/adapter. Below are the step-by-step instructions on how to set up your headset if you currently have an amplifier. If you do not have an amplifier/adapter, contact us so we can provide you with the needed information.
STEP 1. Make sure that the amplifier base has fresh batteries installed. Amplifiers typically use double A batteries, but AC Power Adapters are generally available as well.
STEP 2. Unplug the telephone HANDSET coil cord from the phone.
STEP 3. Plug the clear plastic clip on the end of the handset coil cord into the headset amplifier base. Look for a port that has an icon of a telephone handset (not phone). Make sure that when you plug this cord in you hear it click.
STEP 4. Locate the telephone interface cable that came with the amplifier base and make sure it’s plugged into the amplifier port that has an icon of a phone (not handset). Make sure it clicks into place.
STEP 5. Plug the other end of the telephone interface cable into the handset port on the telephone. Again, make sure it clicks when you plug it in.
STEP 6. Find the black, flat connector at the end of the HW510 or HW520 headset cord. This is the Quick Disconnect (QD) connector. Plug it into the QD at the end of the coil cord found on the amplifier base. It only connects one way so you can’t attach it incorrectly. If the coil cord isn’t attached to your amplifier base, plug the end of the amplifier coil cord that has a clear plastic clip into the port on the amplifier that has an icon of a headset.
Your headset is now setup and ready to use.
USING YOUR HEADSET
Now that your headset is setup, here are some step-by-step instructions on how to use your new Plantronics HW510 or HW520 headset to make a phone call.
STEP 1. Put your headset on and plug the Quick Disconnect (QD) into the QD at the end of the amplifier coil cord. Make sure it’s connected securely. Check to see that the end of the microphone is two fingers width from the corner of your mouth.
STEP 2. Make sure that the headset button on the amplifier is turned on
STEP 3. Take the telephone handset receiver out of the cradle and place it on the desk.
STEP 4. You should hear a dial tone in your headset earpiece.
STEP 5. Dial your phone call and have a conversation as normal.
STEP 6. When done with your phone call, take the handset receiver and hang it up.
NOTE: 1. To make multiple calls, return to step 3 through 6.
- To use the handset (instead of the headset), deactivate the headset button on the amplifier base and then pick up the telephone handset. This can even be done while on a headset call.
SETUP FOR PHONE WITH A HEADSET PORT
If your phone has a headset port, please follow these instructions to setup your Plantronics HW510 or HW520 wired headset. This setup requires the use of a lower control cable, sometimes referred to as a direct connect cable and eliminates the need for an amplifier/adapter base. This cable has a Quick Disconnect (QD) on one end and a clear plastic modular connector on the other.
STEP 1. Put on your headset and make sure that the microphone is two fingers width from the corner of your mouth.
STEP 2. Locate the lower control cable / direct connect cable
STEP 3. Plug the Quick Disconnect from your headset to the Quick Disconnect connector on the lower control cable.
STEP 4. Locate the headset port on your telephone.
STEP 5. Plug the clear plastic modular clip on the end of the lower control cable into the telephone headset port.
At this point, your Plantronics HW510 or HW520 wired headset is setup and ready to use.
USING YOUR HEADSET
STEP 1. Put on your headset and make sure that the microphone is two fingers width from the corner of your mouth.
STEP 2. Leave the telephone handset receiver in the cradle (do not remove the handset).
STEP 3. Locate the headset button on your telephone and press it once.
STEP 4. You should hear a dial tone in your headset earpiece at this time.
STEP 5. Dial your phone call as normal and have a conversation.
STEP 6. When finished with your call, press the headset button again to end your call.
NOTE: To make multiple calls, simply return to step 3 and proceed to step 6.
TROUBLESHOOTING
Now that your headset is setup, does everything work correctly and sound great? If not, refer to the suggestions below to help troubleshoot.
NO DIAL TONE
After making a test call, did you NOT hear a dial tone? If not, try the troubleshooting ideas below to help resolve this.
- Double check to make sure that you have everything connected as per the setup instructions.
- Make sure that ALL cords are attached or connected fully.
- If using an amplifier / adapter base, locate the compatibility switch and while on a call, move it to other positions until you hear a dial tone. As a precaution, keep the headset several inches away from your ear in case you encounter some unexpected feedback.
STATIC
When making your test call, you may hear static. If you do, try the troubleshooting tips below.
- 1. If you’re using an amplifier / adapter base, locate the compatibility switch and while on a call, move it to other settings. As a precaution, make sure to keep the headset several inches away from your ear in case you encounter any unexpected feedback.
- 2. Replace the double A batteries in the amplifier/adapter base with fresh ones.
3.If you’re NOT using an amplifier base, double check all your connections to make sure everything is fully plugged in.
4.Other possible causes for static could include:
- A bad port on your telephone
- A bad direct connect / lower control cable (defective cable)
- A bad amplifier/adapter base (defective base)
- A bad headset (defective headset)
One simple way to determine if you have any of the conditions noted in a through d is to replace the component (lower cord, amplifier or headset), to see if the static disappears. In situation a, the best way to test this is to replace the headset and lower control cable/ amplifier base to see if the problem disappears. If so, you have a headset related problem. If not, you may have a bad port on your telephone.
ECHO
If you hear echo when on a call, the steps below should help to resolve this condition.
- Locate the volume adjustment on your TELEPHONE. Set this to about the midpoint (half way between high and low).
- On the amplifier base, locate the adjustment that has an icon of a microphone next to it. Slowly lower the microphone volume. This assumes you’re using an amplifier base.
- 3. Make sure that the headset microphone tip is approximately two fingers width from the corner of your mouth. Having the microphone too close or too far from your mouth can cause sound quality issues.
If you still have echo or any other issue after making these adjustments, contact us for further support, free of charge.

