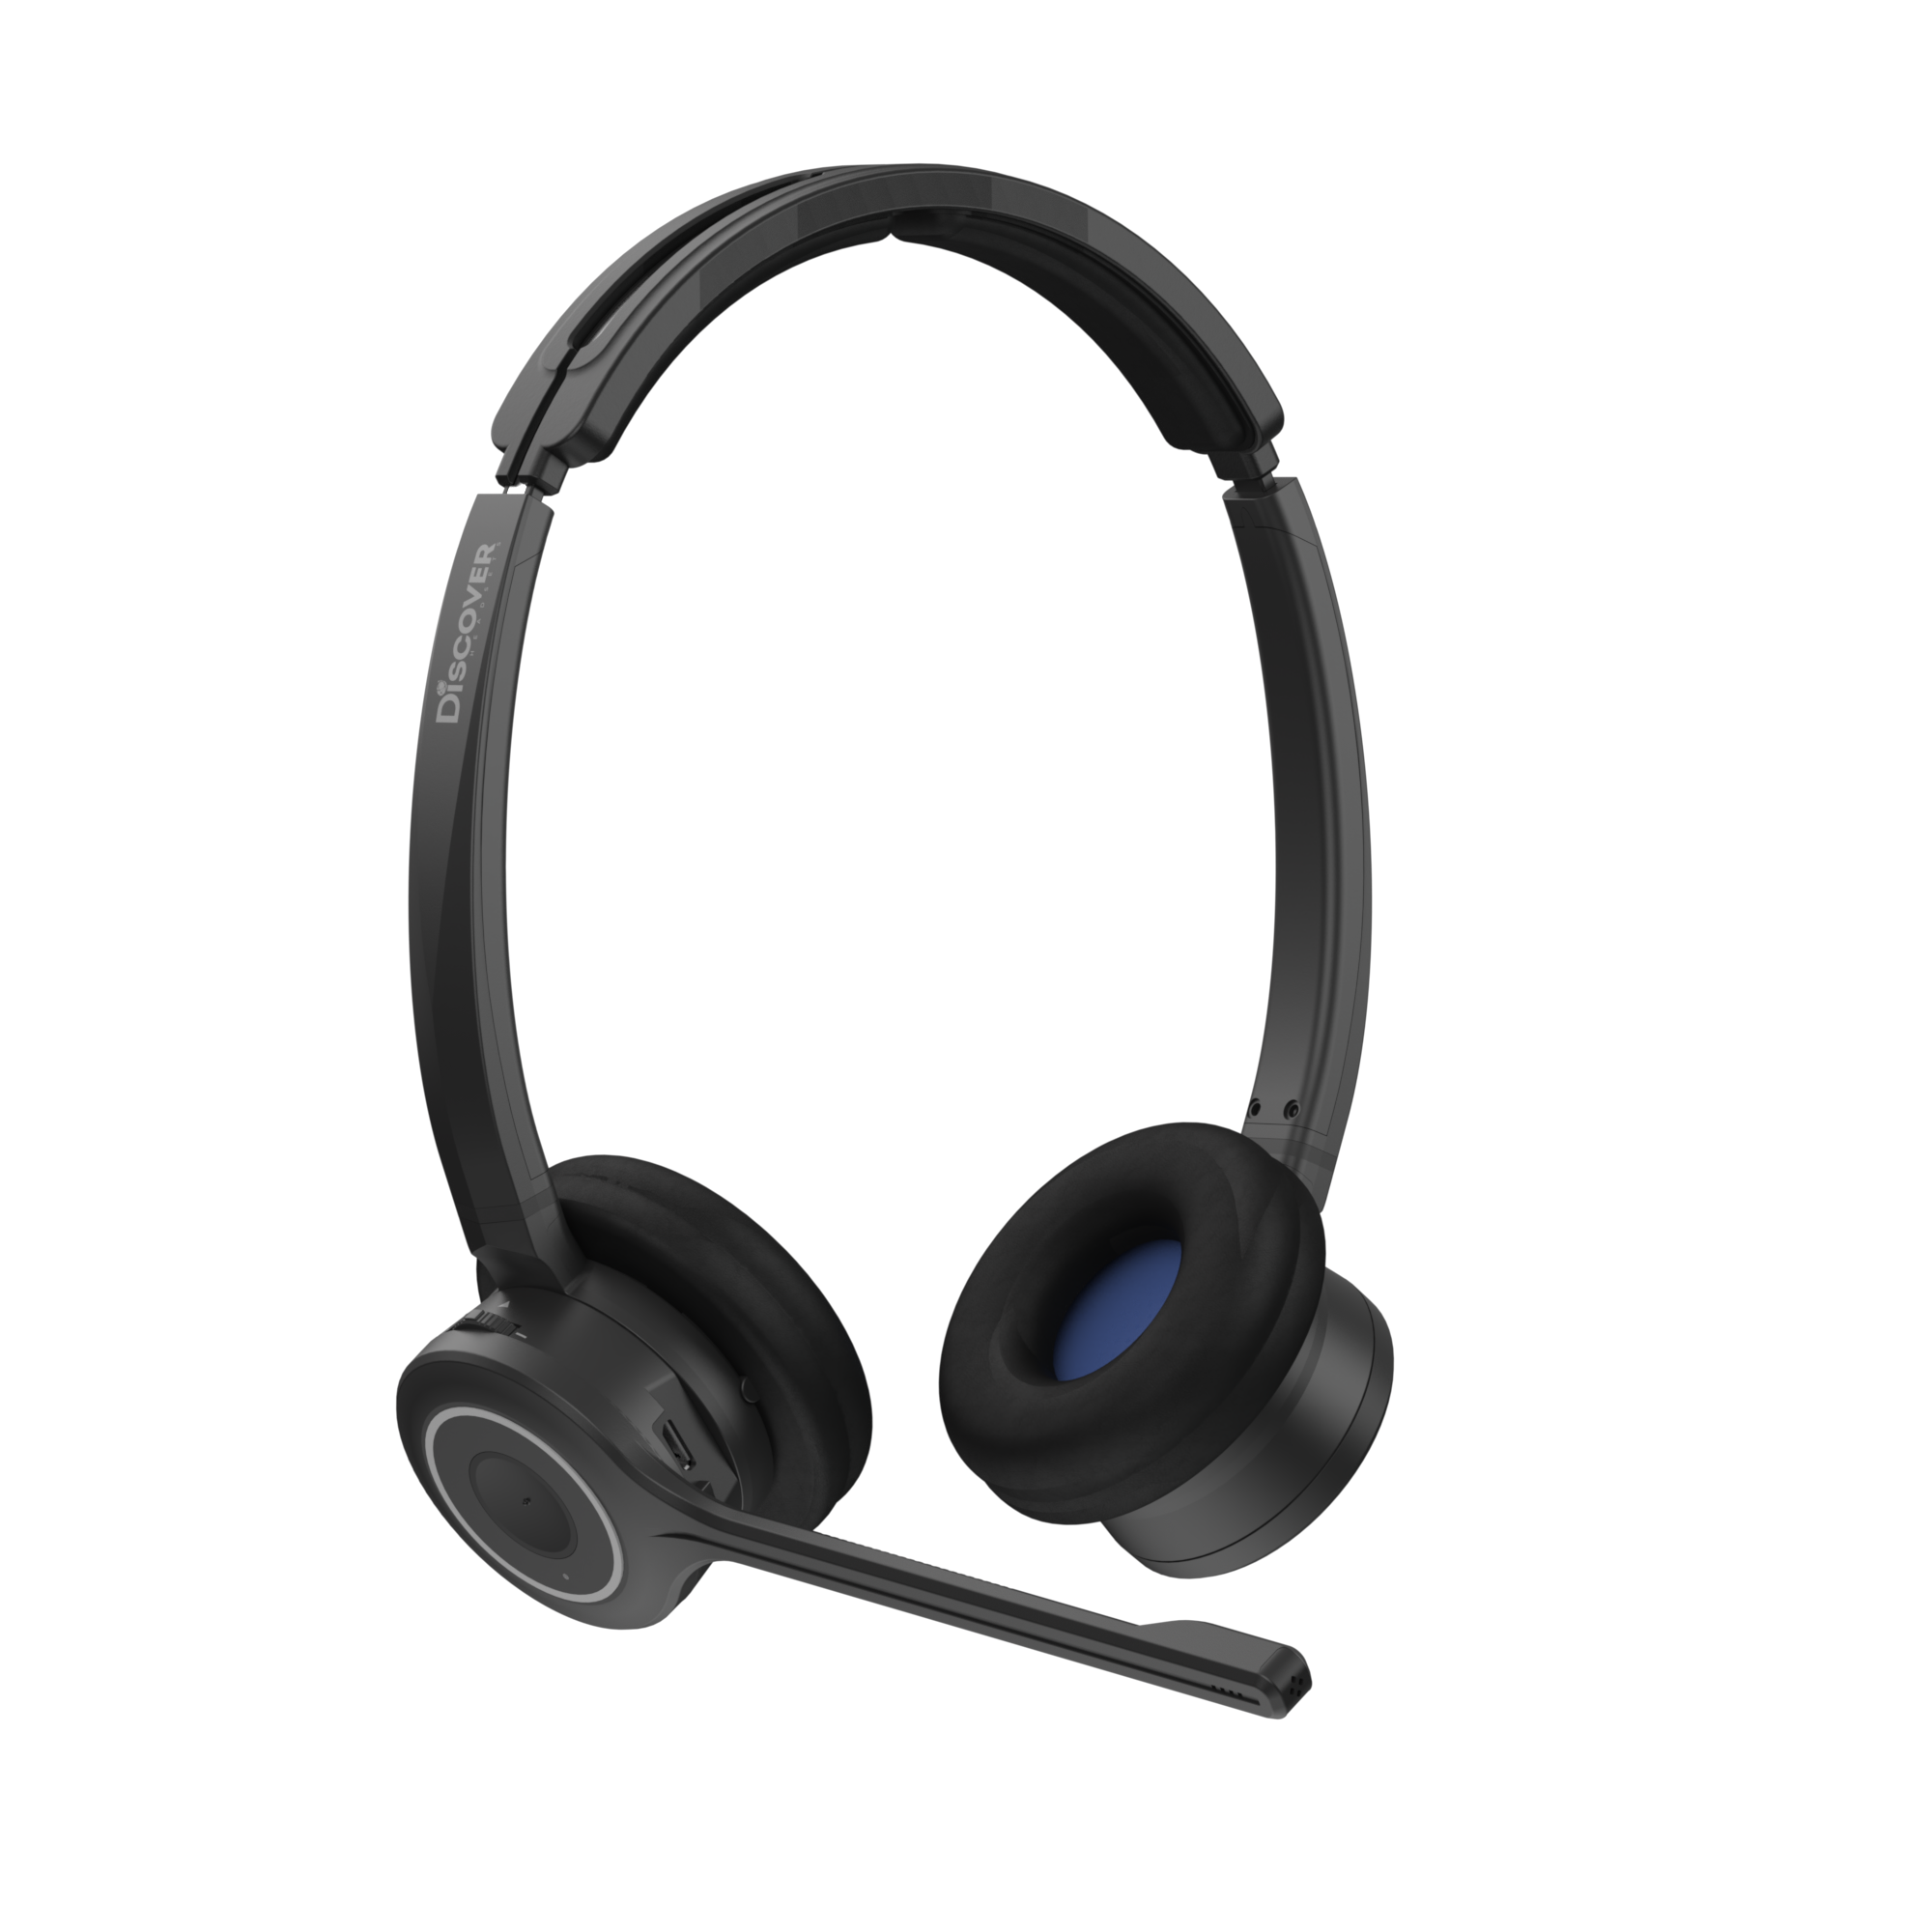
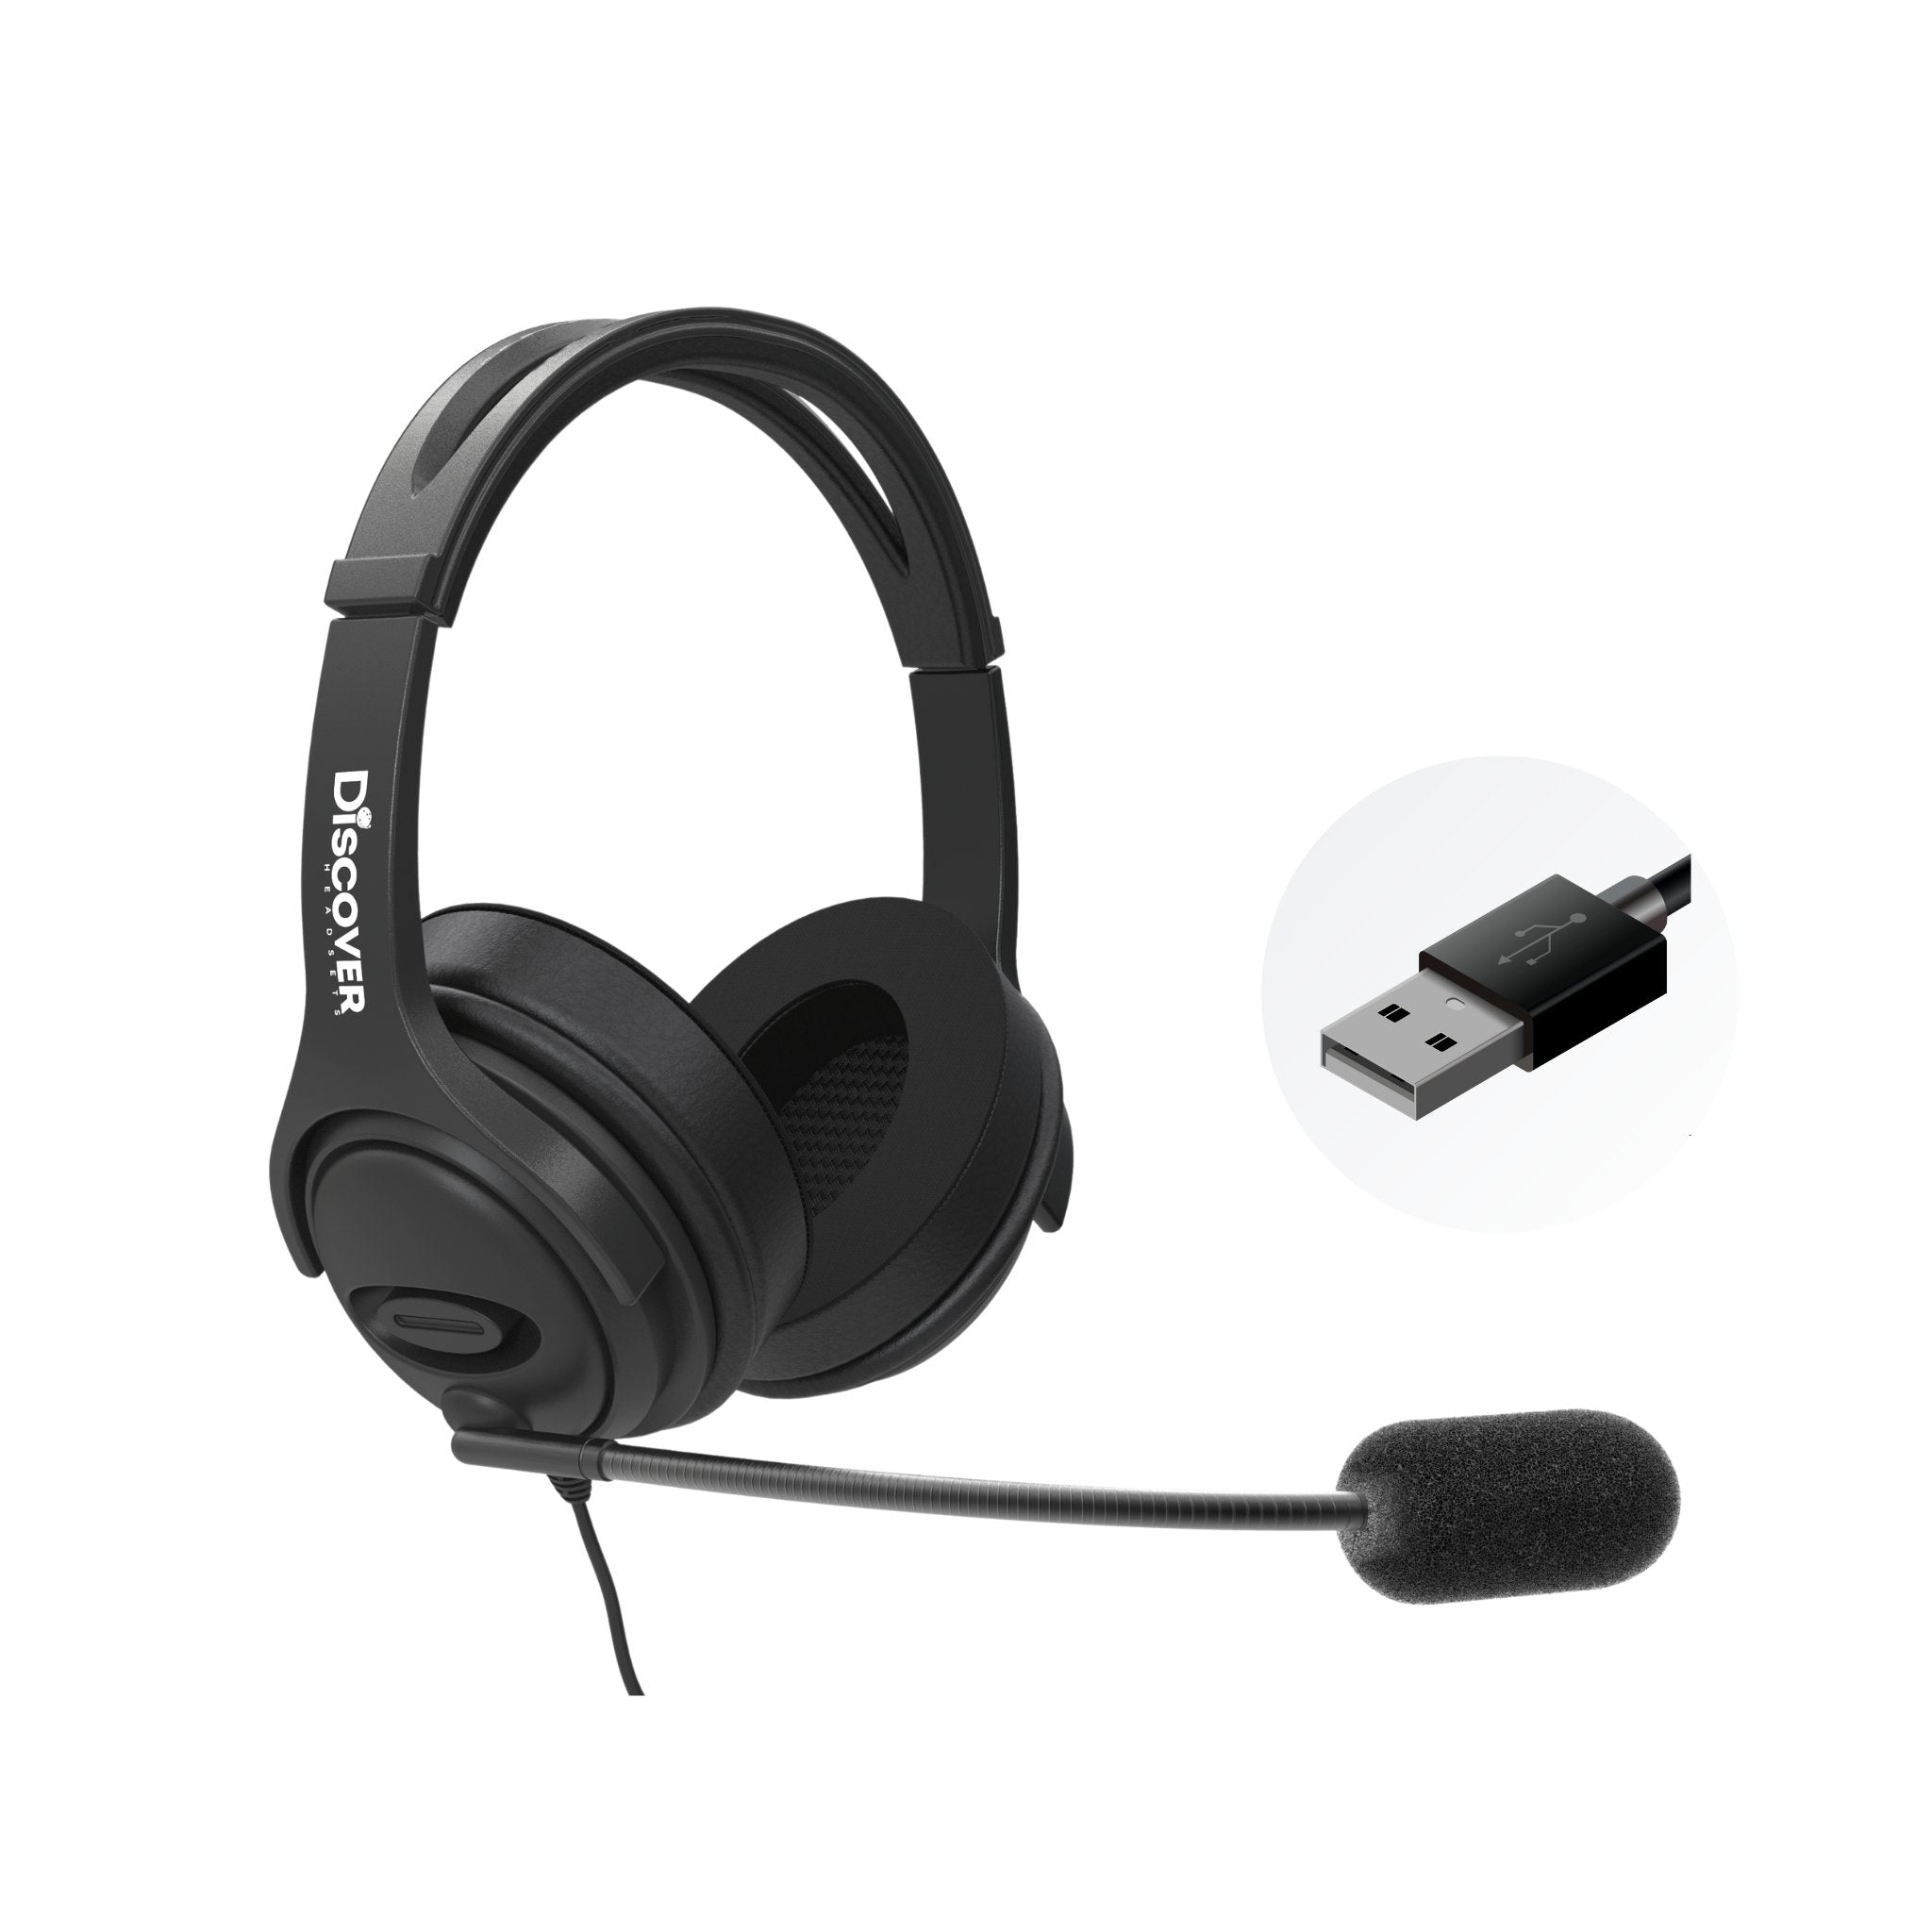
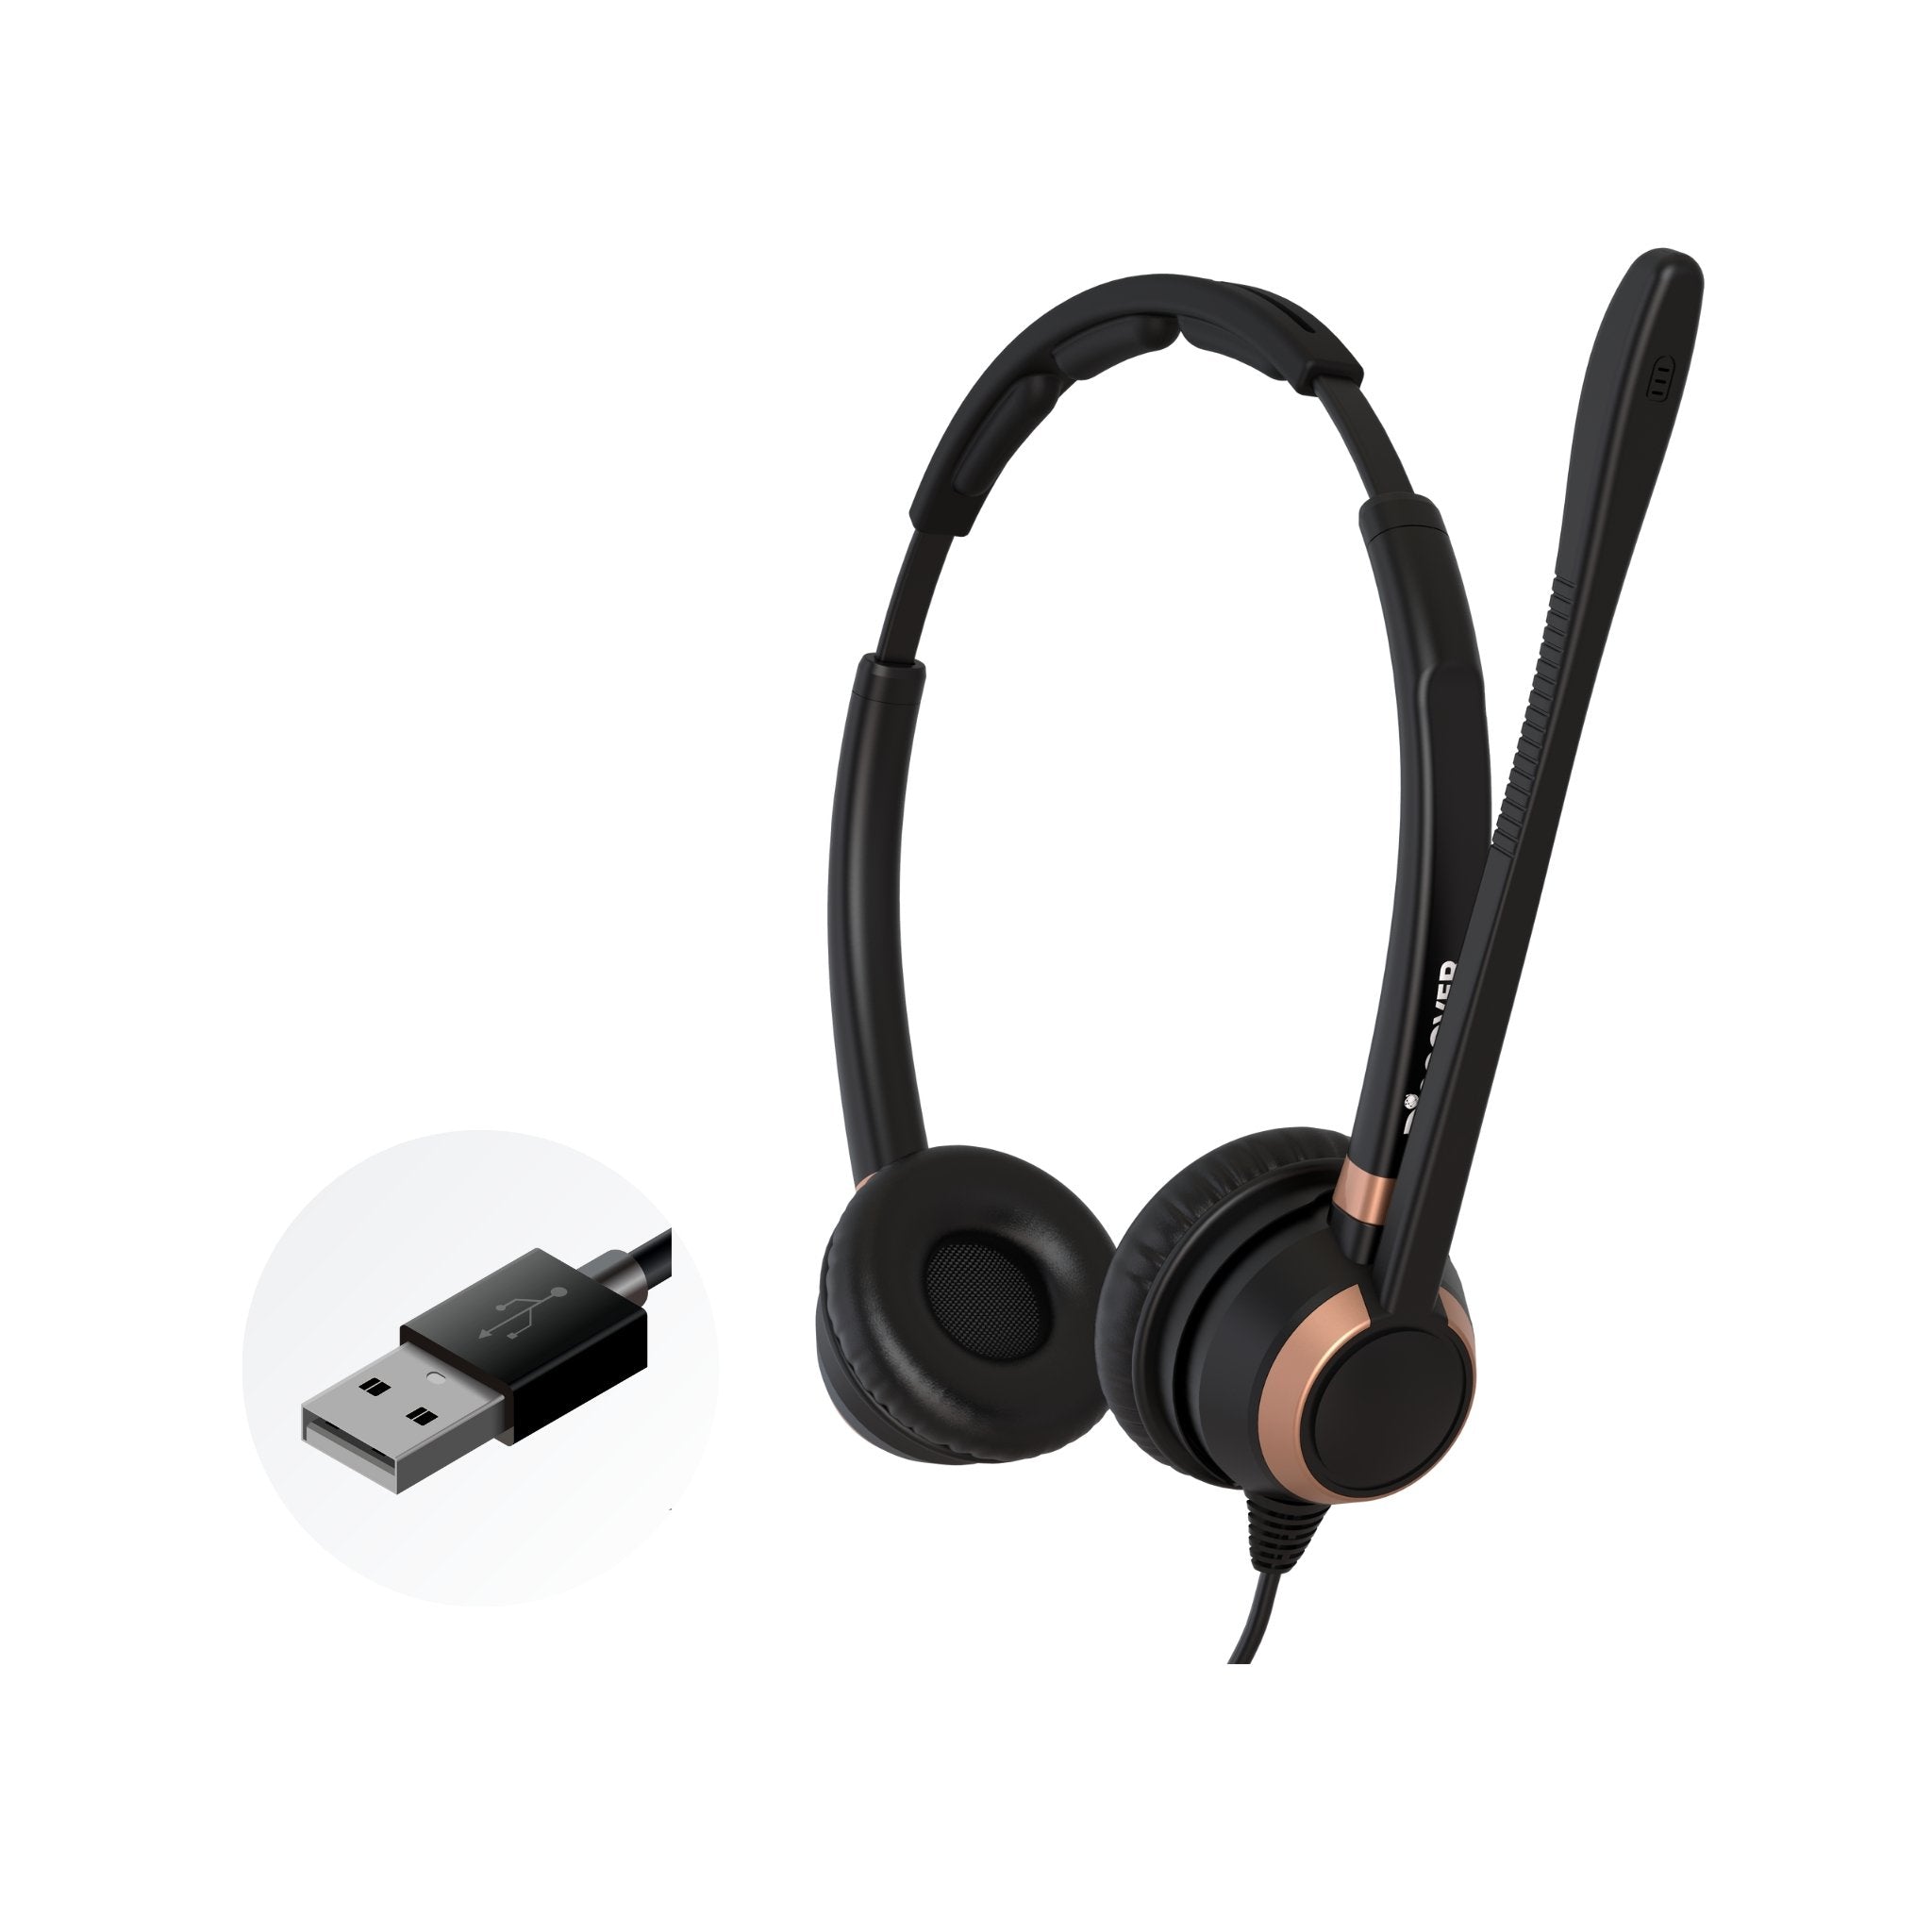
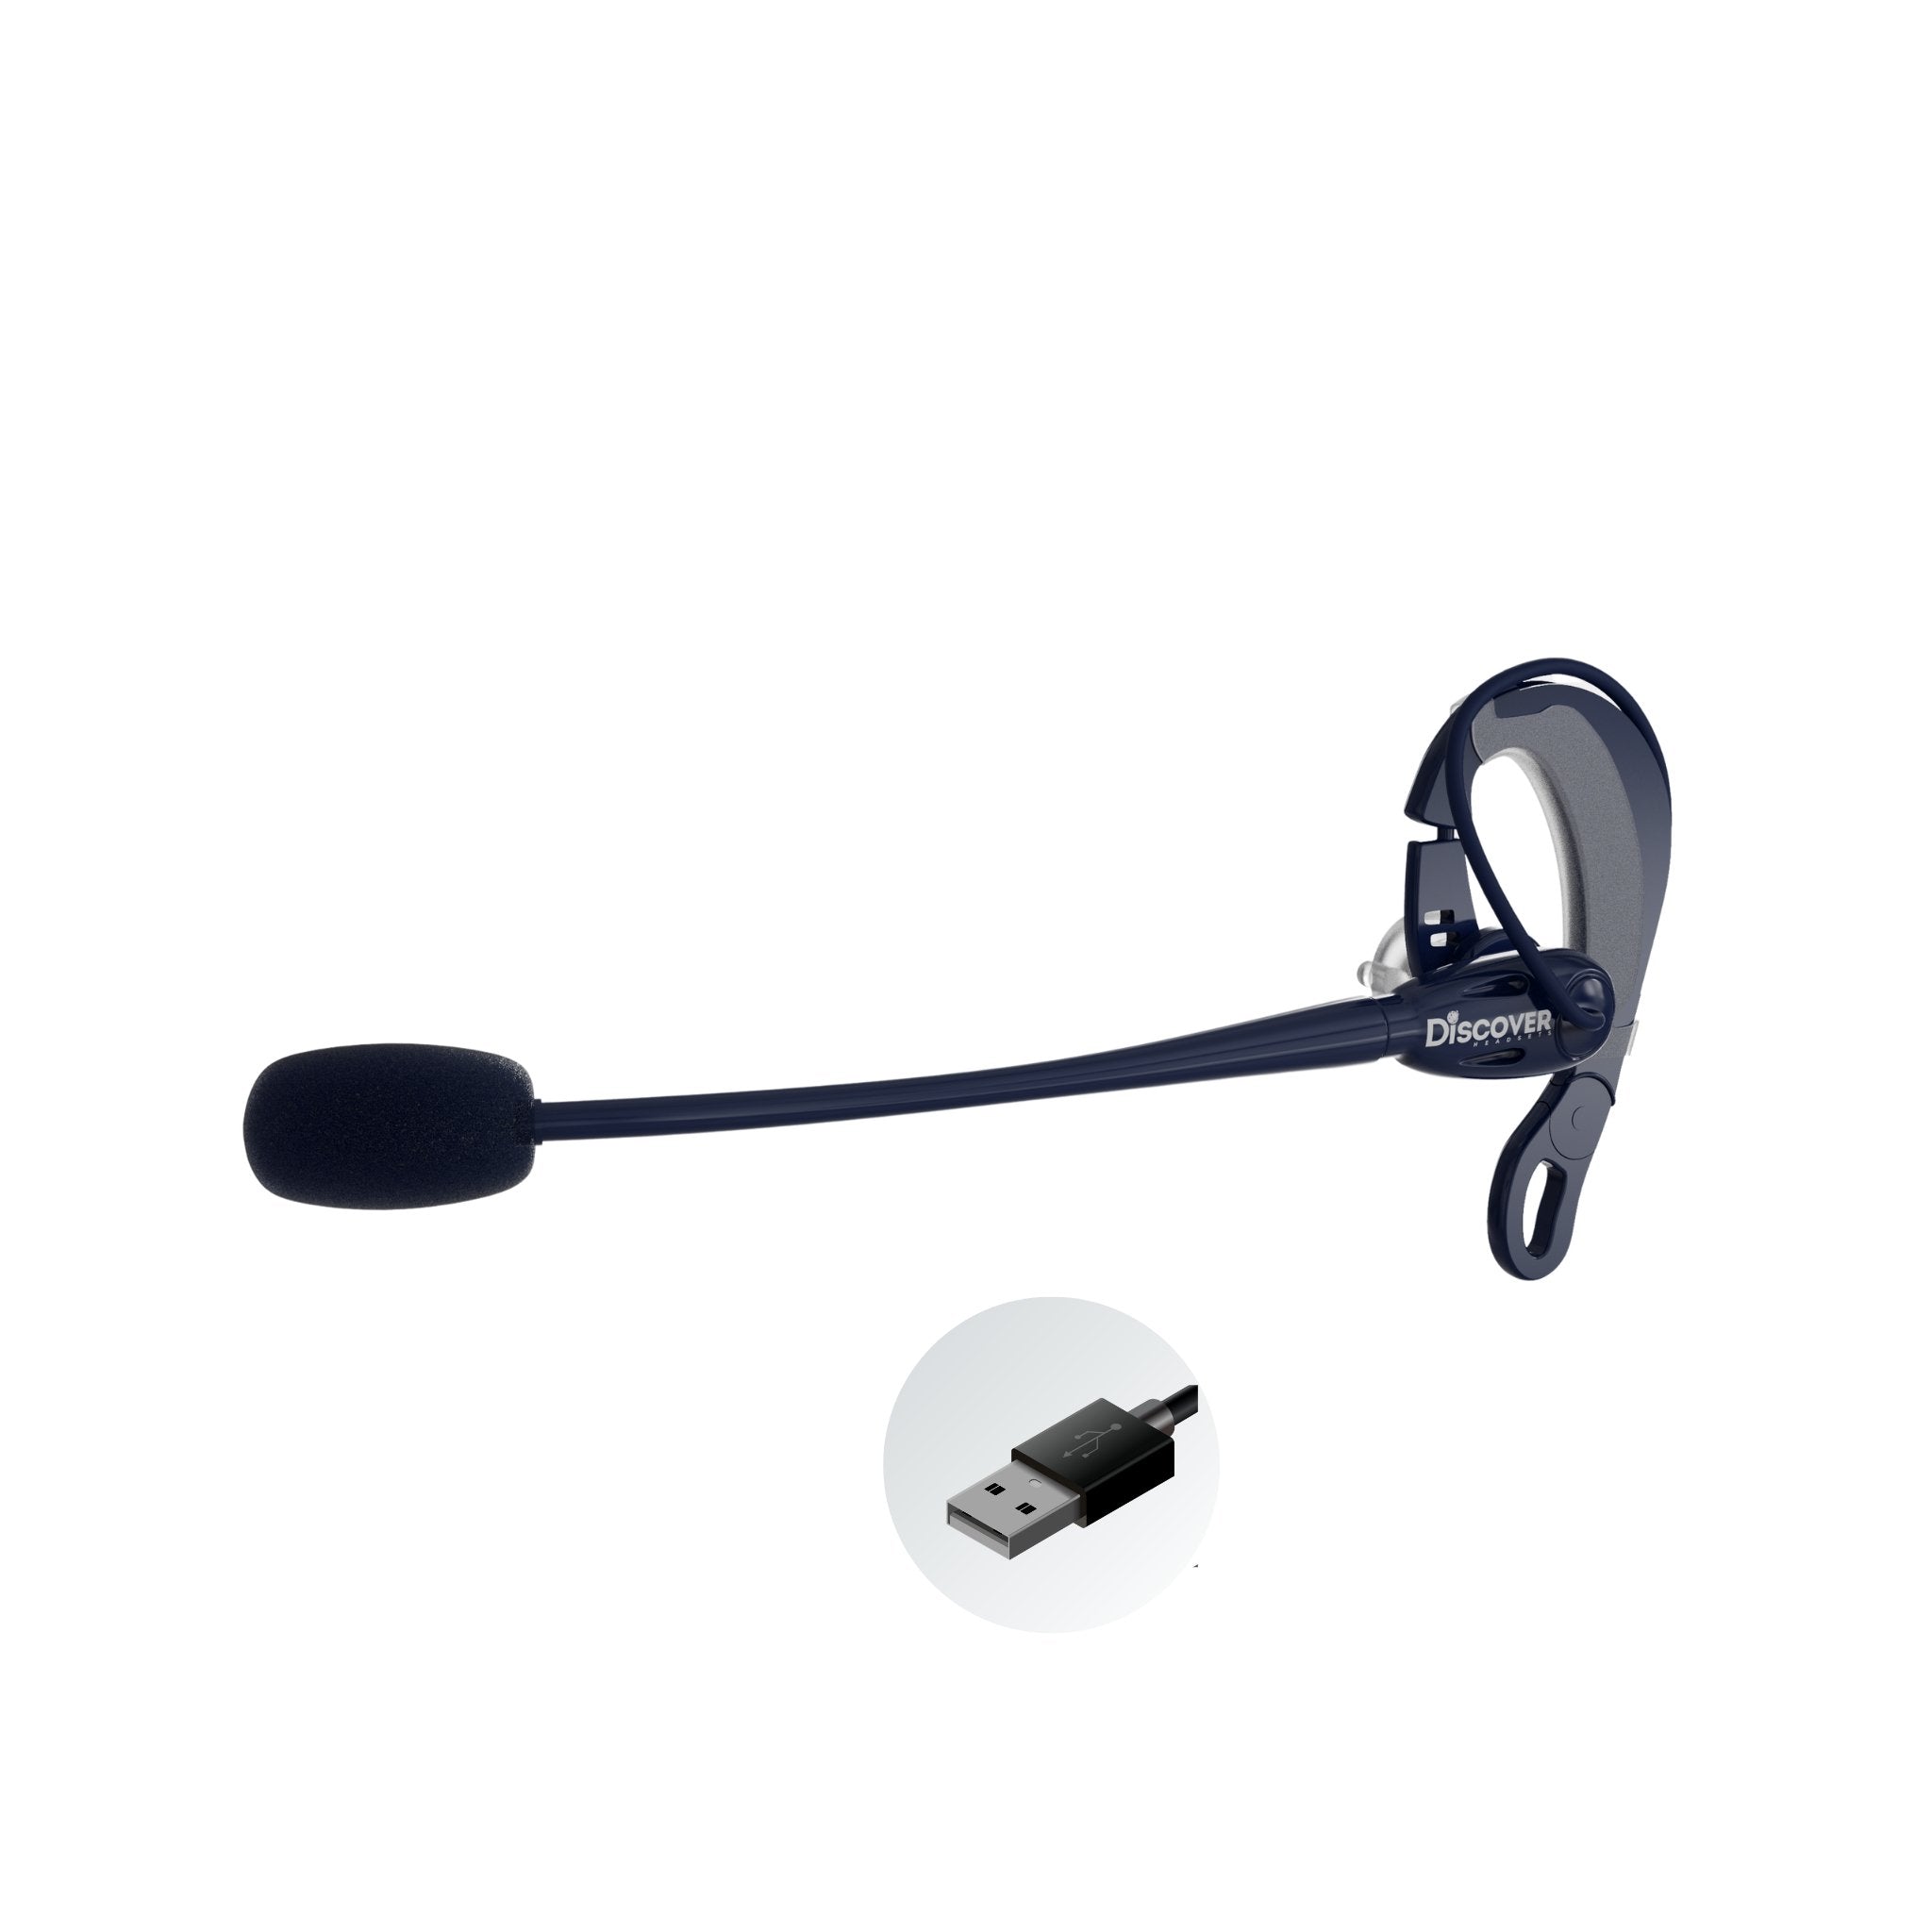
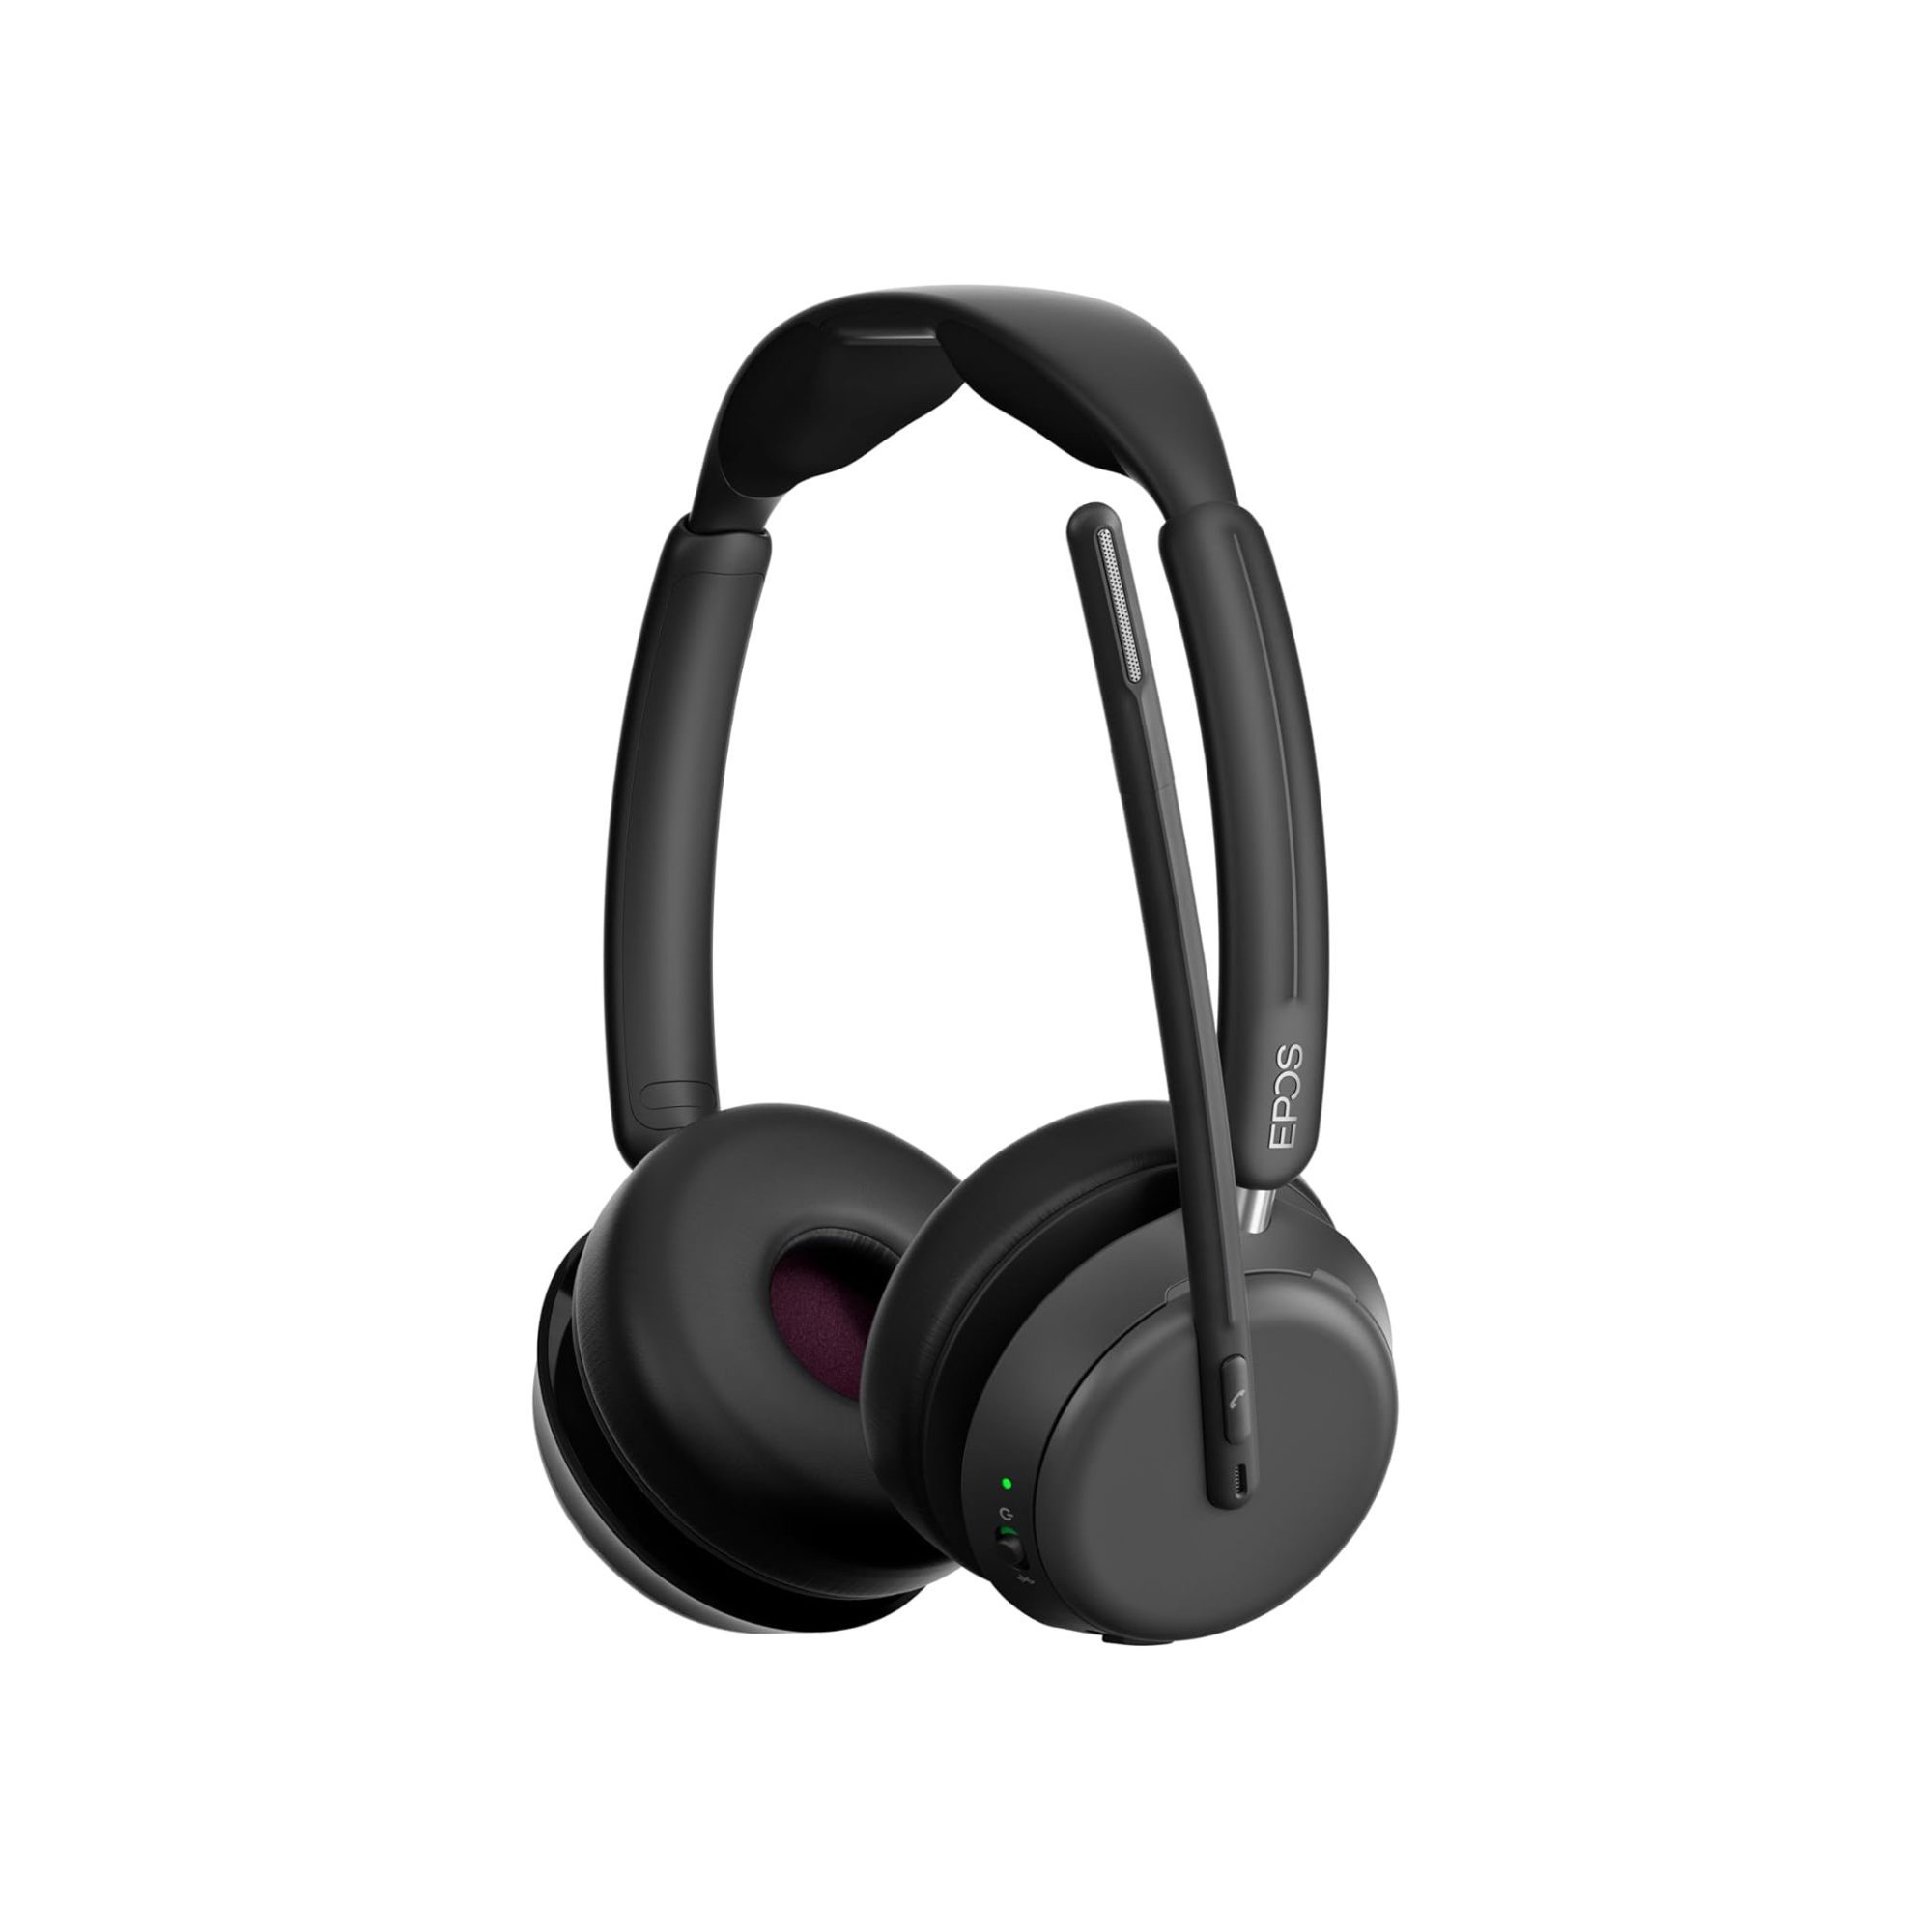
This blog should be helpful to a lot of people because most are unfamiliar with the settings on their Plantronics noise canceling headset, Plantronics phone headset, or their Plantronics USB wireless headset.
If you understand the settings on your headset, you’ll be able to make the adjustments needed to:
- Adjust your voice volume so your callers can hear you loud and clear - Adjust your hearing volume so you can hear your callers well
- Adjust your Plantronics wireless headset so it works properly with your phone or computer when you discover it’s not working at all.
- Adjust the wireless headset to get rid of static, echo or feedback
Unfortunately, when customers encounter problems with their Plantronics noise canceling headset, they often conclude that the headset is defective. This can result in a few actions.
- They contact the vendor to request a return
- They end up living with the compromised sound quality
- They retire the headset to a box in a storeroom.
- They throw it away
None of these options are necessary if you fully understand the various adjustments of your Plantronics wireless headset. Once you have this understanding, you’ll be able to adjust your headset like a pro.
Getting Started
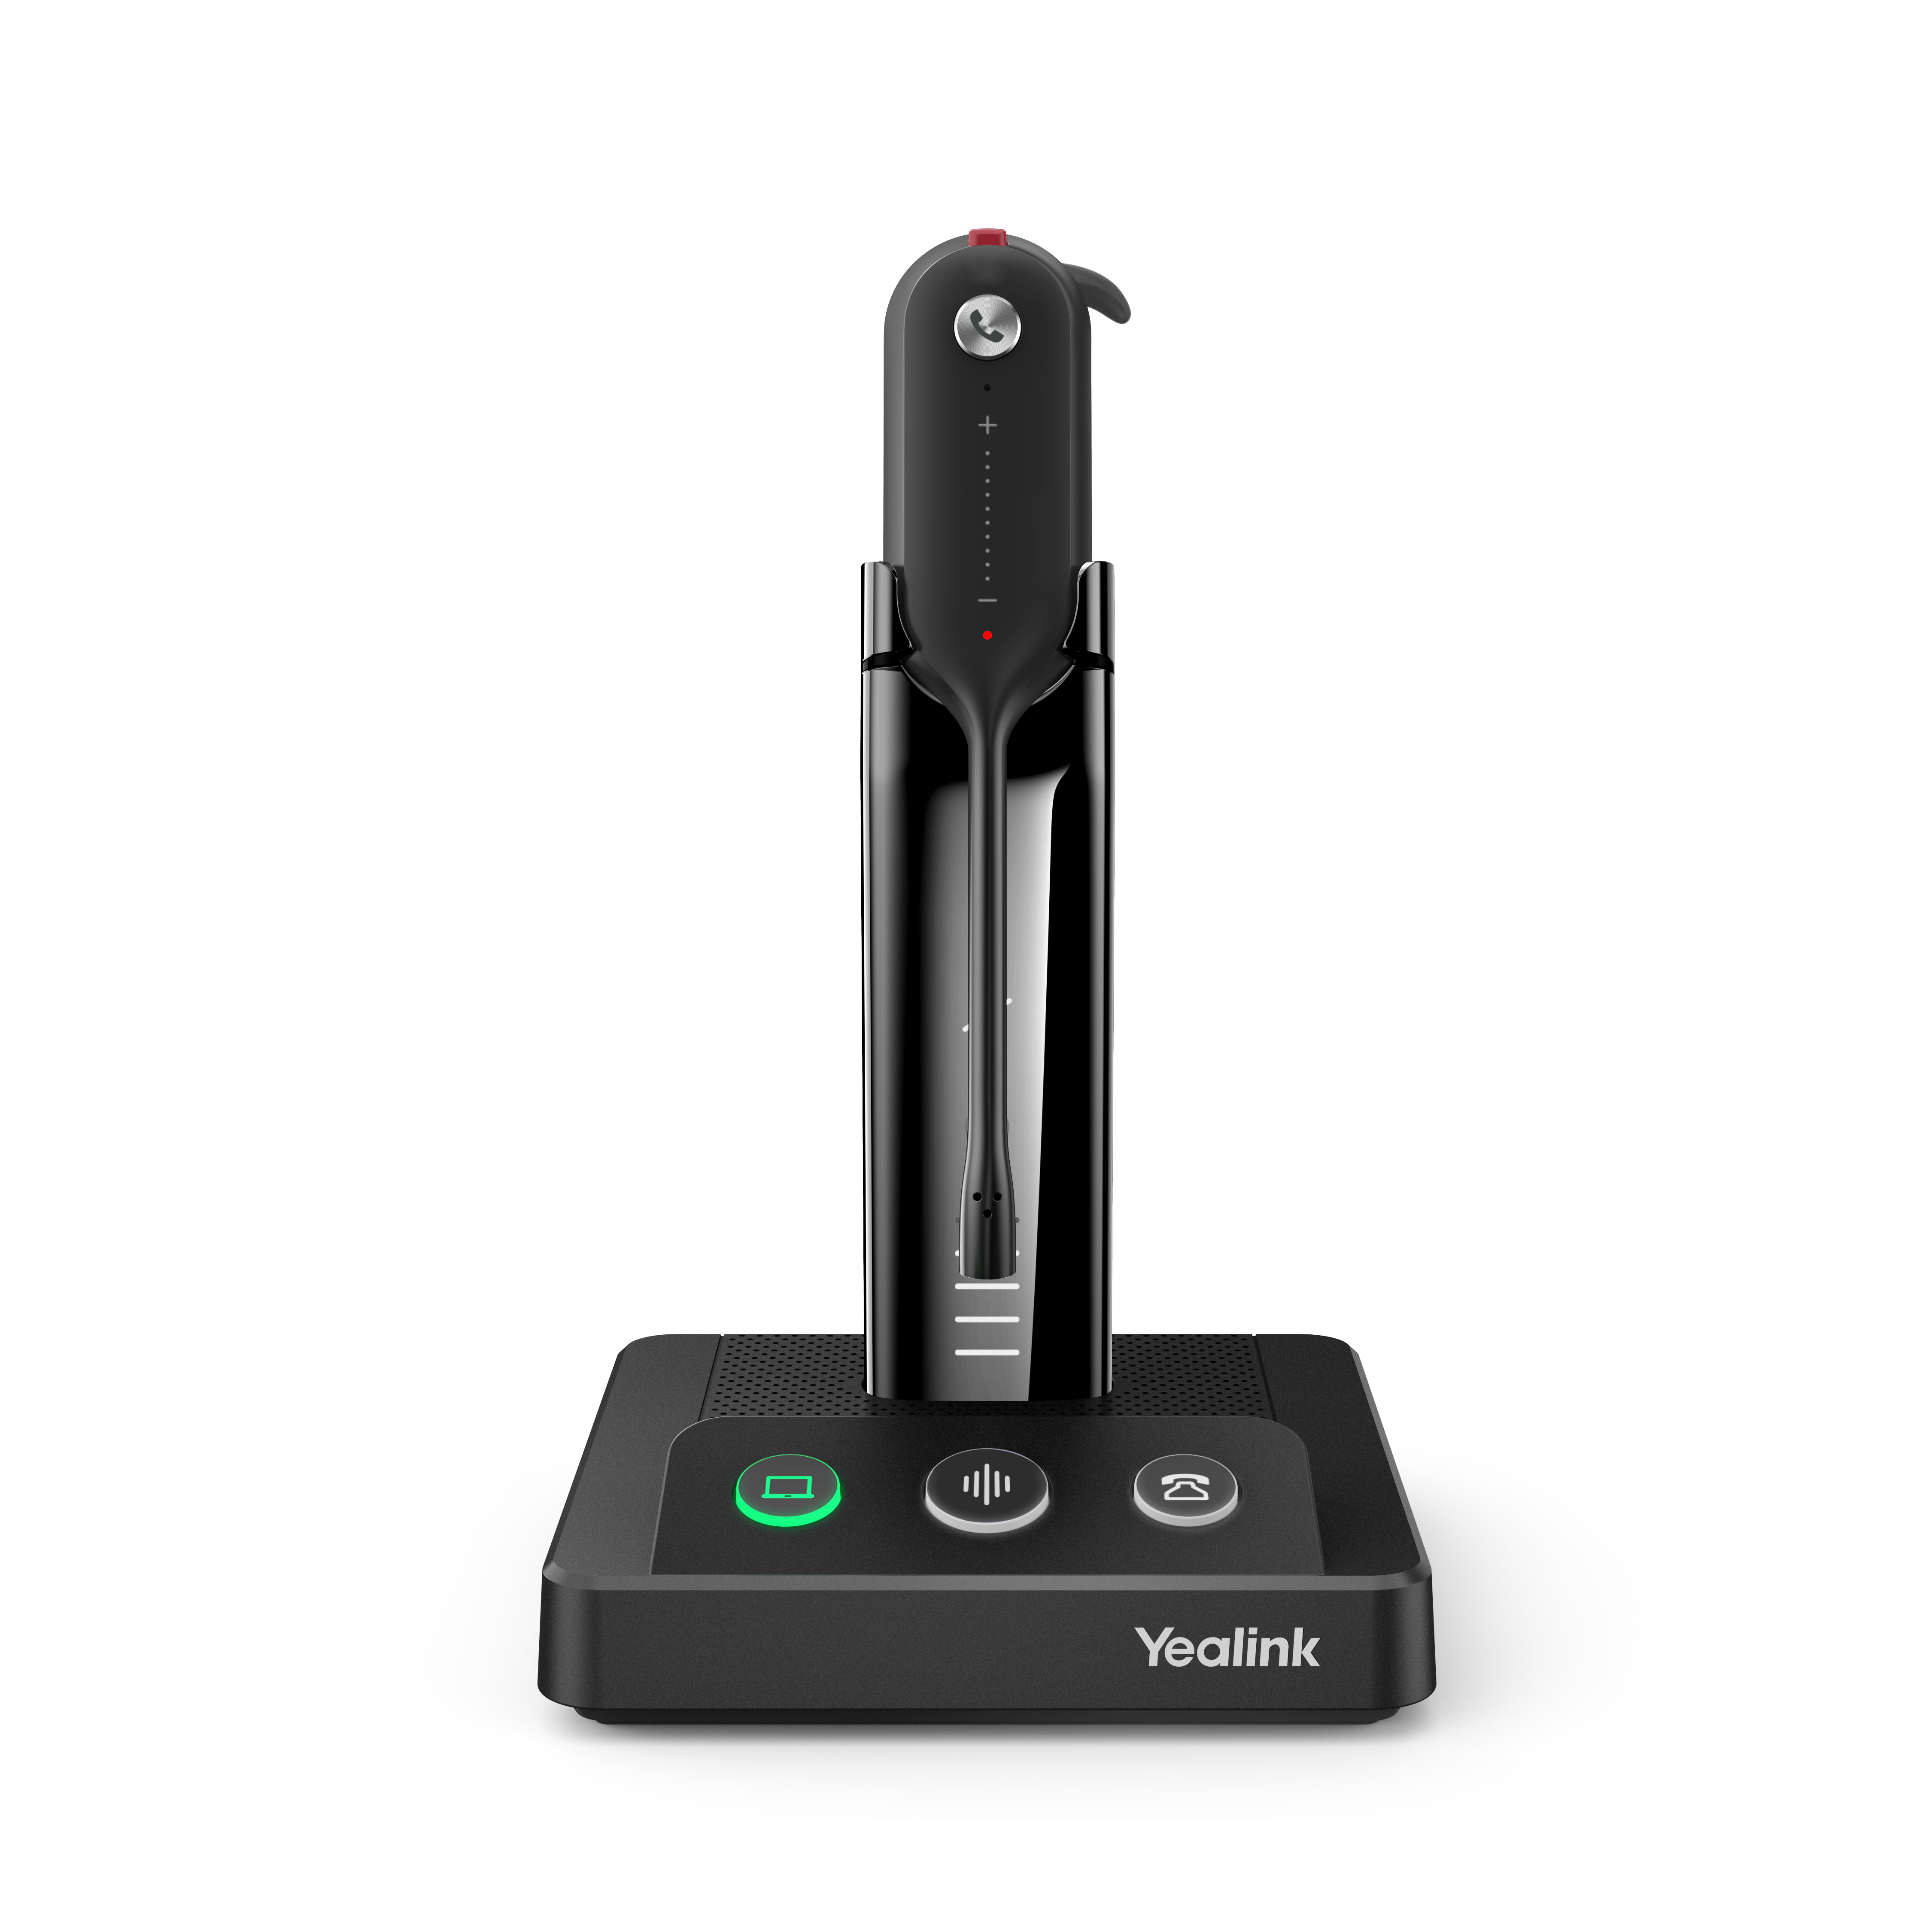
You must first understand that the adjustments are located in two places. There are adjustments on the Plantronics phone headset base, and there are adjustments on the Plantronics headset top (the part you wear).
There’s a second thing that you should know as well
And this is a safe generalization. If you have a Plantronics wireless headset, the information contained in this blog will most likely apply to any model you’re using.
The adjustments from model to model all follow a similar pattern. So, from that perspective, this will be generic information, versus
specific to your model information. But again, no matter what model of Plantronics wireless headset you’re using, this should be helpful in better knowing how to make the needed adjustments.
Let’s start with the adjustments on the wireless headset charging base.
On a base, you will find dials that will allow you to adjust these things:
- Your microphone volume - how loud your callers hear you
- Your speaker volume - how loud you hear your callers
- Wireless headset compatibility - adjusts for different devices
On a typical Plantronics wireless headset base, you’ll find these dials.The volume adjustments are commonly referenced with numbers. The higher the number, the higher the sound.
Though the Plantronics legacy products like the CS50 and CS55 have the volume noted in reverse order. But, those two models are the exception and not the rule.
If you want to raise or lower your voice volume, start by locating the dial array. The voice volume adjustment is commonly indicated by a small icon of a microphone.
To turn up the volume, adjust the setting to a higher number. To lower, adjust to a lower number. At this point, you’d want to be on a test call so you can get feedback from someone as to how loud and clear you sound.
If you want to make adjustments to how loud you hear, there’s a second adjustment in this same area. The hearing volume adjustment is typically referenced by an icon that looks like an audio speaker. As before, to make louder, adjust to a larger number and vice versa to lower. One note of caution here.
When adjusting your HEARING volume, make sure that your telephone or computer volume is set around 50%.
If you get the device volume up high and you’re increasing the volume on your Plantronics wireless, or Plantronics Bluetooth headset, you run the risk of getting distortion or feedback. So, make sure you have your phone or computer volume set about halfway.
The last adjustment you’ll find on the Plantronics noise cancelling headset base is for compatibility.
What’s compatibility you ask?
It’s the adjustment needed to make sure that your Plantronics wireless headset is set so that it communicates properly with what it’s being connected to.
For example, let’s say you’re using a Cisco IP phone. There is a specific setting on the Plantronics base if it’s connected to that phone.
Maybe your plan is to connect your Plantronics wireless headset to a computer for use with a Softphone. In this case, your adjustment would likely differ from the one for the Cisco IP phone.
Unlike the voice and speaker volume adjustments, the compatibility adjustment is represented in letters compared to numbers.
So you’d be moving the adjustment to a specific letter on the headset base that’s designed to allow the wireless headset to operate properly when connected. If you get this on the wrong letter, you could experience poor sound quality, or no sound at all.
The key takeaway from this is to know that there’s an adjustment designed specifically to make your Plantronics wireless headset, compatible with a wide variety of phones and computers.
You should consult your user guide to know which setting is right for your specific situation. Or, you can call us here at Headset Advisor and we’ll be glad to help, free of charge.
Now that you have your base all set, you should know what buttons are found on your headset, and what they do.
Here are the most common three settings you’ll find on a Plantronics noise canceling headset.
- Hearing volume
- Microphone mute .
- Call control
Hearing volume
Earlier, you learned that you can adjust the hearing volume on the wireless headset base. That’s true. However, on the headset top, you have the ability to make a fine tune adjustment.
Having quick access to hearing volume gives you an immediate ability to make an adjustment when away from your desk.
You might be on a call where someone is very quiet and you’re struggling to hear them well. If you’re away from your desk, you can’t adjust your hearing volume.
Instead, you make a quick adjustment on the headset earpiece and now you’re able to hear well.
This is a convenient way to make hearing volume adjustments on the fly.
Microphone mute
Being that we’re talking about Plantronics wireless headsets that allow you the freedom to move around your office, you might find the need to turn off your microphone.
Maybe you want to have a quick side conversation with a coworker. Or turn off your microphone while on a lengthy conference call.
Whatever the need, you have the ability to turn on and off the microphone on your Plantronics noise canceling headset whenever you like.
Call control. This is a button that allows you to take a phone call when away from your desk.
In order to take advantage of this feature, you need to purchase this functionality. This comes in the form of a handset lifter or hookswitch cable for desk phones for example.
Once installed to your Plantronics wireless headset base, you’ll be able to take phone calls up to the operating range of your wireless headset.
Once a call comes in, you hear a quiet, discreet beep tone in your headset earpiece. To take the call, simply press the call control button and the call is sent immediately to your Plantronics wireless headset.
When done, press the call control button a second time and the call is then terminated.
This is an extremely convenient feature to have, and the majority of Plantronics wireless headset users opt to get it.
You provide a higher level of customer service, while at the same time, avoid missed calls and wading your way through voice messages.
Summary
There you have it, the adjustments on Plantronics USB headsets, Plantronics noise canceling headsets, Plantronics wireless Bluetooth headsets explained.
Believe it or not, a simple adjustment can help you to avoid the need of having to replace a headset. This alone can save you a lot of money, especially if you’re responsible for a team of people.
I hope you find value in this content and that it helps you to better understand how to make these adjustments on your wireless headset.

