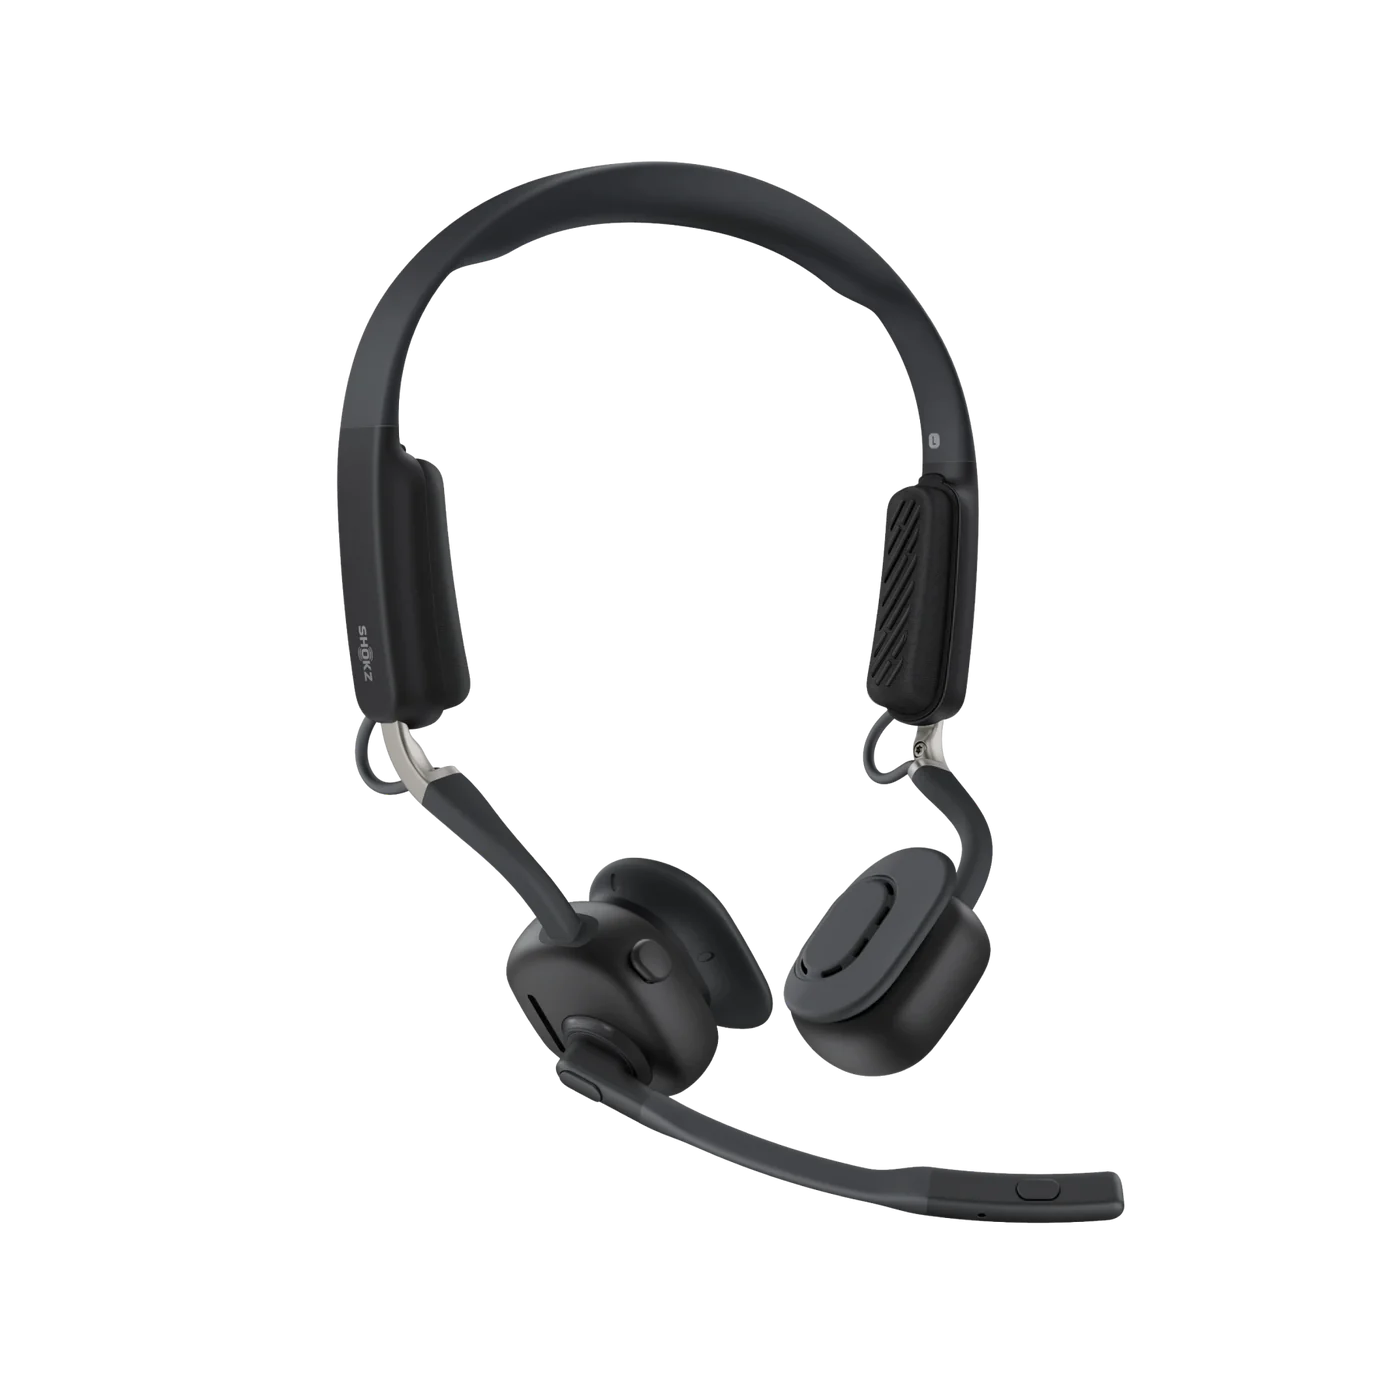
Noise on Teams calls or meetings can be very distracting and frustrating when you're trying to have a productive conversation. Teams noise suppression helps stop this problem so you have a better audio experience.
That being said, if you have Teams noise suppression at max, there's a trade off of reduced microphone quality. If you're in a quiet environment and the best microphone quality is important to you, then you'll want to turn noise suppression off.
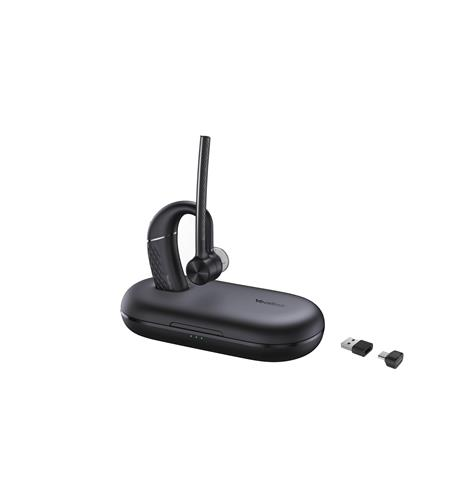
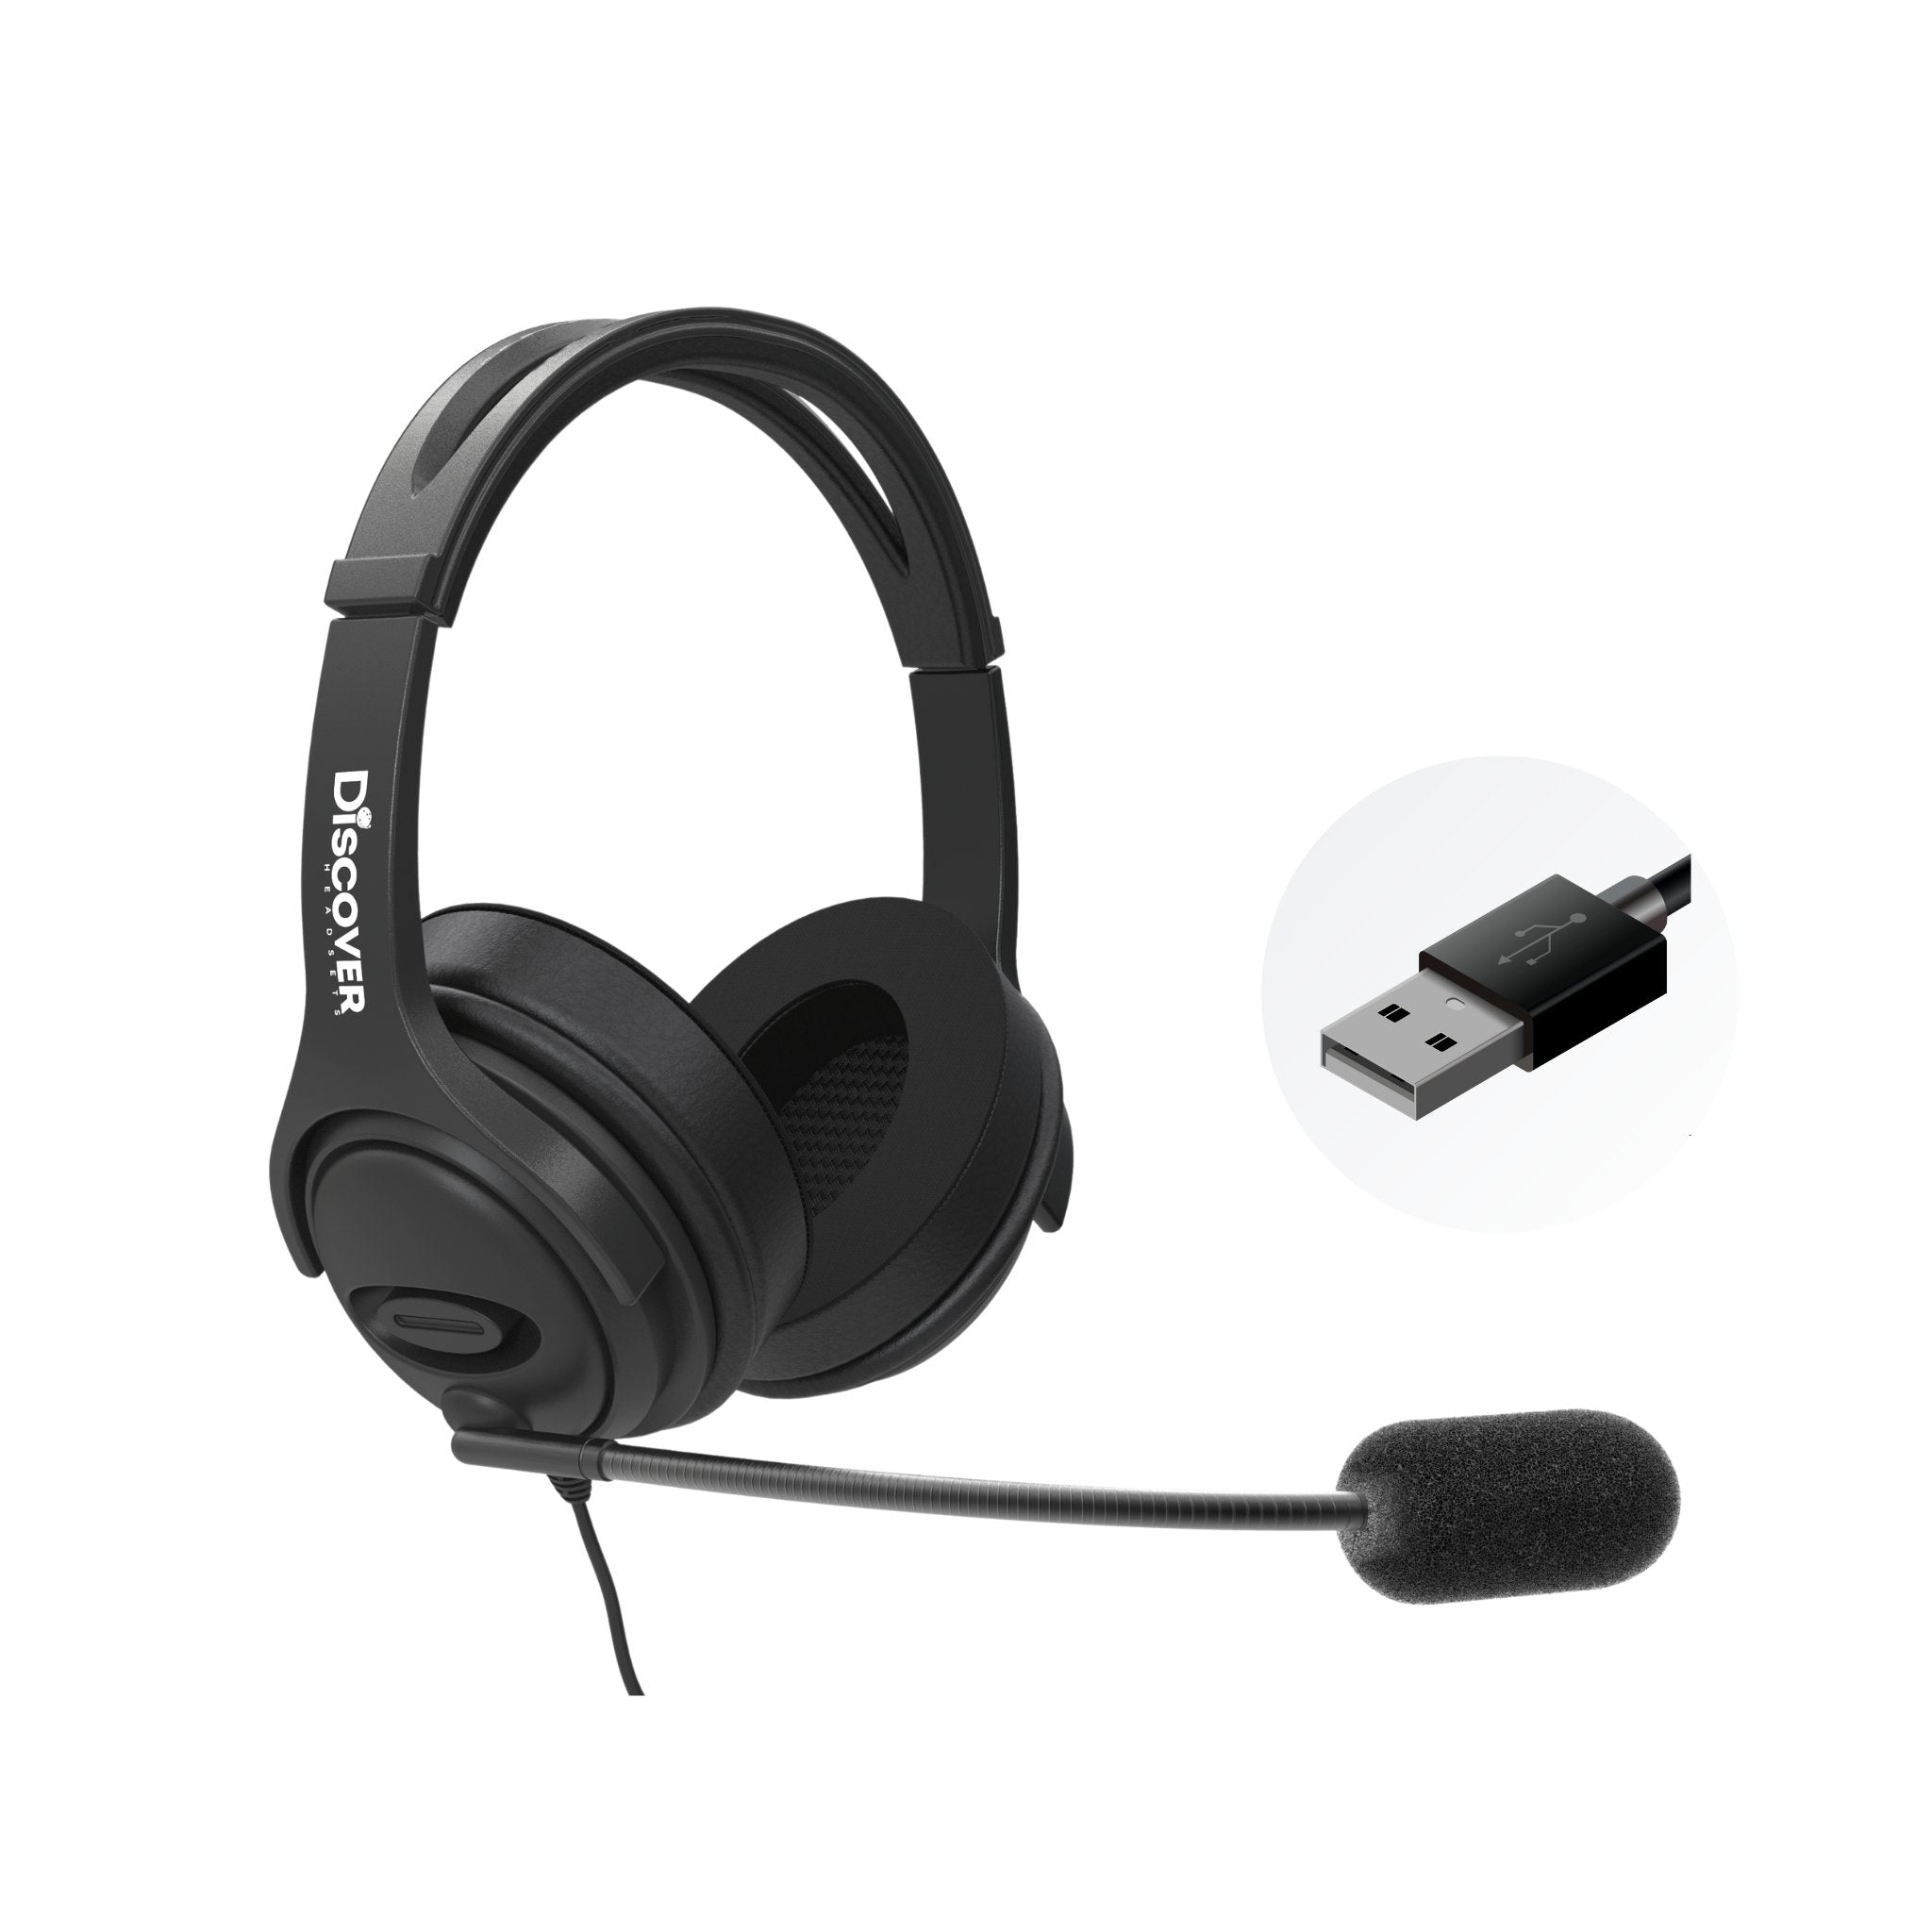
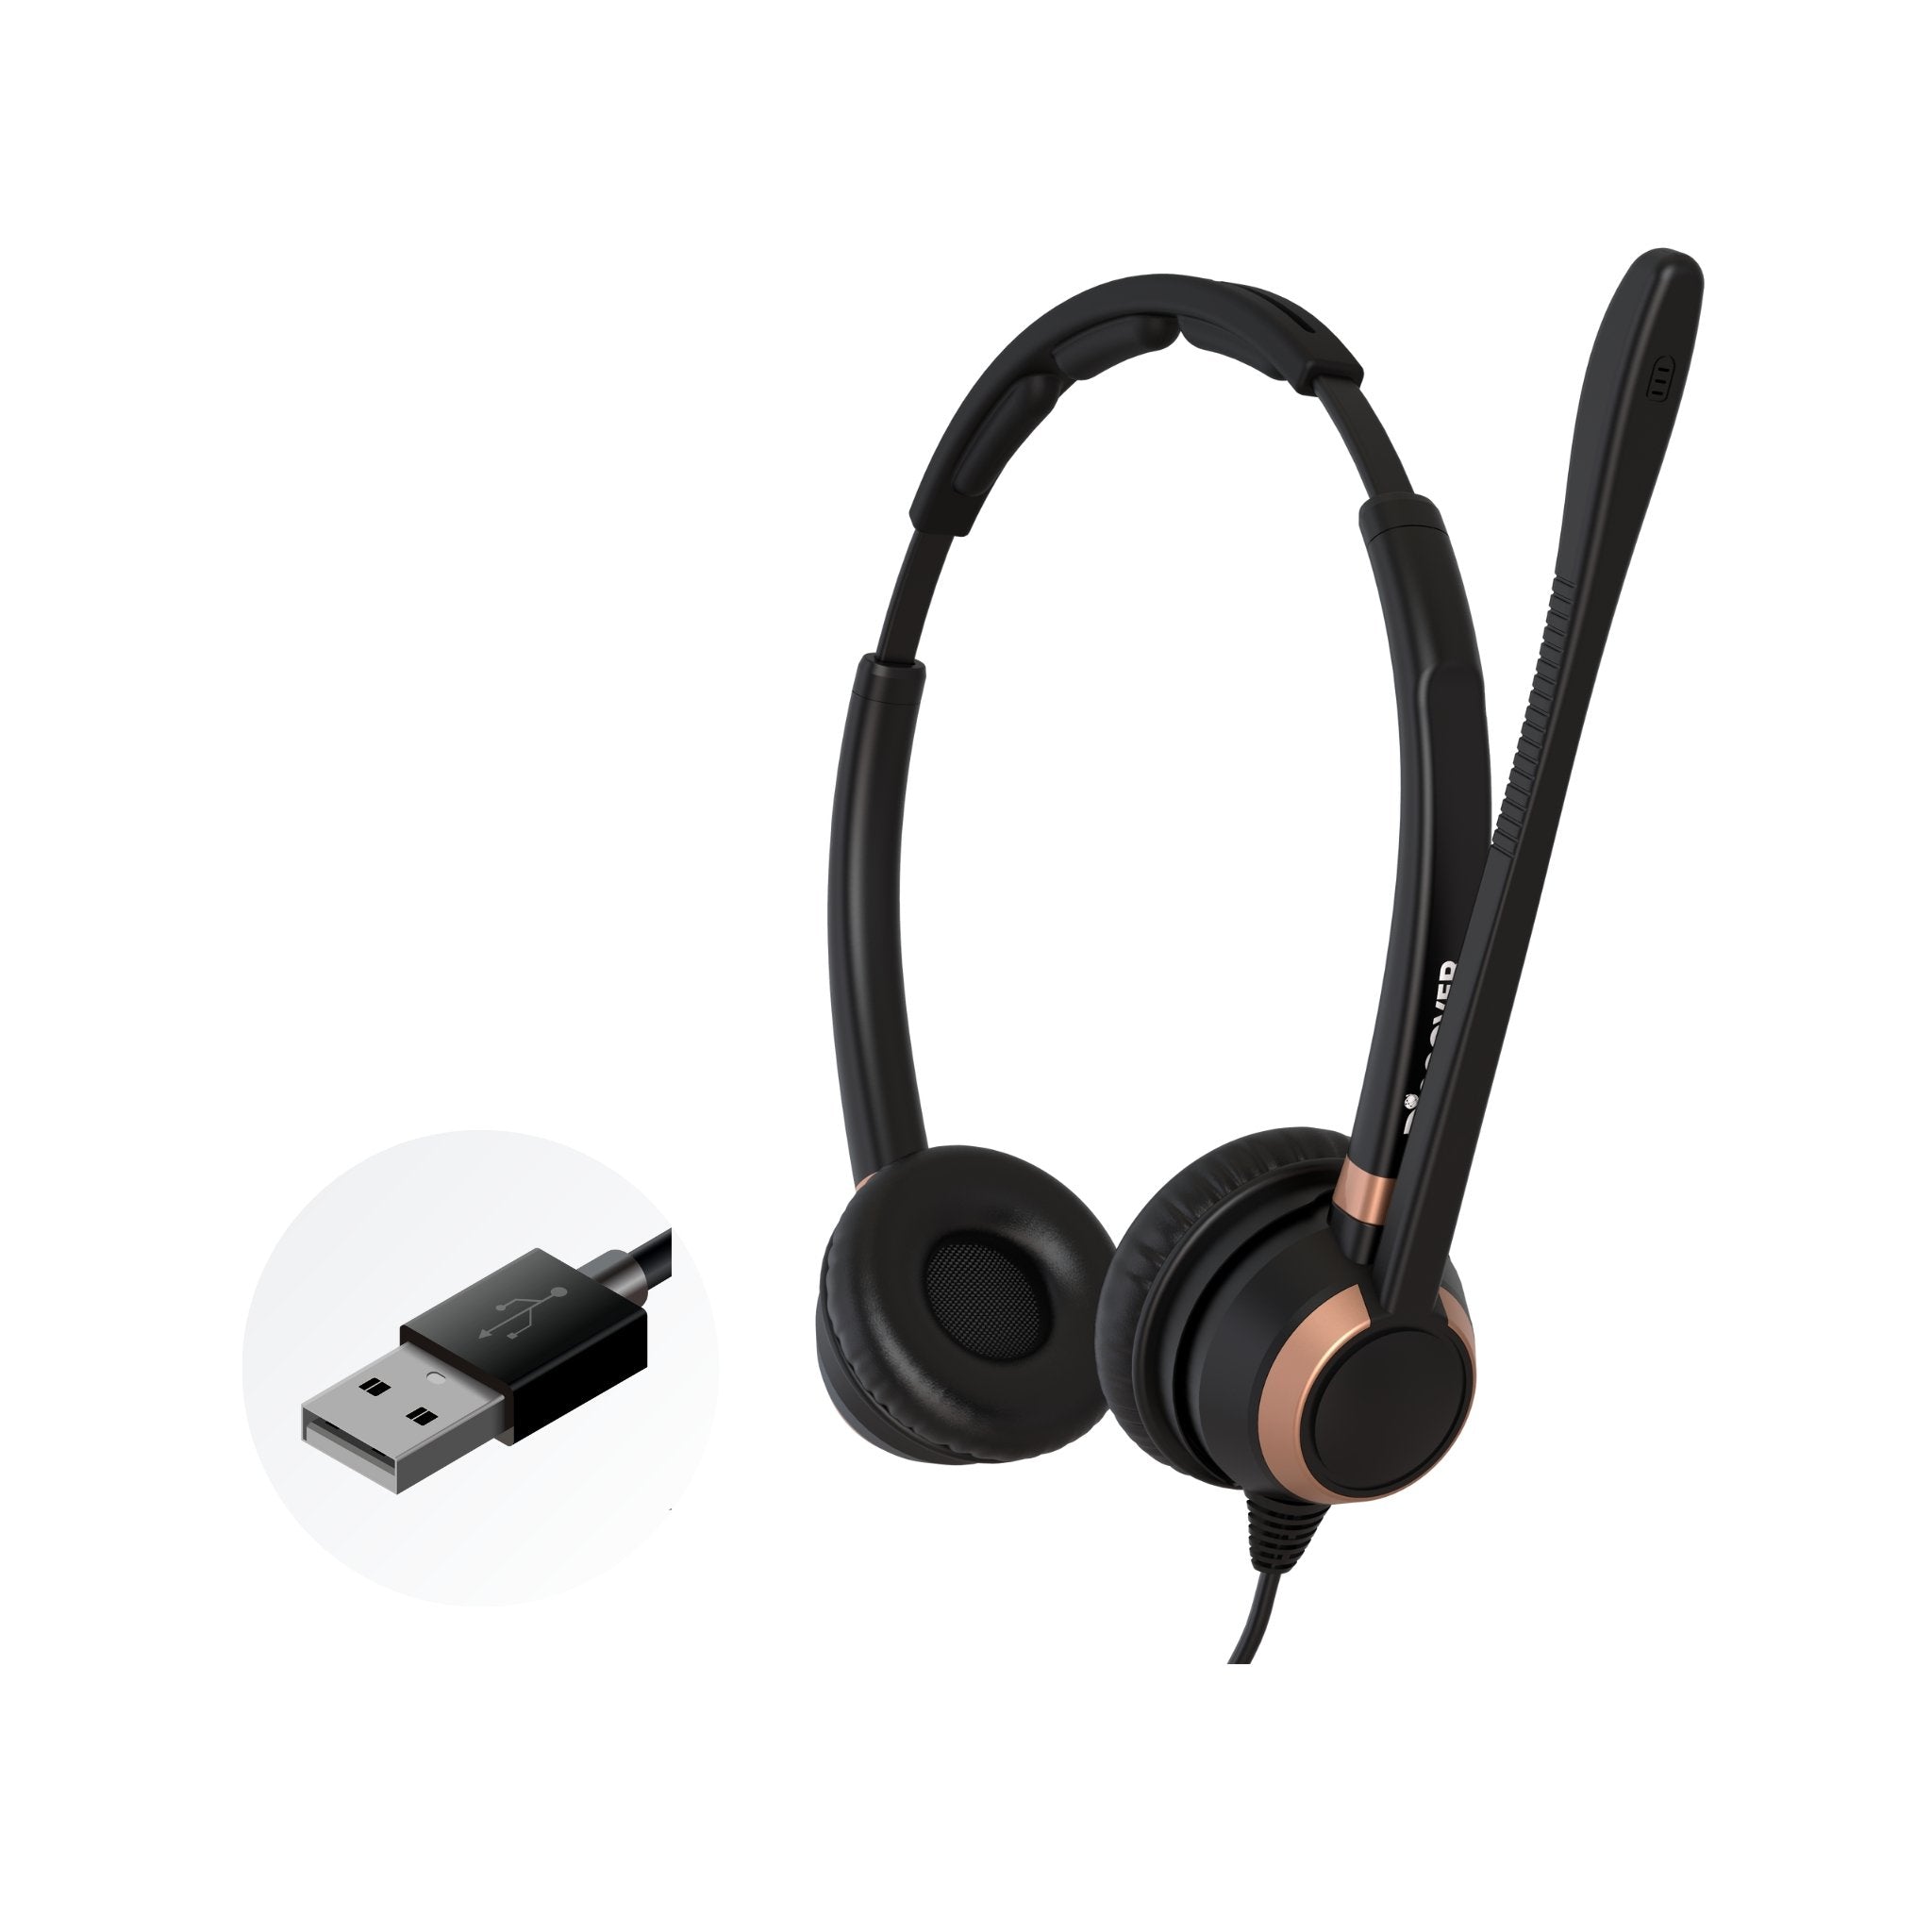
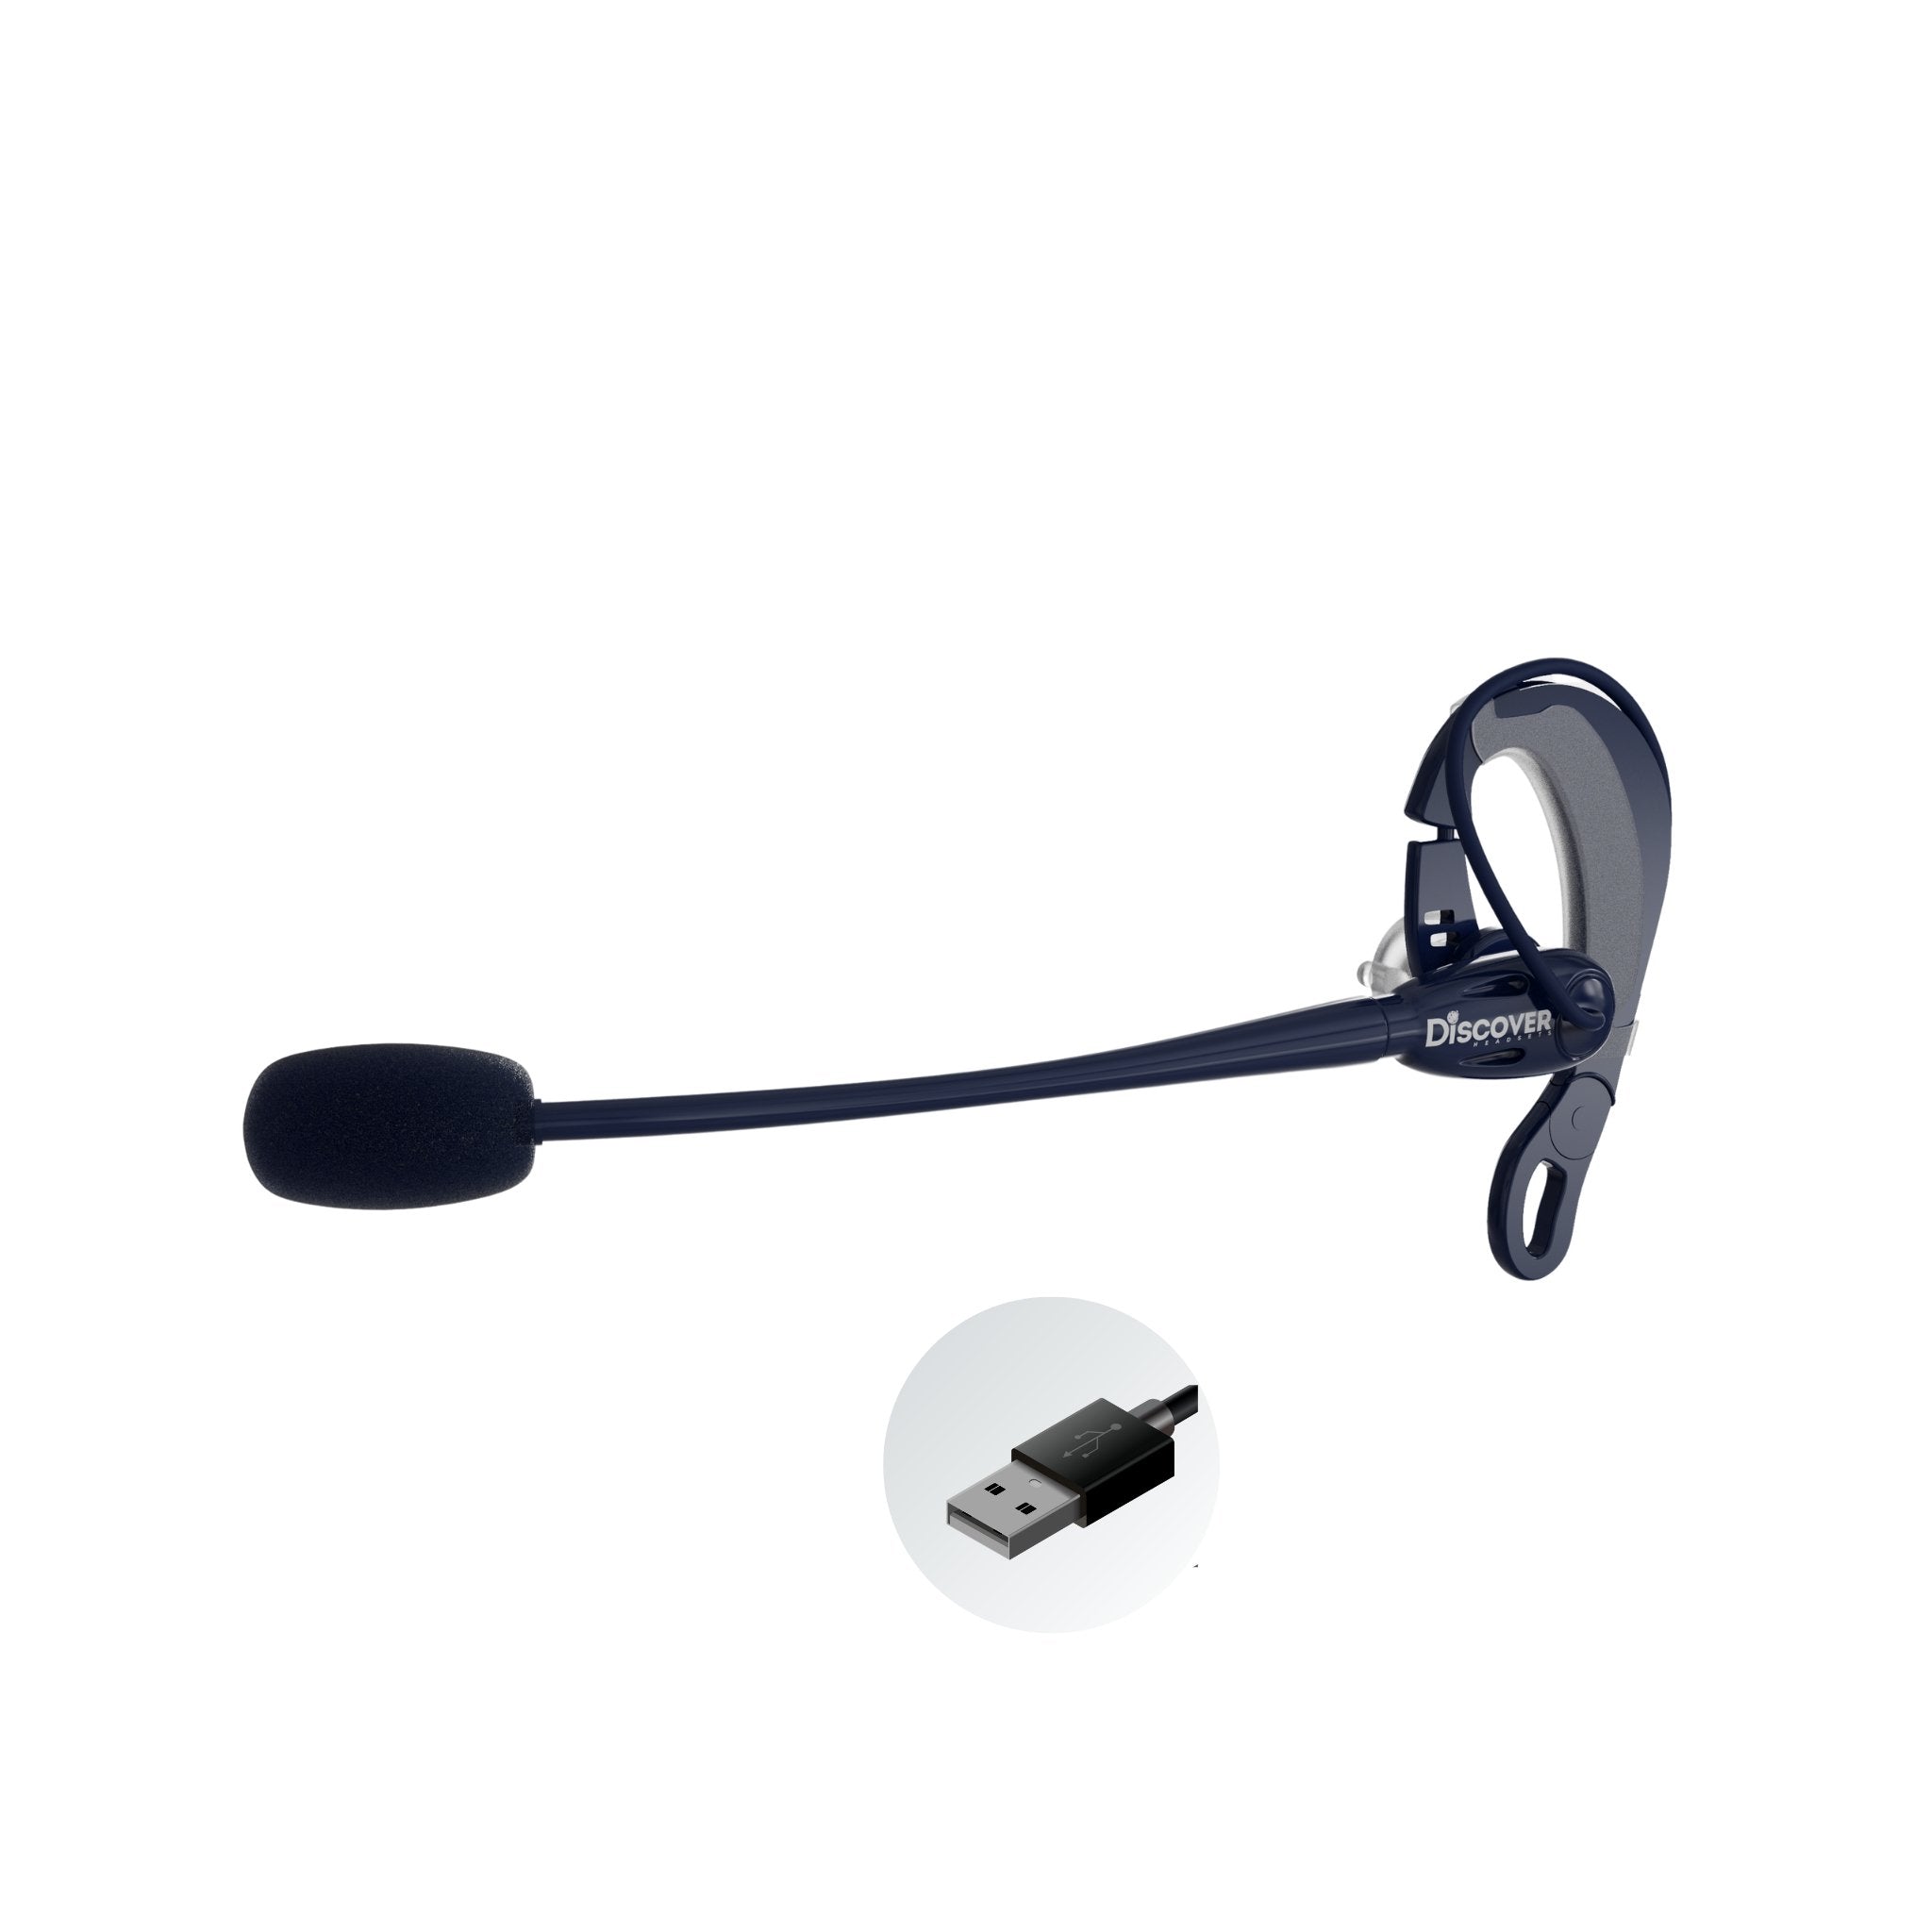
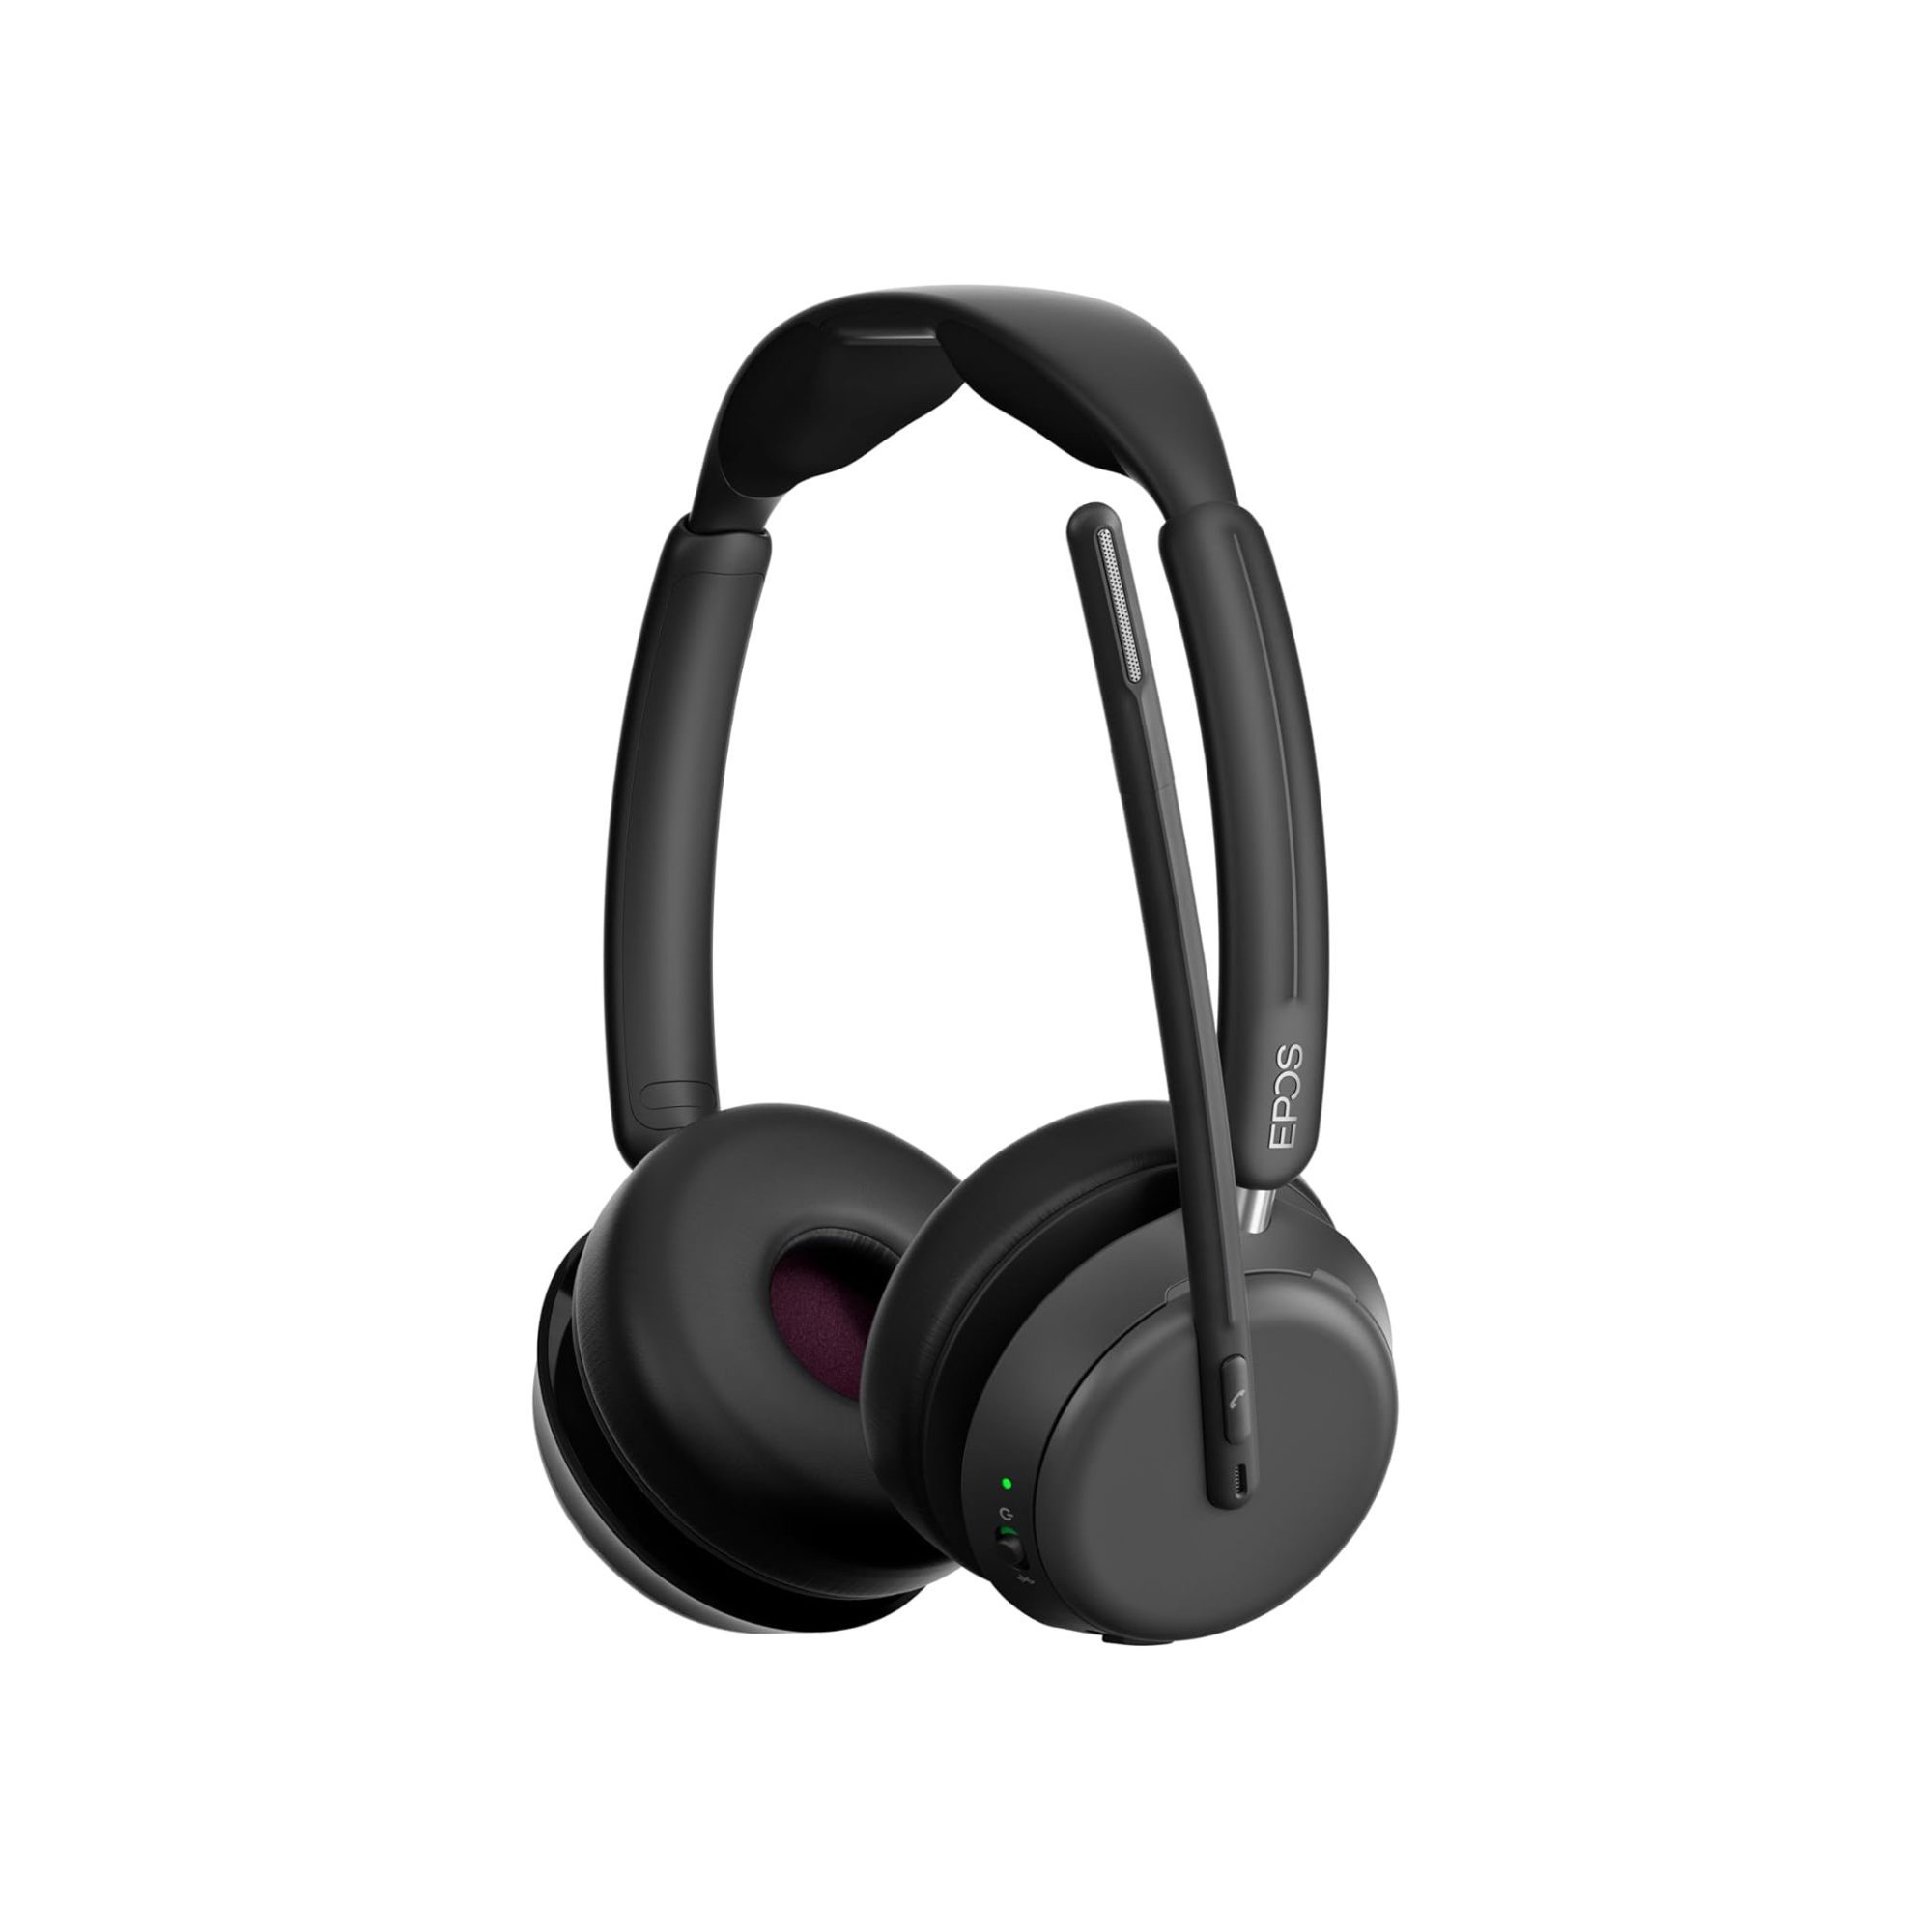
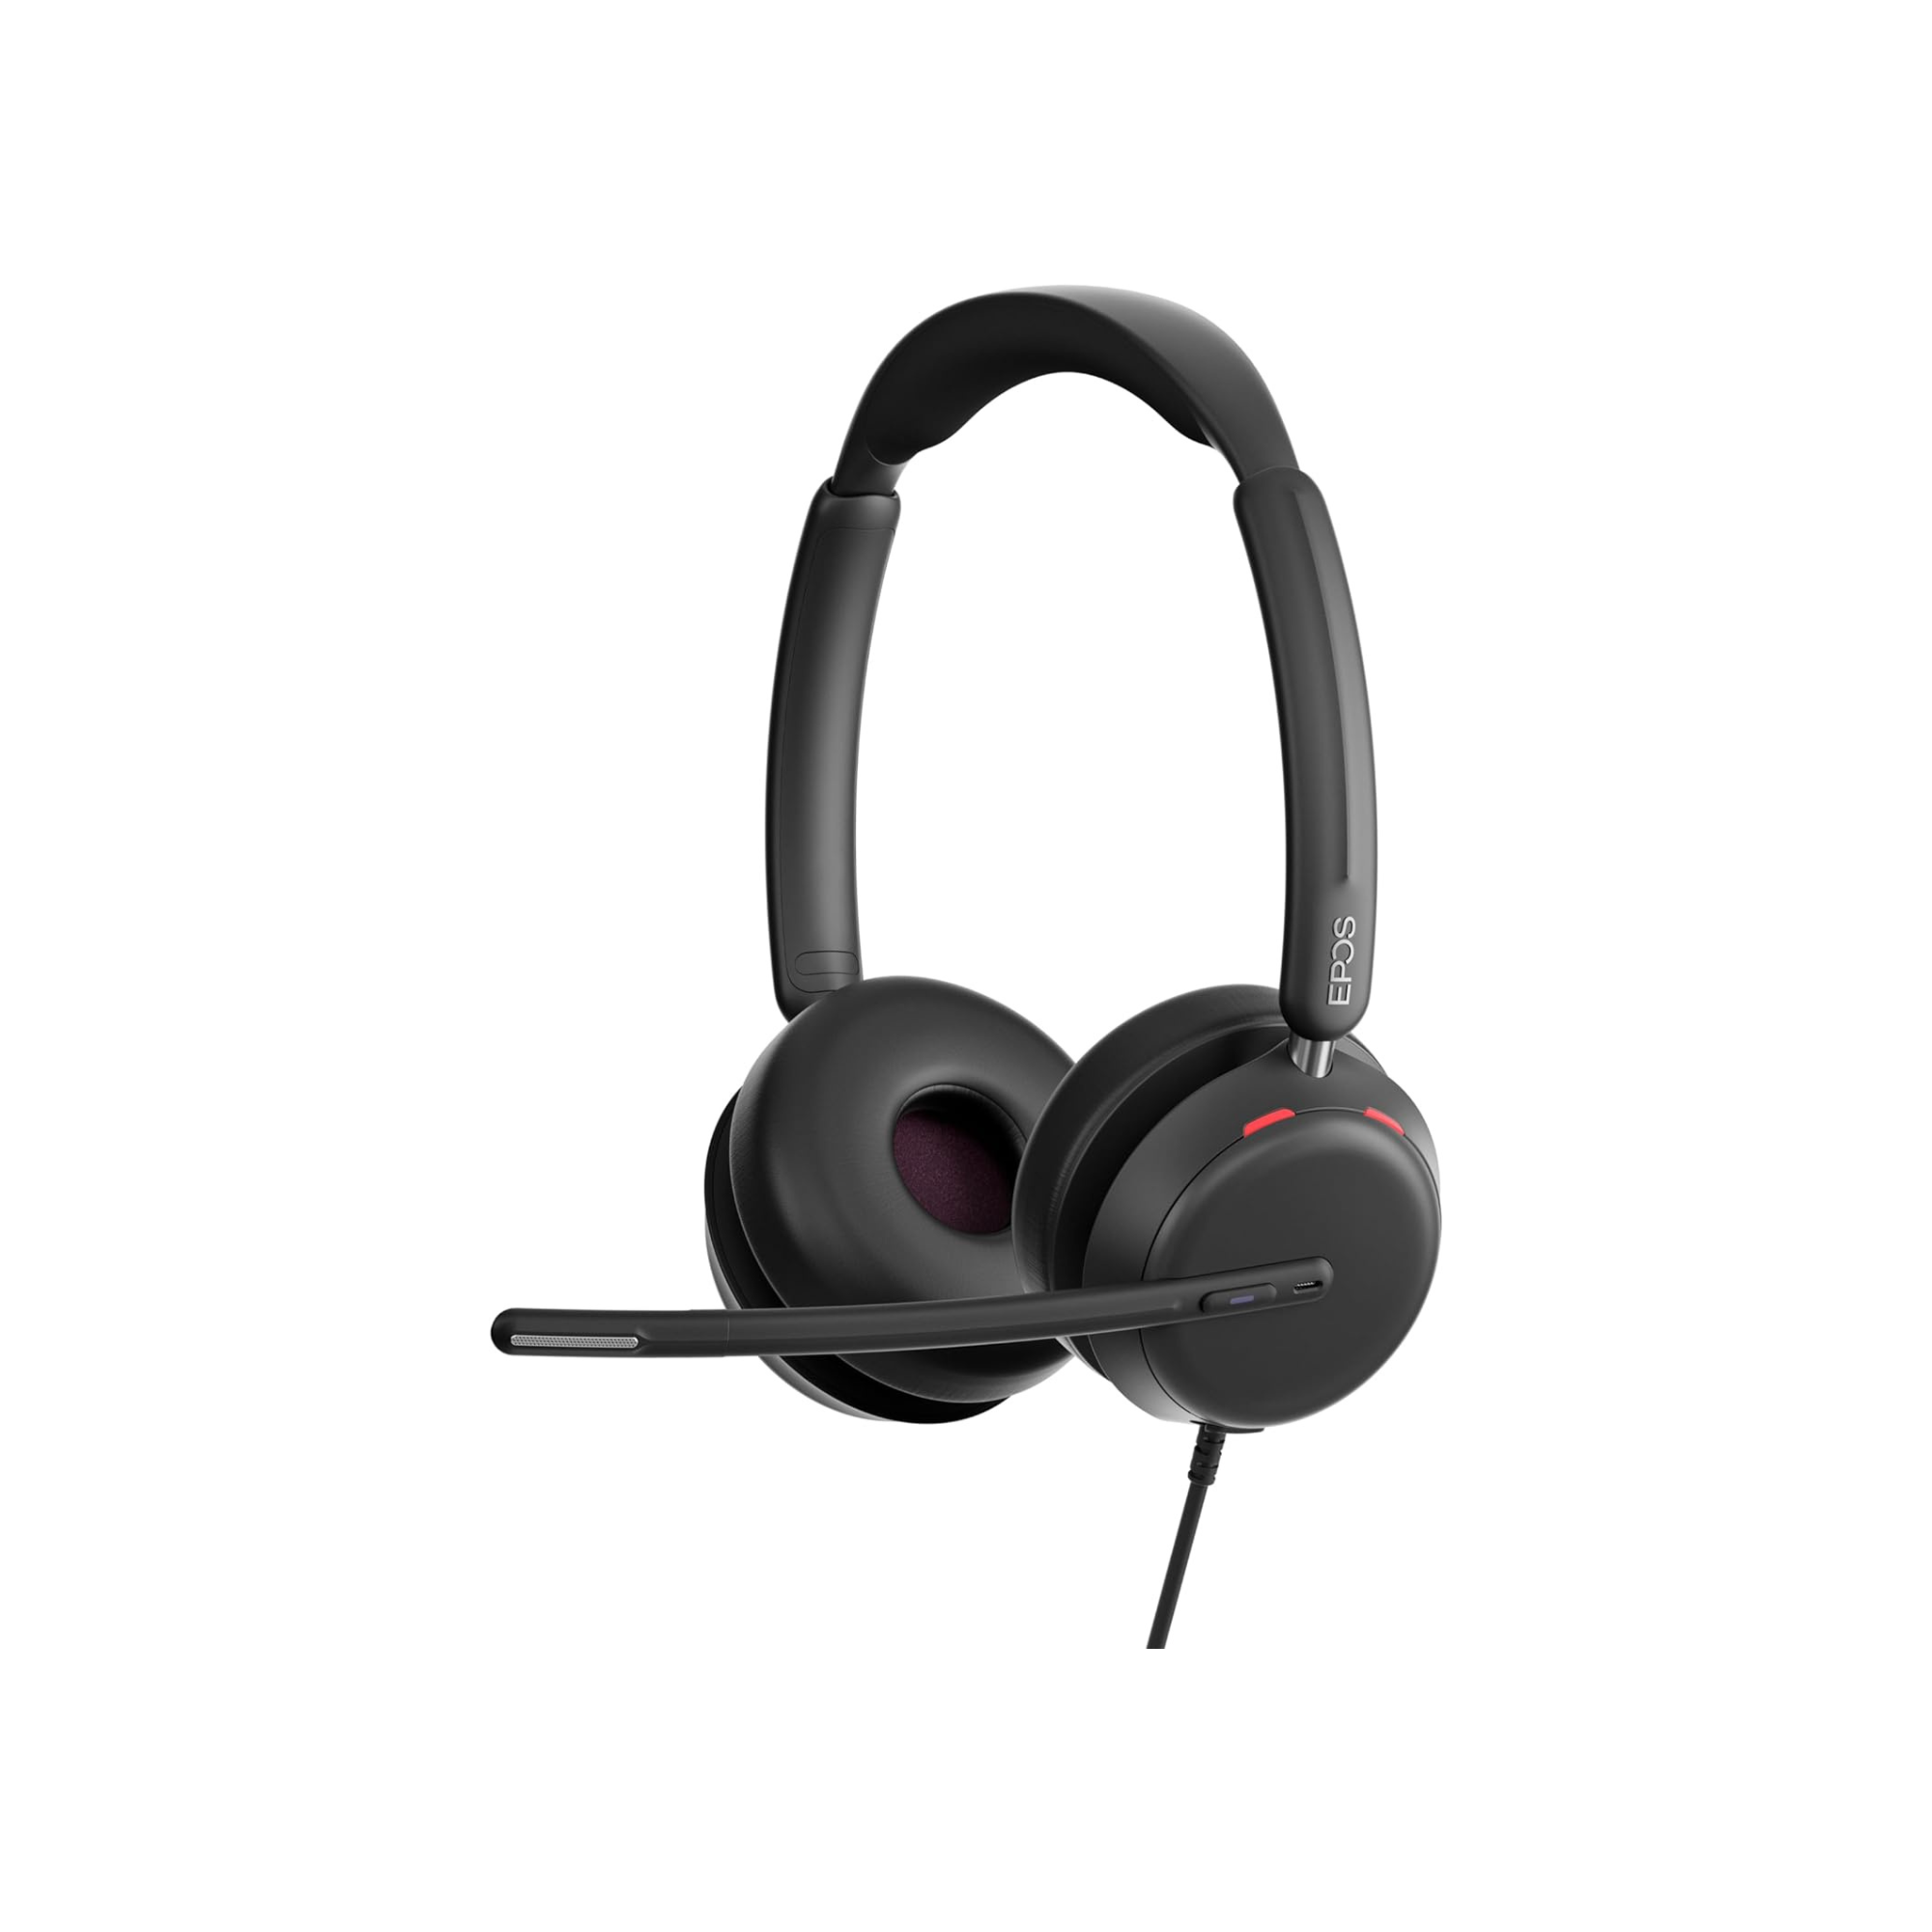
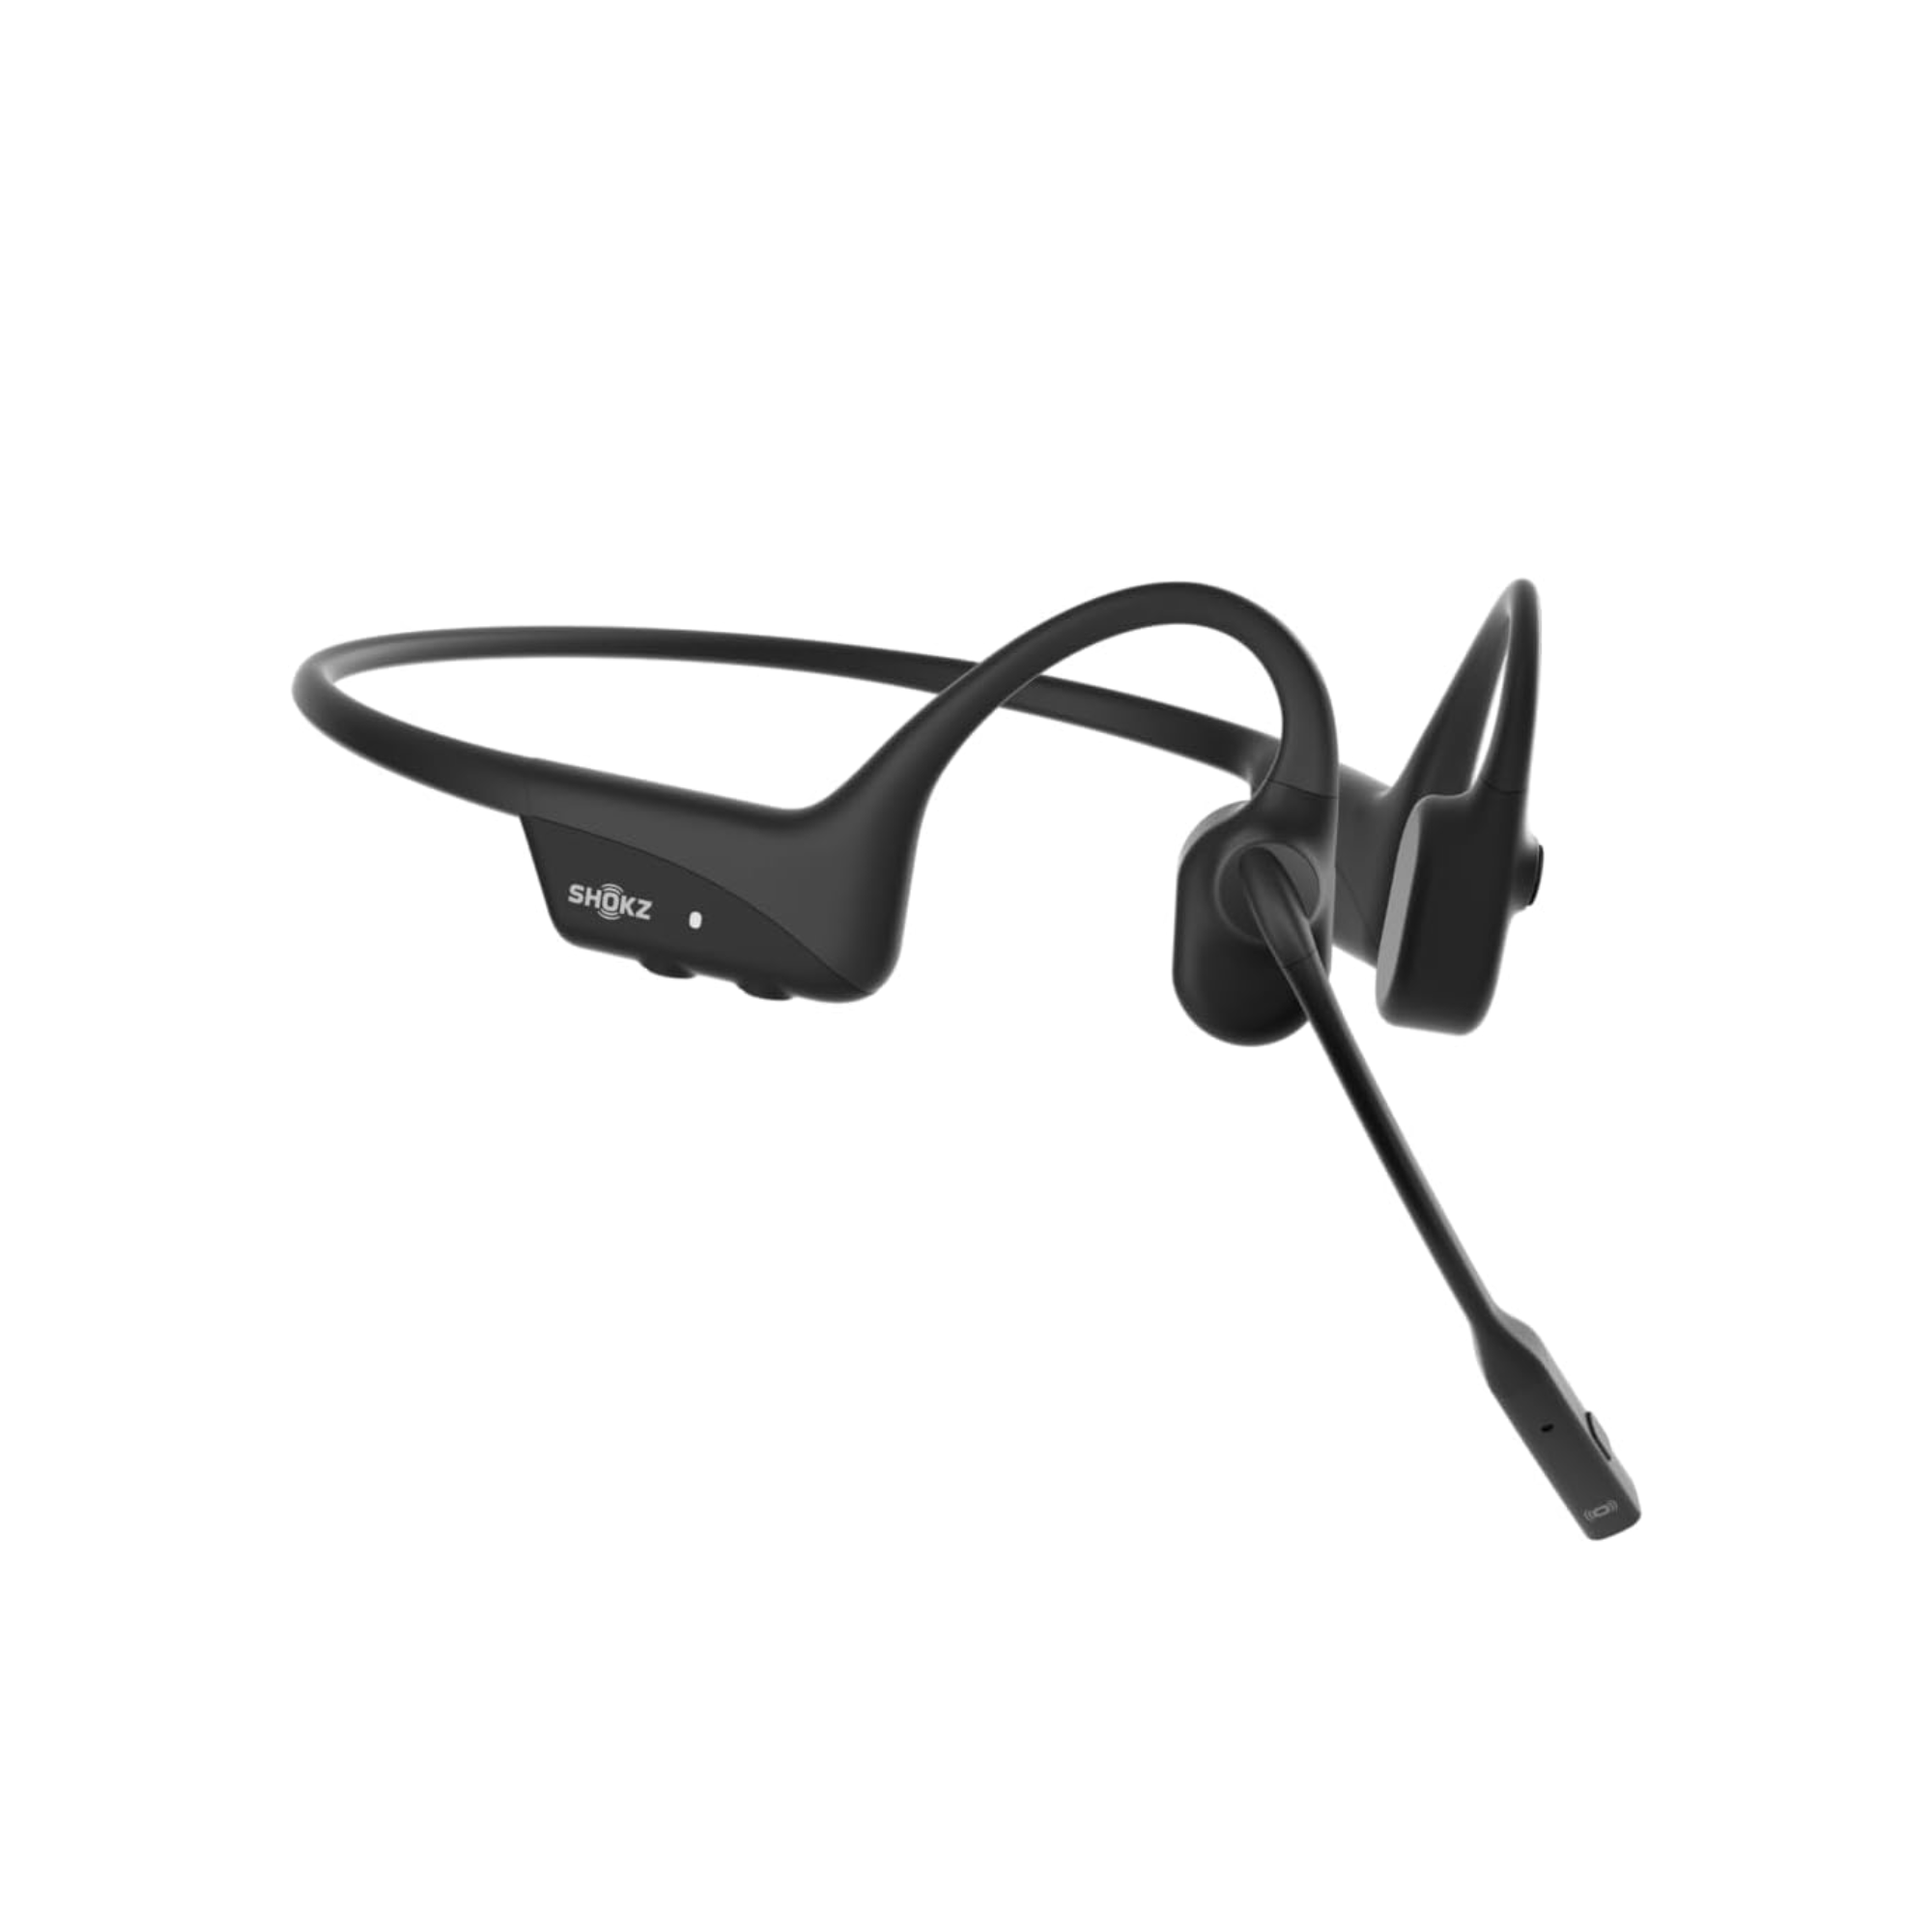
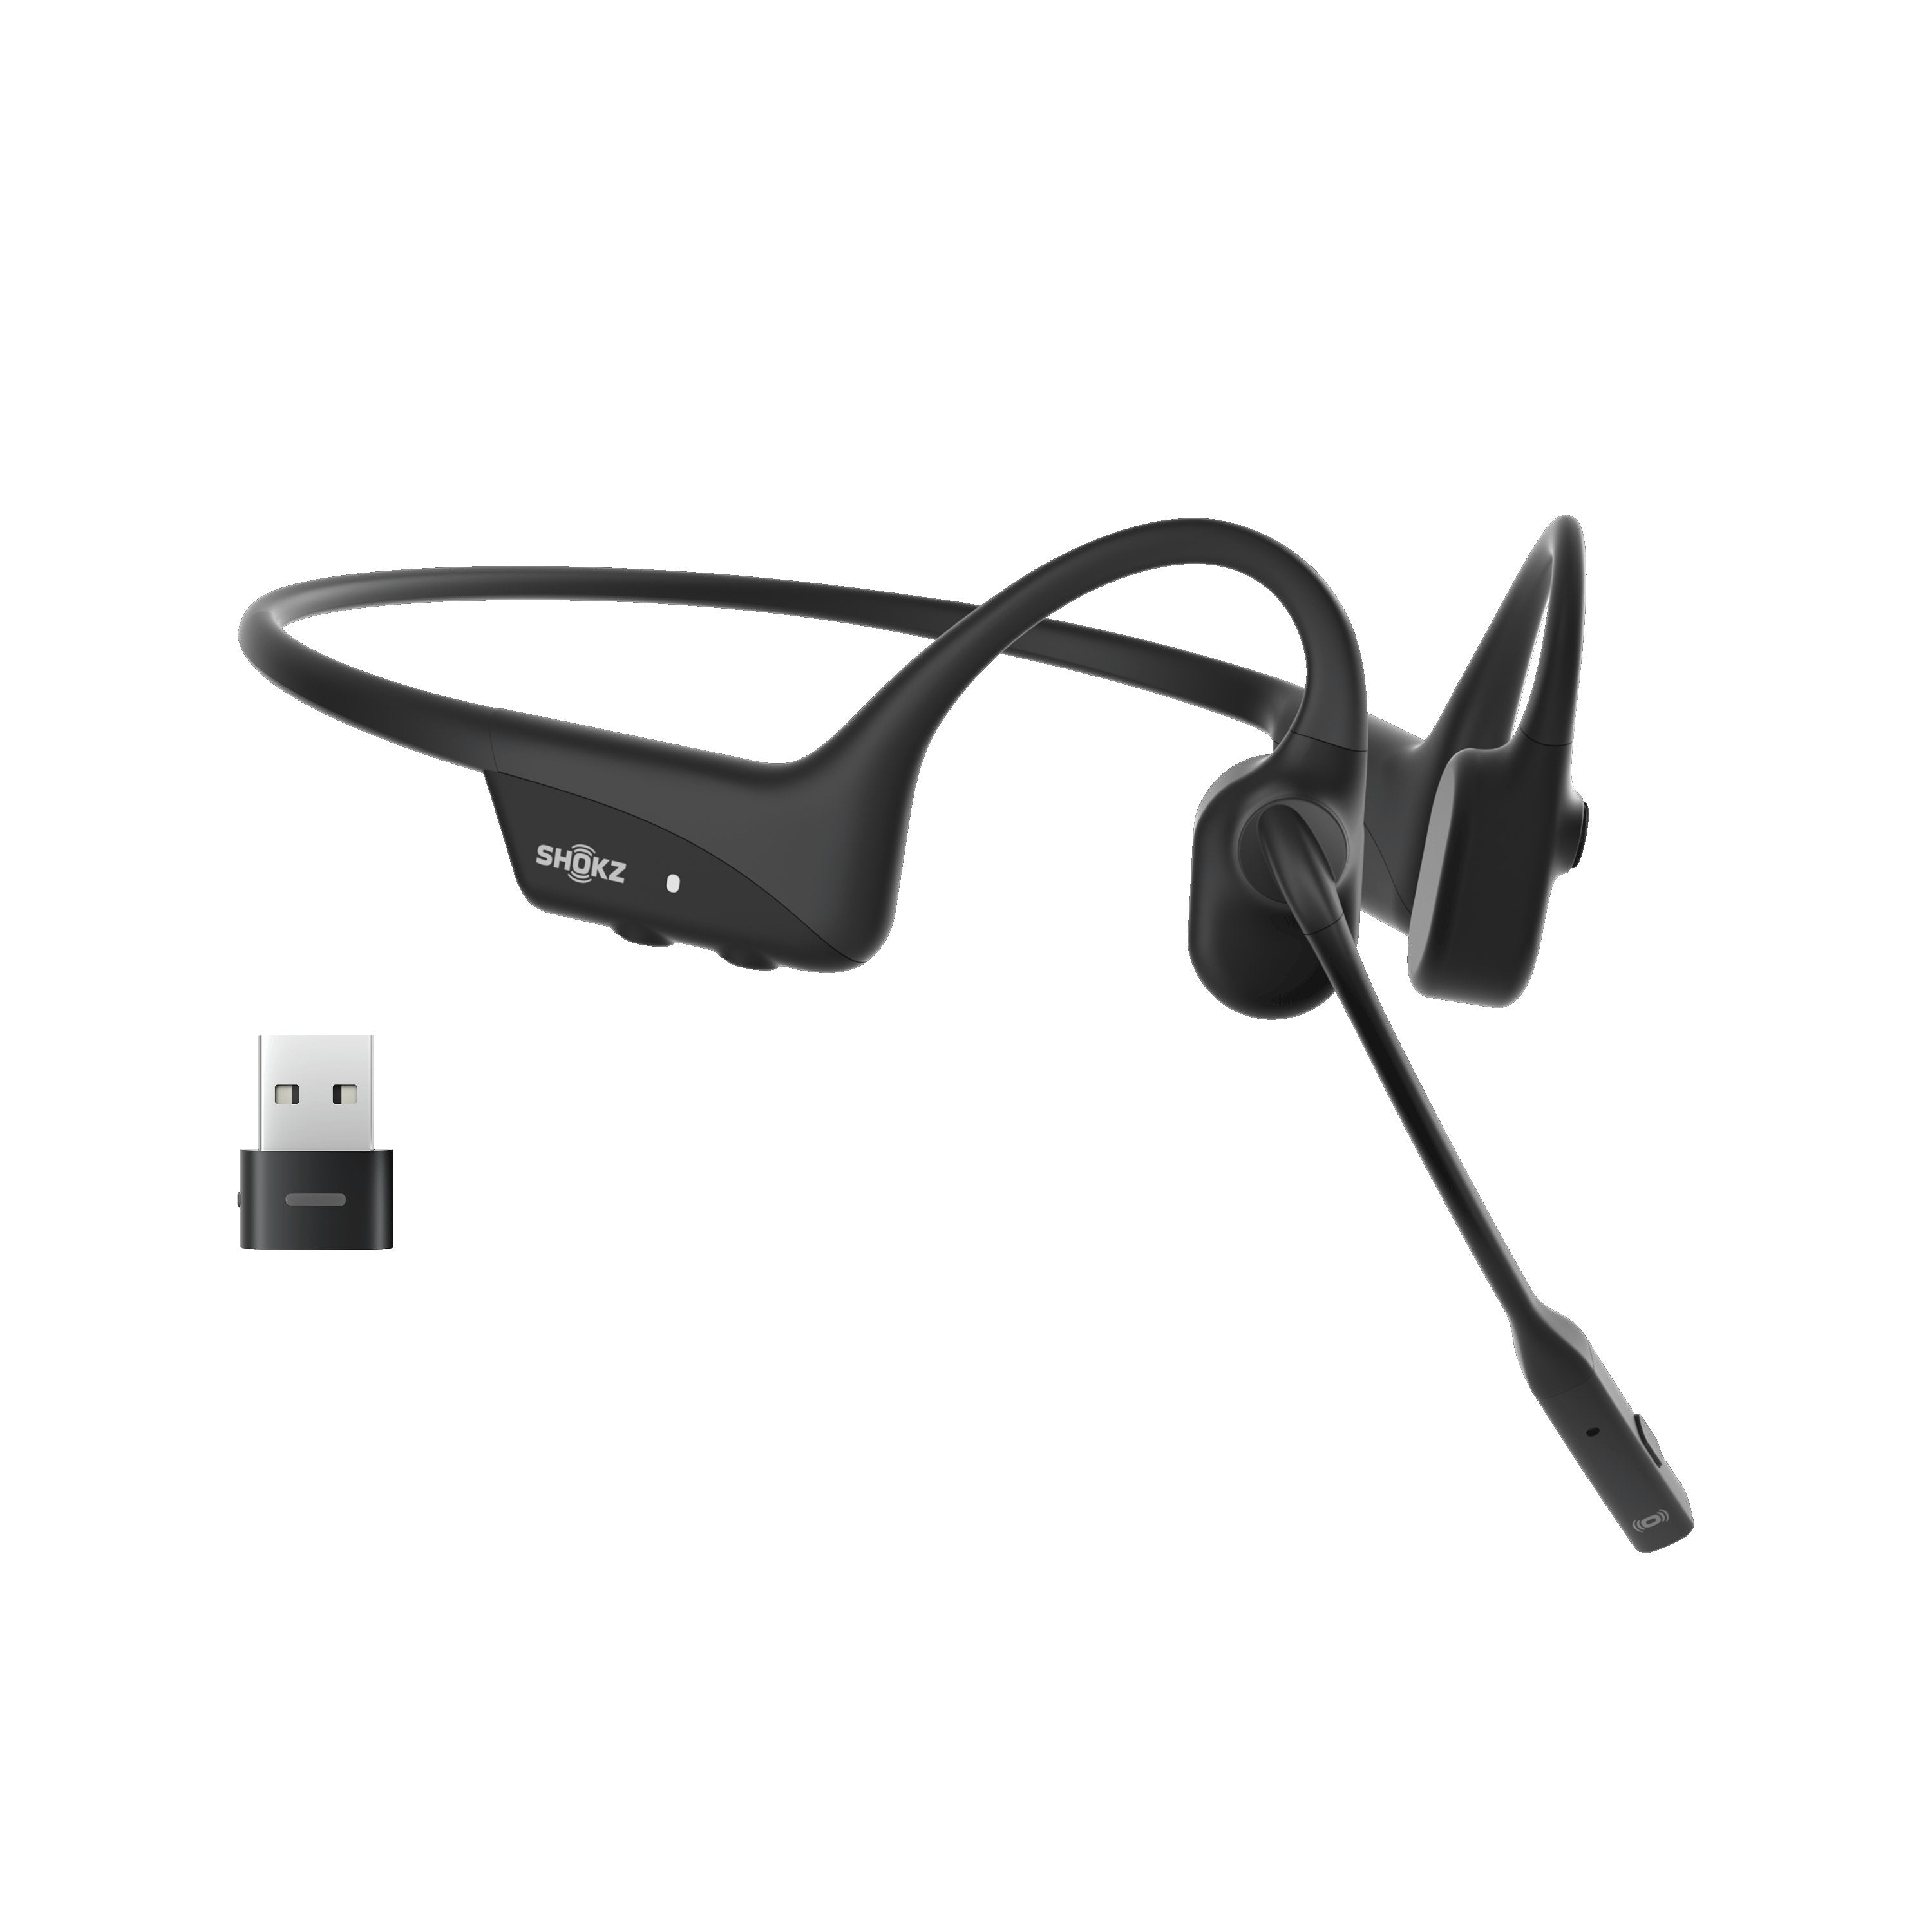
Need a compatible headset? Learn more about the 5 best headsets for Microsoft Teams.
Enable noise suppression for Teams Meeting
Step 1
In your Teams meeting click the 3 dots at the top right, then choose "Device settings"

Step 2
In device settings scroll down to "Noise suppression" and choose your preference.
High: Reduces all background noise that isn't speech but takes up more computer resources.
Auto: app decides for you
Low: reduces consistent background noise like fans or airconditioner

Enable noise suppression for Teams calls
Select your profile photo and choose settings. Within settings choose devices and you'll see where you can select noise suppression.

Enable noise suppression on iOS
- Click your profile picture and select "Settings".
- Click "Calling".
- Under noise suppression, make your choice.
Important note
When using a wired or wireless headset with a noise canceling microphone, with Teams noise suppression "on" it can do the opposite of what you want, or cause very bad microphone quality. If that happens, turn noise suppression off.
Also, if you use Windows with a headset that has a noise canceling microphone and it seems like to much background noise is being picked up, follow this video and disable Intel Smart Technology to see if that helps.


