Working from home has become our new normal. Long gone are the days of working among a cohesive group of people in an office setting.
Now, we find ourselves isolated at home, working with the same team virtually. Let’s be honest, pandemics suck for a lot of reasons.
The job still needs to get done, but now you don’t have all the same resources once available to you when you were working from your office. This has caused businesses to scramble in order to get the needed tools established for a remote workforce.
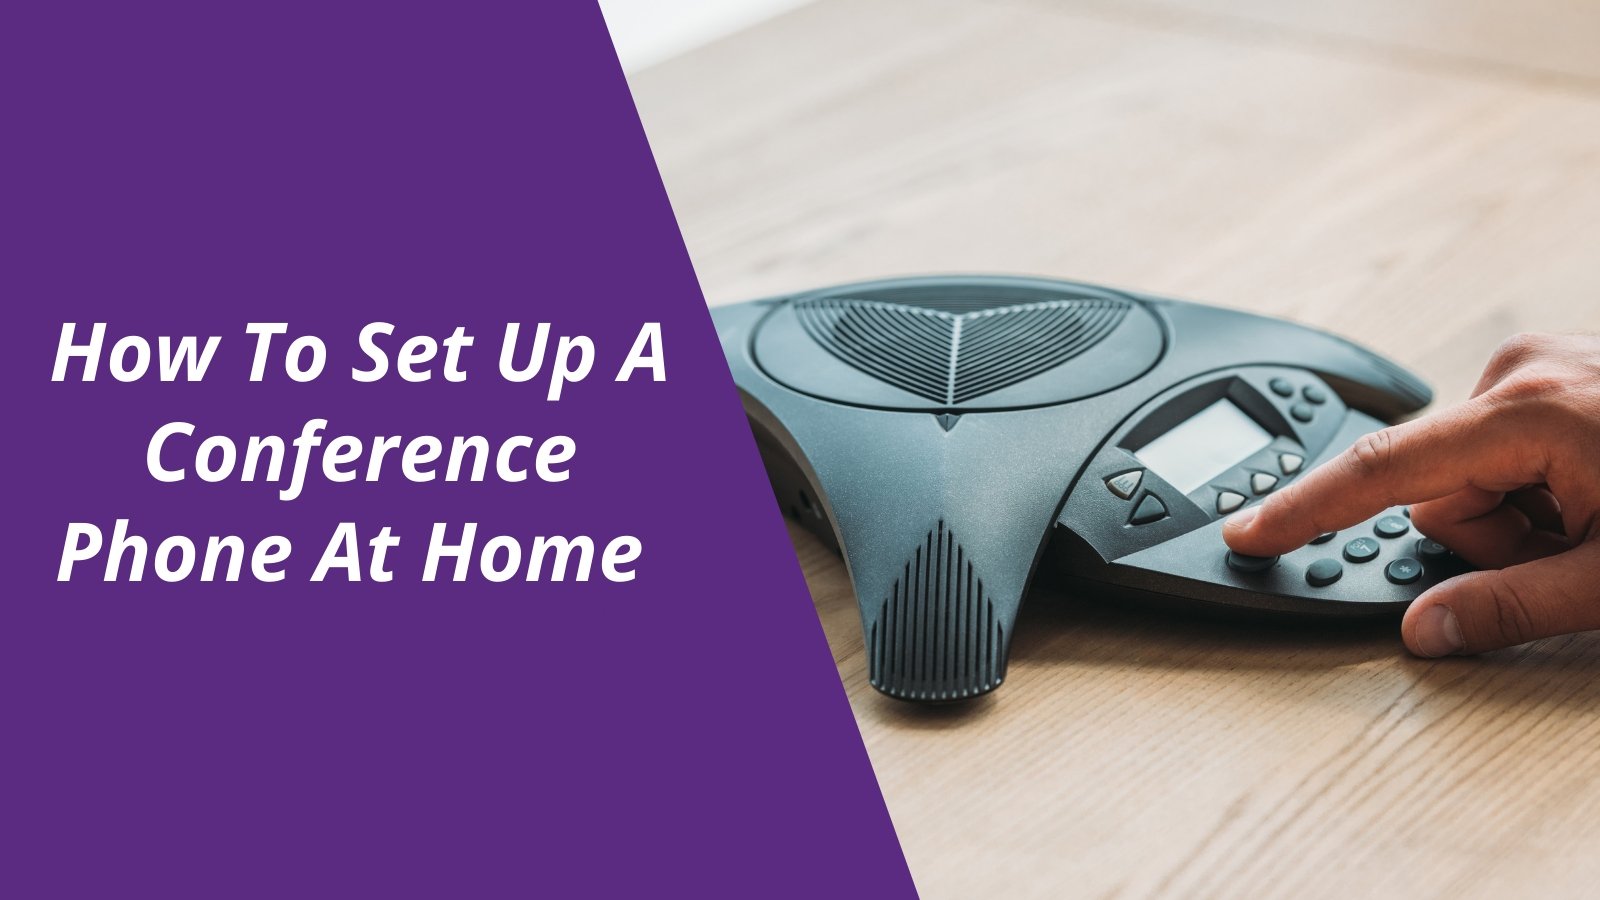
One of those tools includes a conference phone, voip conference phone, wireless conference phone or maybe even a Bluetooth conference phone.
Whichever kind of conference phone you’re using, you might have questions about how to set it up. This blog will give you a broad overview on where you can begin.
Clearly there are far too many makes, models and types of conference phones in order to provide a step-by-step tutorial on setting it up. But, this blog can at least point you in the right direction.
Let’s get that conference phone dusted off and see if we can’t put it to work.
Step 1
Determine what kind of conference phone you have.
Conference phones come in a variety of types:
- Wired conference phones that use a standard Analog phone line - Wireless conference phones that use an Analog phone line
- Wired conference phones that use a digital line
- Wireless conference phones that use a digital line
- Wired conference phones that use a Voip connection
- Wireless conference phones that use a Voip connection
- Wireless conference phones that connect via Bluetooth
- Wired USB conference phone
Beyond this, there are other differentiating factors that make them different from one another:
- Personal models
- Small group models
- Large group models
How can you know which type of conference phone you have? Here are a few quick tips.
- Look at the product itself. Sometimes there’s notations that suggest which type of conference phone it is. You might see language such as “analog” “digital” “voip” or maybe “Bluetooth”. If your product has any of these terms, chances are good that it’s telling you which type of conference phone it is.
- Look at the documentation that came with the conference phone. In nearly every case, the included documentation will help steer you in the direction of the type of conference phone you have. It should tell you quite a lot in the setup section of your user guide.
- Contact your vendor. Good vendors can be a wealth of information. Not only are they familiar with many kinds of conference phones, but if you’re contacting the vendor you purchased from, they can look up your customer record and pinpoint your exact model.
- Ask your IT staff. If your company employs an IT staff, they are another great source of information. They can assist you in knowing more about the product you have.
Step 2
Check to see if you have the needed connection.
Now that you know what kind of conference phone you have, you need to check to see if you have the right connection.
If your conference phone is analog, you’ll need an available analog phone line. The same applies if your equipment is Voip, Digital or Bluetooth.
Having the right connection assures that your product will be matched to the right signal which helps to avoid damaging the unit. For example, if you have an Analog device and you attempt to plug it into a digital phone line, you run the risk of permanently damaging
your conference phone. So again, make sure your conference phone is connected to the right type of phone line.
Step 3
Make sure you have all the needed parts and pieces.
Nothing is more frustrating than to be preparing for an important conference call only to find out that you’re missing a cable or some other essential component.
Do yourself a favor and take inventory of what you have compared to what you need to get everything set up properly. Create a checklist of what’s needed, what’s on hand and confirm that you have a good working line to connect to.
Step 4
Get your hands on a setup diagram, or locate an on-line user guide that shows how to setup your conference phone.
If you have the original documentation that came with your conference phone, it should have good information that instructs you on how to set it up. However, many companies today are opting to not include documentation.
Instead, you’re directed to online locations for obtaining the needed information. If that’s the case, locate the URL and do your best to find the instructions on setting up your conference phone.
You can also contact your vendor to see if they have available tech support as well. In many cases, the setup can be done quickly and getting a little one-one-one help can not only help to speed things up, but help to reduce some confusion and frustration.
Step 5
Get everything connected and do a trial run.
The last thing you want to do is to do your initial setup test when you’re ready to go live on your conference call. Instead, get everything connected, and then make a test call. By doing so, you’ll be sure that everything is connected right, and that you’re getting the desired sound.
If you’re using a Bluetooth conference phone, you might find the sound to be poor, or the signal weak.
If you’re using a wireless Voip conference phone, you may have audio quality issues due to insufficient bandwidth.
Maybe you discover that your wireless conference phone has a compromised battery and it won’t hold a charge.
These are things you want to know about BEFORE you can say you’re set up and ready to go. As the saying goes, an ounce of prevention is worth a pound of cure. Check, double check and once you’ve done that, check one more time just to be sure. Then, and only then will it be go time.
Here are a few brands of conference phones that are worth checking out


