If your headset doesn’t sound as good as you’d like, you’re not alone. Headsets can vary greatly between brands and models, with budget oriented headsets leading the way in less than stellar sound quality.
In many cases though, the issue isn’t the headset itself, it’s how it’s set up. Incorrect device selection, app settings, or even microphone and charging base placement can all impact audio quality. And when you have important calls planned, you need to sound your best.
The good news is that most of these issues are easy to fix once you know what to look for. It just takes a few simple checks.
This guide walks you through the key steps to help you get the best possible performance from your headset, whether you’re using it for calls, meetings, or everyday communication.
Why Your Headset May Not Sound as Good as It Should

Before diving into setup, it helps to understand why problems happen in the first place.
Common causes include:
-
The wrong microphone or speaker being selected
-
App-specific settings overriding system settings
-
Bluetooth limitations when using the microphone
-
Poor microphone positioning
-
Background noise in your environment
-
Wireless interference from nearby devices
-
USB hub or docking station limitations
-
Multiple audio devices conflicting
-
Microphone positioning or activation issues
If you’ve ever wondered why your audio changes during a call, especially when using Bluetooth, it’s worth understanding how that works. Our guide on what to expect from Bluetooth headset audio quality explains this in more detail, and you may just discover a solution.
Step 1: Check Your Device Audio Settings

The first step is making sure your computer is using or recognizing the correct headset.
On Windows:
-
Go to Sound Settings
-
Under Input, select your headset microphone
-
Under Output, select your headset speakers
On Mac:
-
Go to System Settings → Sound
-
Select your headset under both Input and Output
Even if your headset is connected, your system may still default to built-in speakers or integrated microphones, so this step is important.
Step 2: Confirm Settings in Your App (Teams, Zoom, etc.)

Most communication apps have their own audio settings that can override your computer.
In Microsoft Teams:
-
Go to Settings → Devices
-
Select your headset for both speaker and microphone
-
Use the test call feature to confirm everything is working
In Zoom:
-
Go to Settings → Audio
-
Select your headset for speaker and microphone
-
Use the Test Speaker and Microphone option
This step is one of the most commonly overlooked items, and it can make a big difference in call quality.
Once your settings are configured, it’s a good idea to test your microphone to confirm everything is working as expected.
Using a simple microphone test lets you hear how you sound and verify that your adjustments have improved your audio quality.
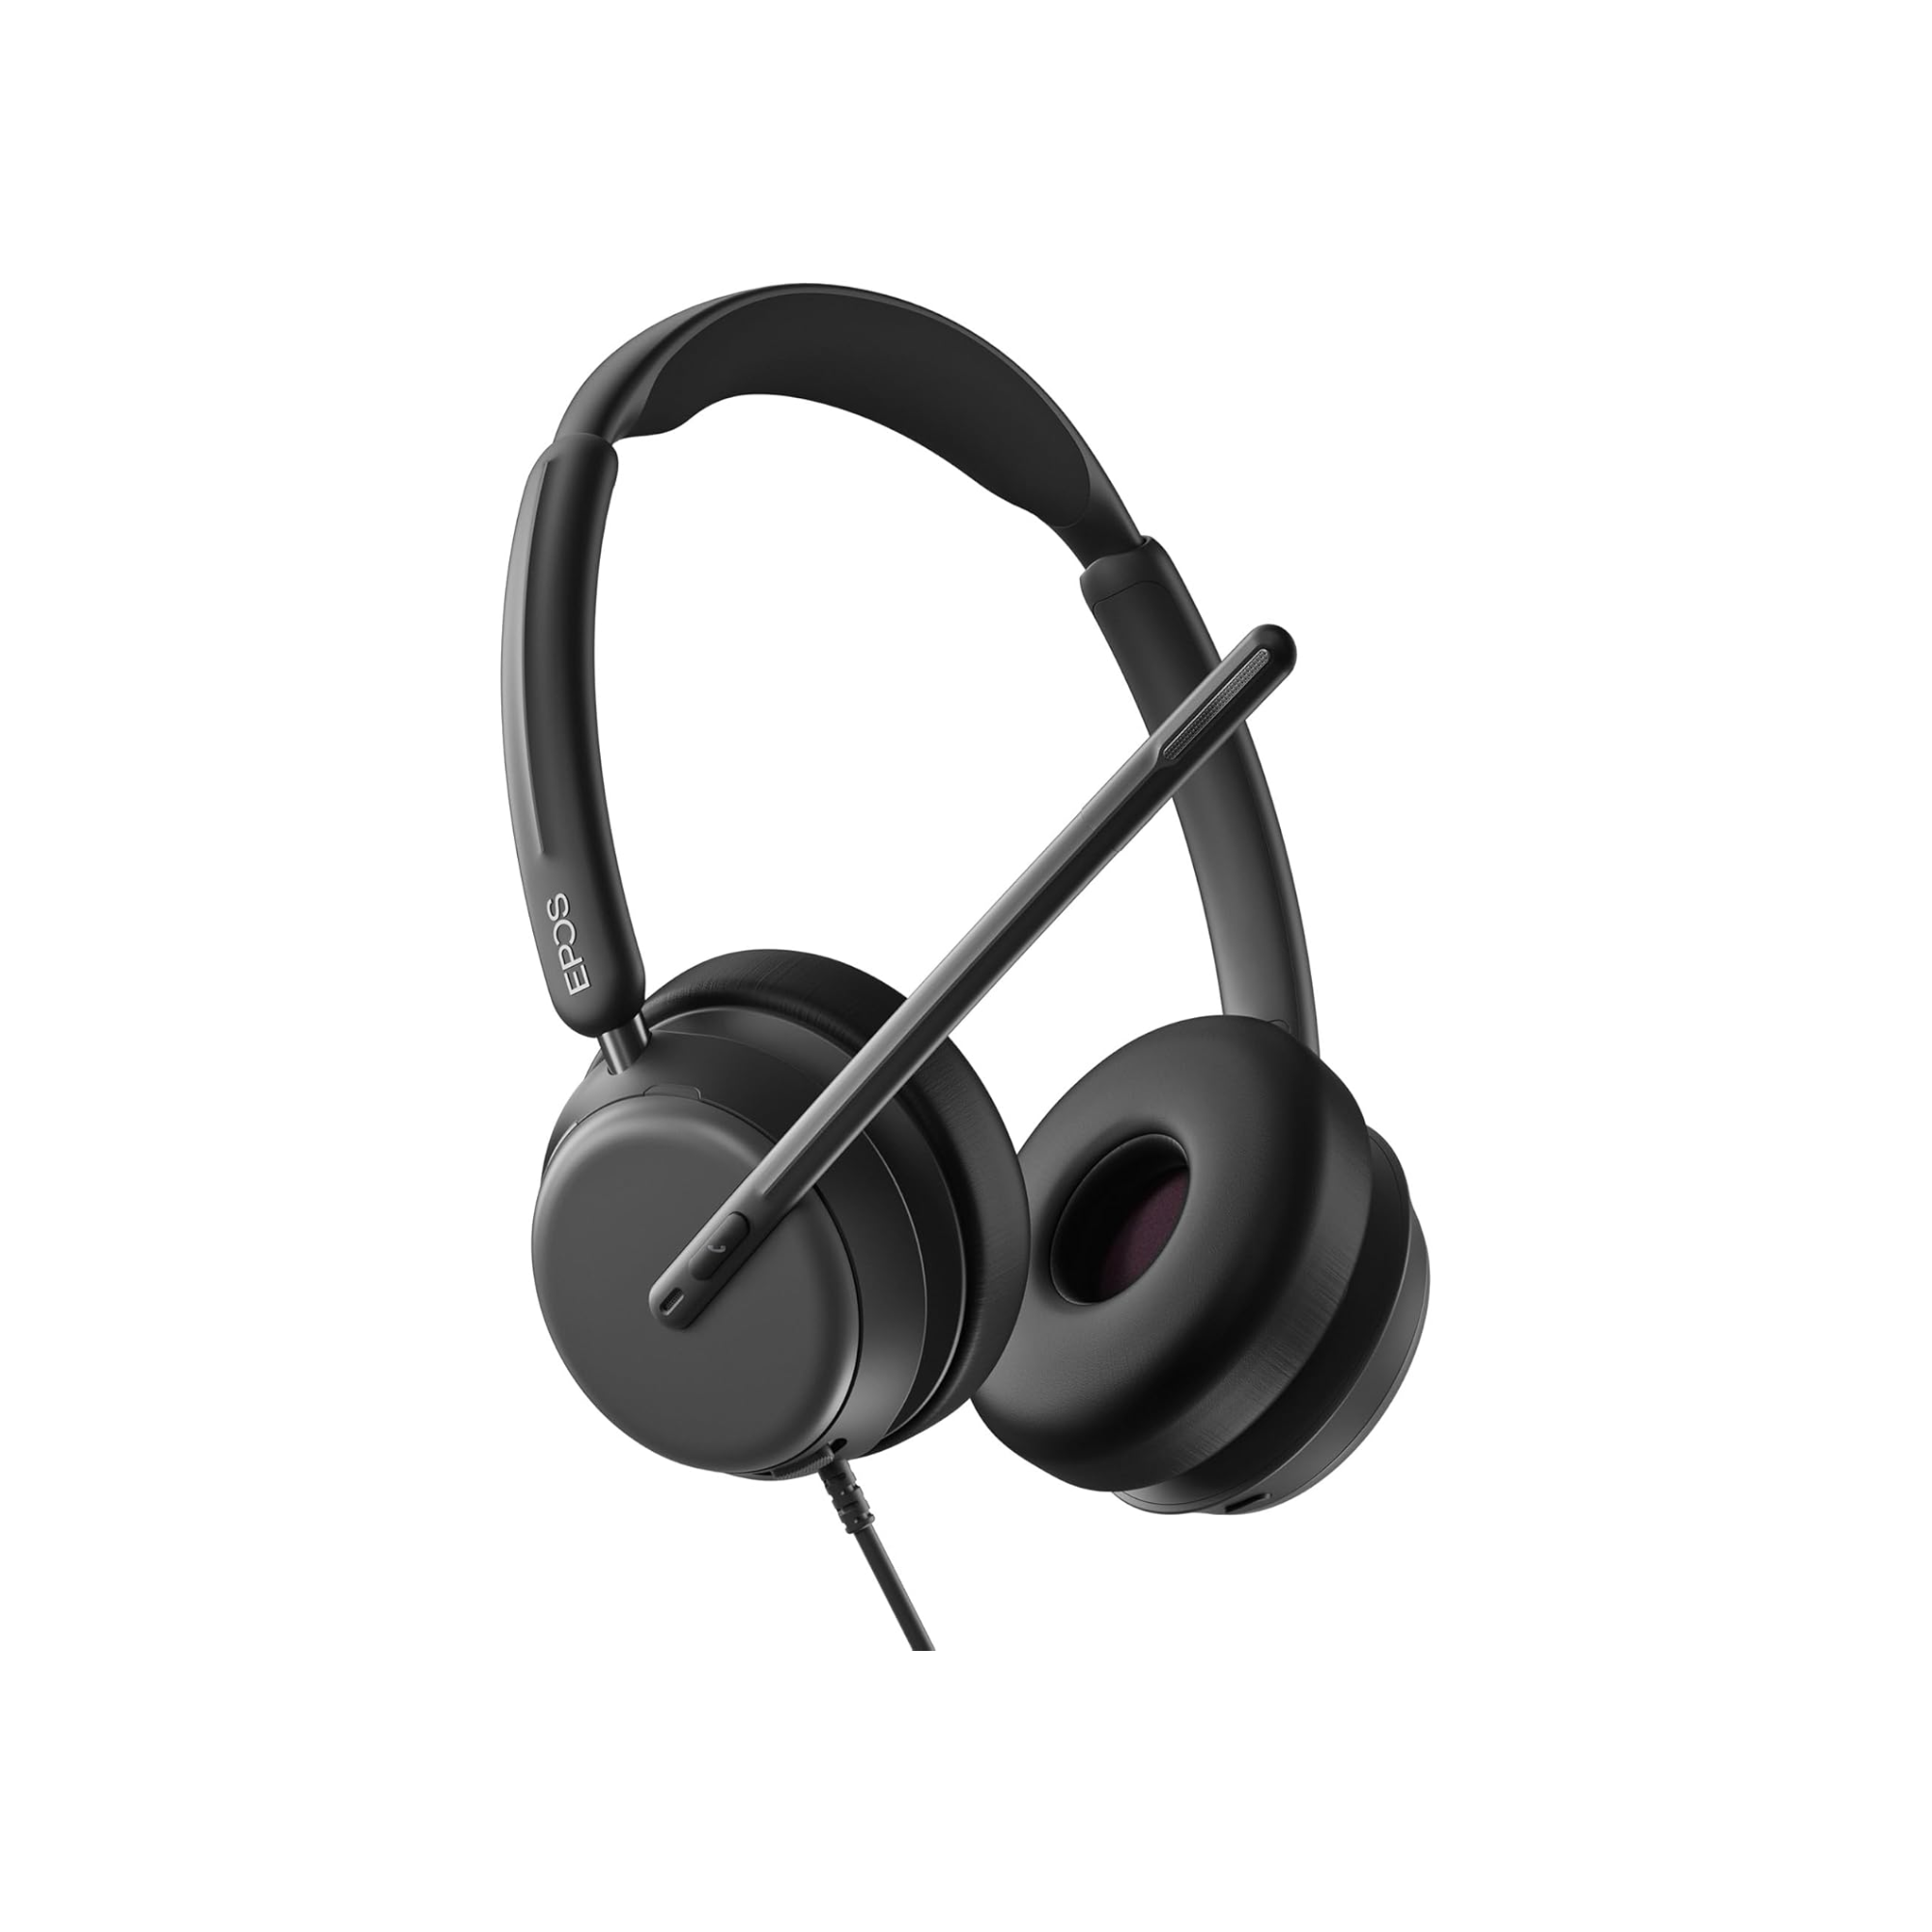
Step 3: Understand Wired vs Wireless Differences

Wired and wireless headsets behave differently, especially when it comes to audio performance.
Wired headsets typically provide:
-
More consistent audio quality
-
No switching between audio modes
-
Simple plug-and-play setup
Wireless headsets offer:
-
Mobility and flexibility
-
The ability to move during calls
-
More advanced features, depending on the model
-
More complexities when it comes to setup and use
If you’re deciding between the two, our guide on wired vs wireless headsets, which is right for you can help you evaluate your options.
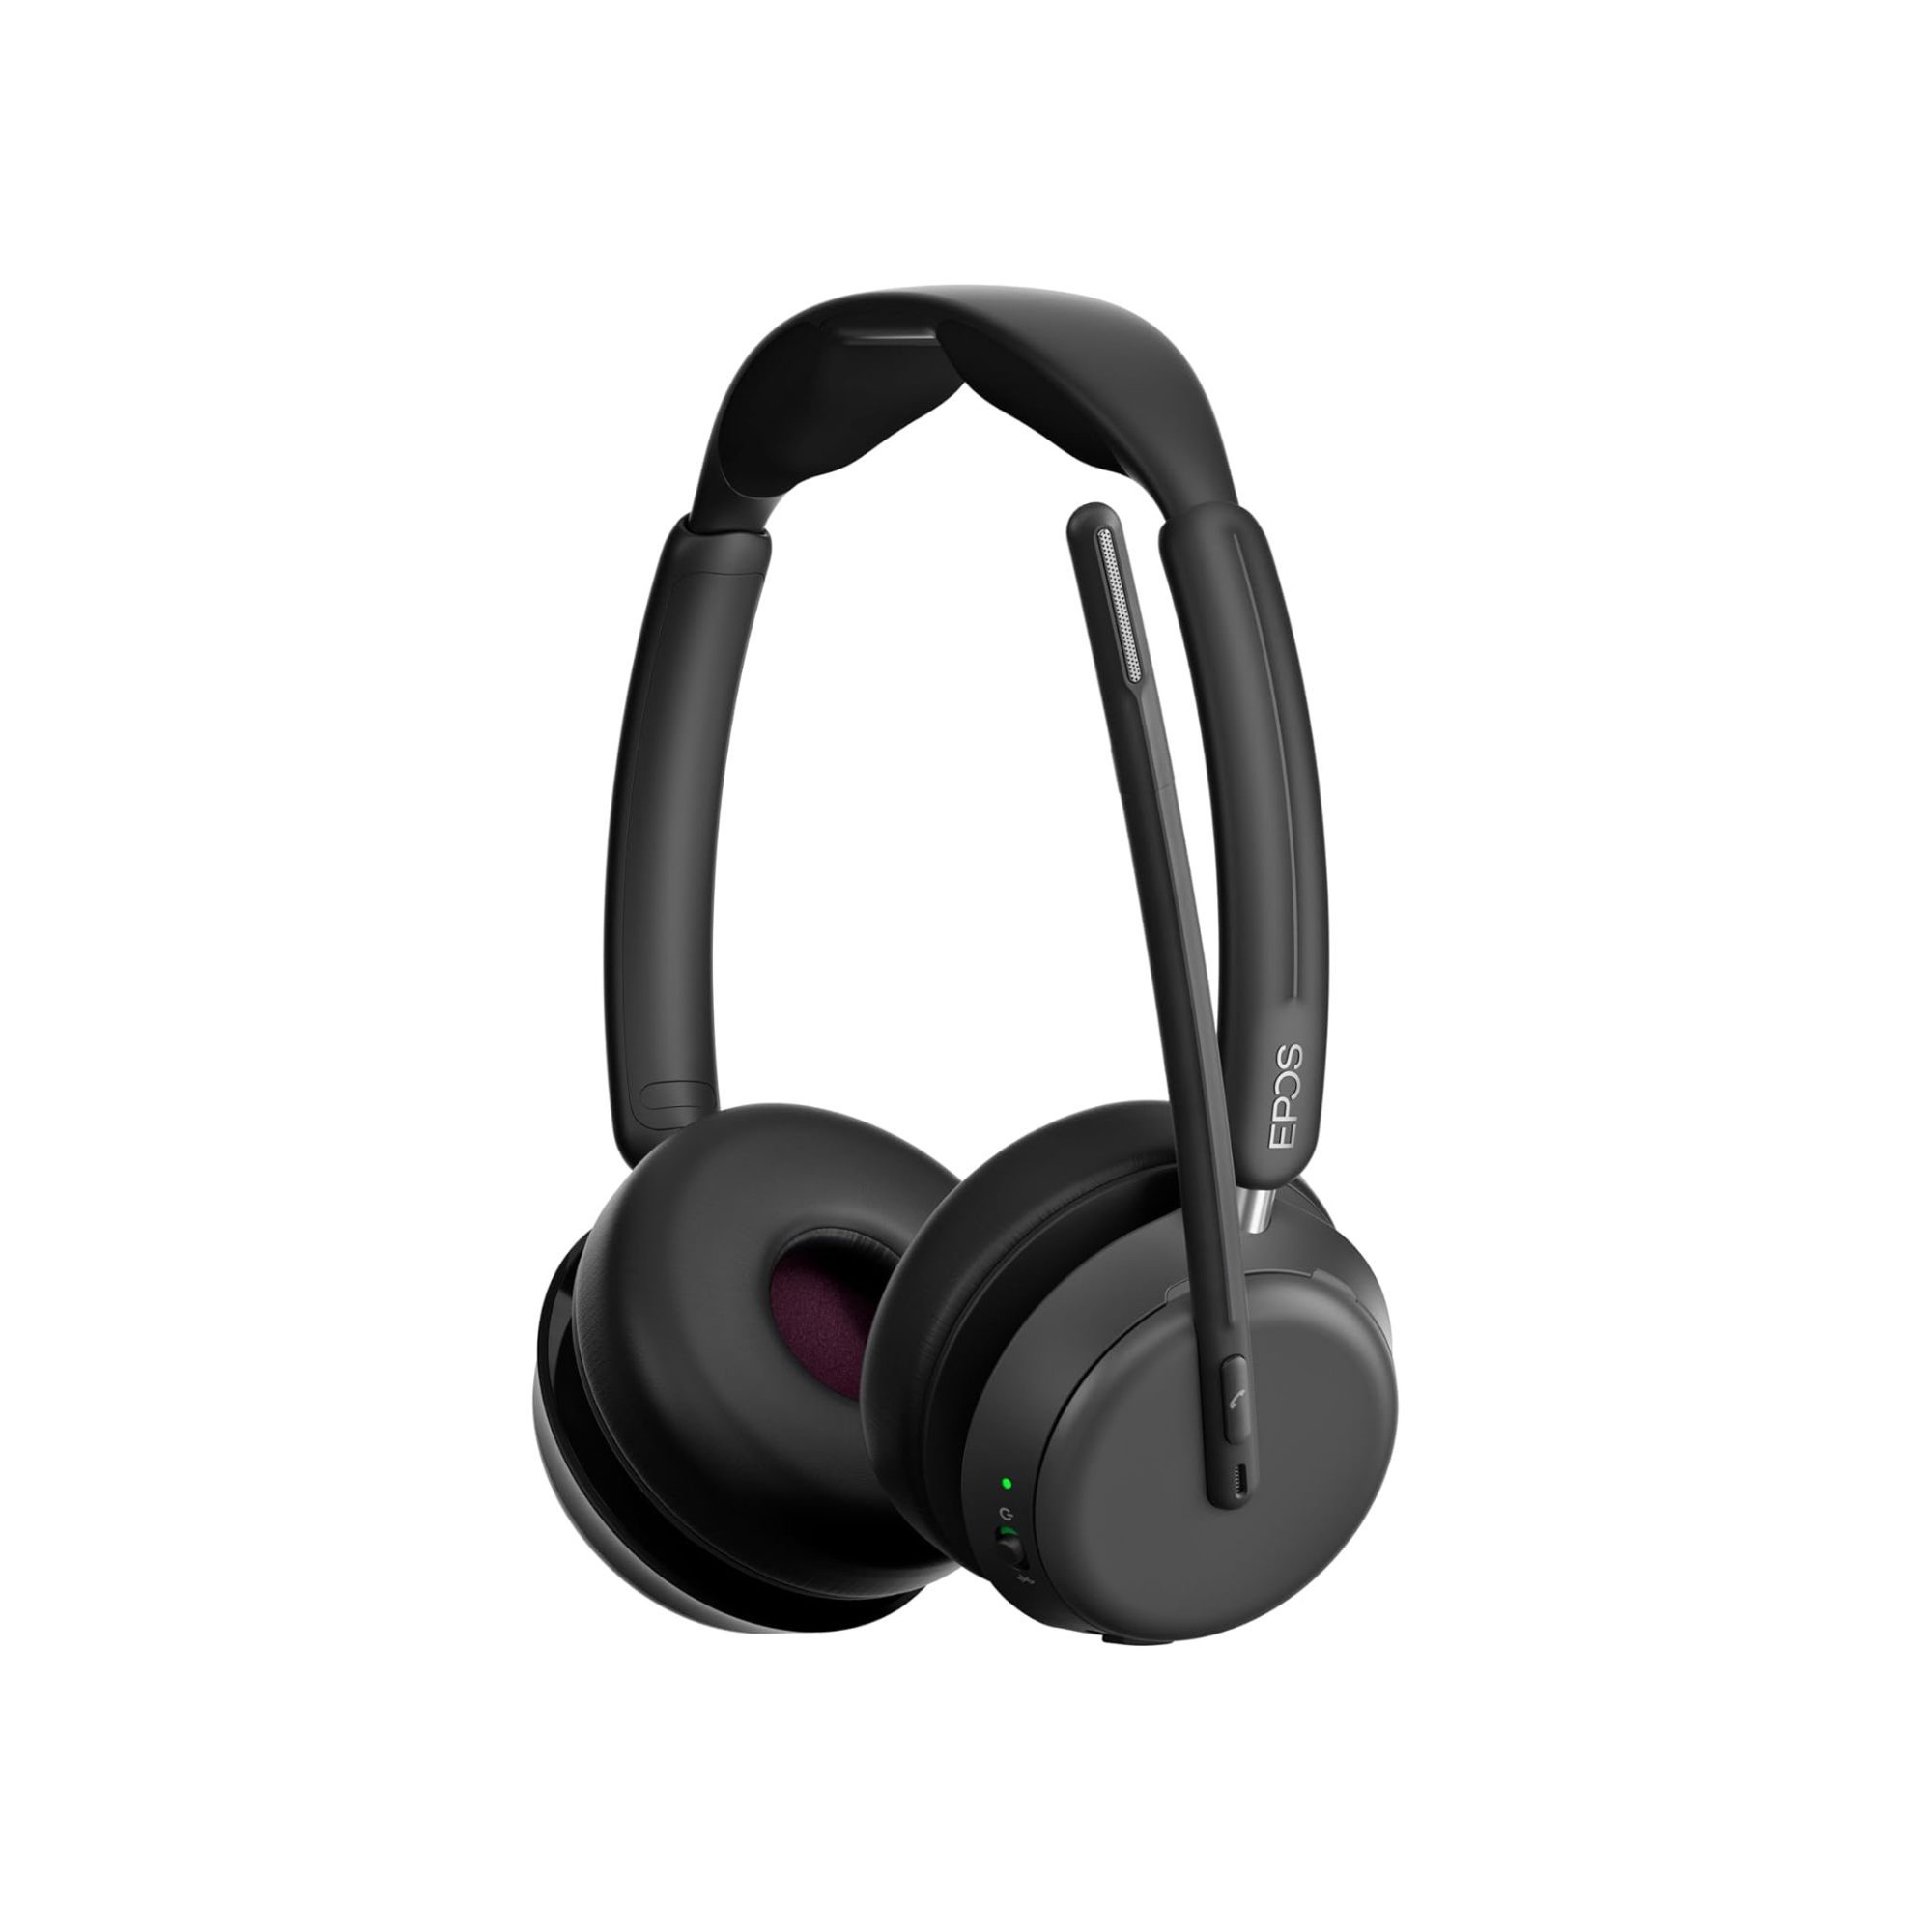
Step 4: Optimize Bluetooth Audio Settings

If you’re using a Bluetooth headset, you may notice that audio quality changes during calls.
This happens because Bluetooth headsets switch into a communication mode when the microphone is active, which can reduce audio depth.
To get the best experience:
-
Make sure your headset is fully charged
-
Stay within a reasonable range of your device
-
Avoid interference from other wireless devices - Other nearby wireless devices, such as WiFi routers, Bluetooth accessories, or cordless phones, can sometimes interfere with your headset signal. This can result in static, dropped audio, or inconsistent performance. If you experience these issues, try moving your headset base or device away from other electronics to see if the audio improves
If your audio sounds worse than expected, our guide on why your headset sounds bad and how to fix it can help you troubleshoot further.
Step 5: Position Your Microphone Correctly

Microphone placement is one of the most overlooked factors in call quality. In some cases, microphones are placed too close to the mouth, while in others, too far away.
For best results:
-
Position the microphone close to your mouth, but not directly in front of it - the general rule is to position the microphone about two fingers widths away from the corner of your mouth, and just slightly below your lower lip.
-
Placing it too close to your mouth can cause heavy breathing sounds, as well as choppy audio
-
Avoid placing it too far away, which can make your voice sound distant, and allow background noise in.
A small adjustment here can make a noticeable difference in how you sound to others.
Step 6: Reduce Background Noise

Your environment plays a big role in audio quality.
To improve your calls:
-
Work in a quieter space when possible
-
Minimize nearby distractions
-
Use noise canceling features in your headset, computer, applications if available. Consider noise canceling software to pair with your preferred audio device for better, more professional sounding calls.
If background noise is a frequent issue, understanding what noise canceling is in headsets can help you choose the right solution.
_________________________________________________________________________________________________
Step 7: The wireless headset base is too close to your phone or computer

In some cases, placing a wireless headset base too close to a desk phone or computer can cause interference, which may be heard in the headset as static, distortion, or inconsistent audio.
A quick way to test this is to move the wireless headset base farther away from the phone or computer. If the audio clears up, then interference was likely the cause.
If there’s no improvement, then it’s worth continuing with the other troubleshooting steps outlined in this guide.
Step 8: USB Port / Docking Station Issues

The headset is connected through a docking station or hub.
In some cases, connecting a headset through a USB hub or docking station can affect audio quality. This can result in distortion, audio dropoffs, or inconsistent performance.
A simple way to test this is to plug the headset directly into the computer instead of the docking station. If the audio improves, then the dock or hub may be the cause. A simple test that can result in big improvements to how you sound.
_________________________________________________________________________________________________
Step 9: Multiple Audio Devices Conflicting

Multiple audio devices are connected at the same time.
If you have more than one audio device connected, such as a headset, built-in microphone, and external speakers, or a conference phone, your computer or application may switch between them automatically. This can lead to inconsistent sound quality or the wrong device being used during calls which can frustrate everyone and disrupt the flow of the call.
To avoid this, make sure your headset, or preferred audio device is selected as the default device in both your system settings and your communication apps.
_________________________________________________________________________________________________
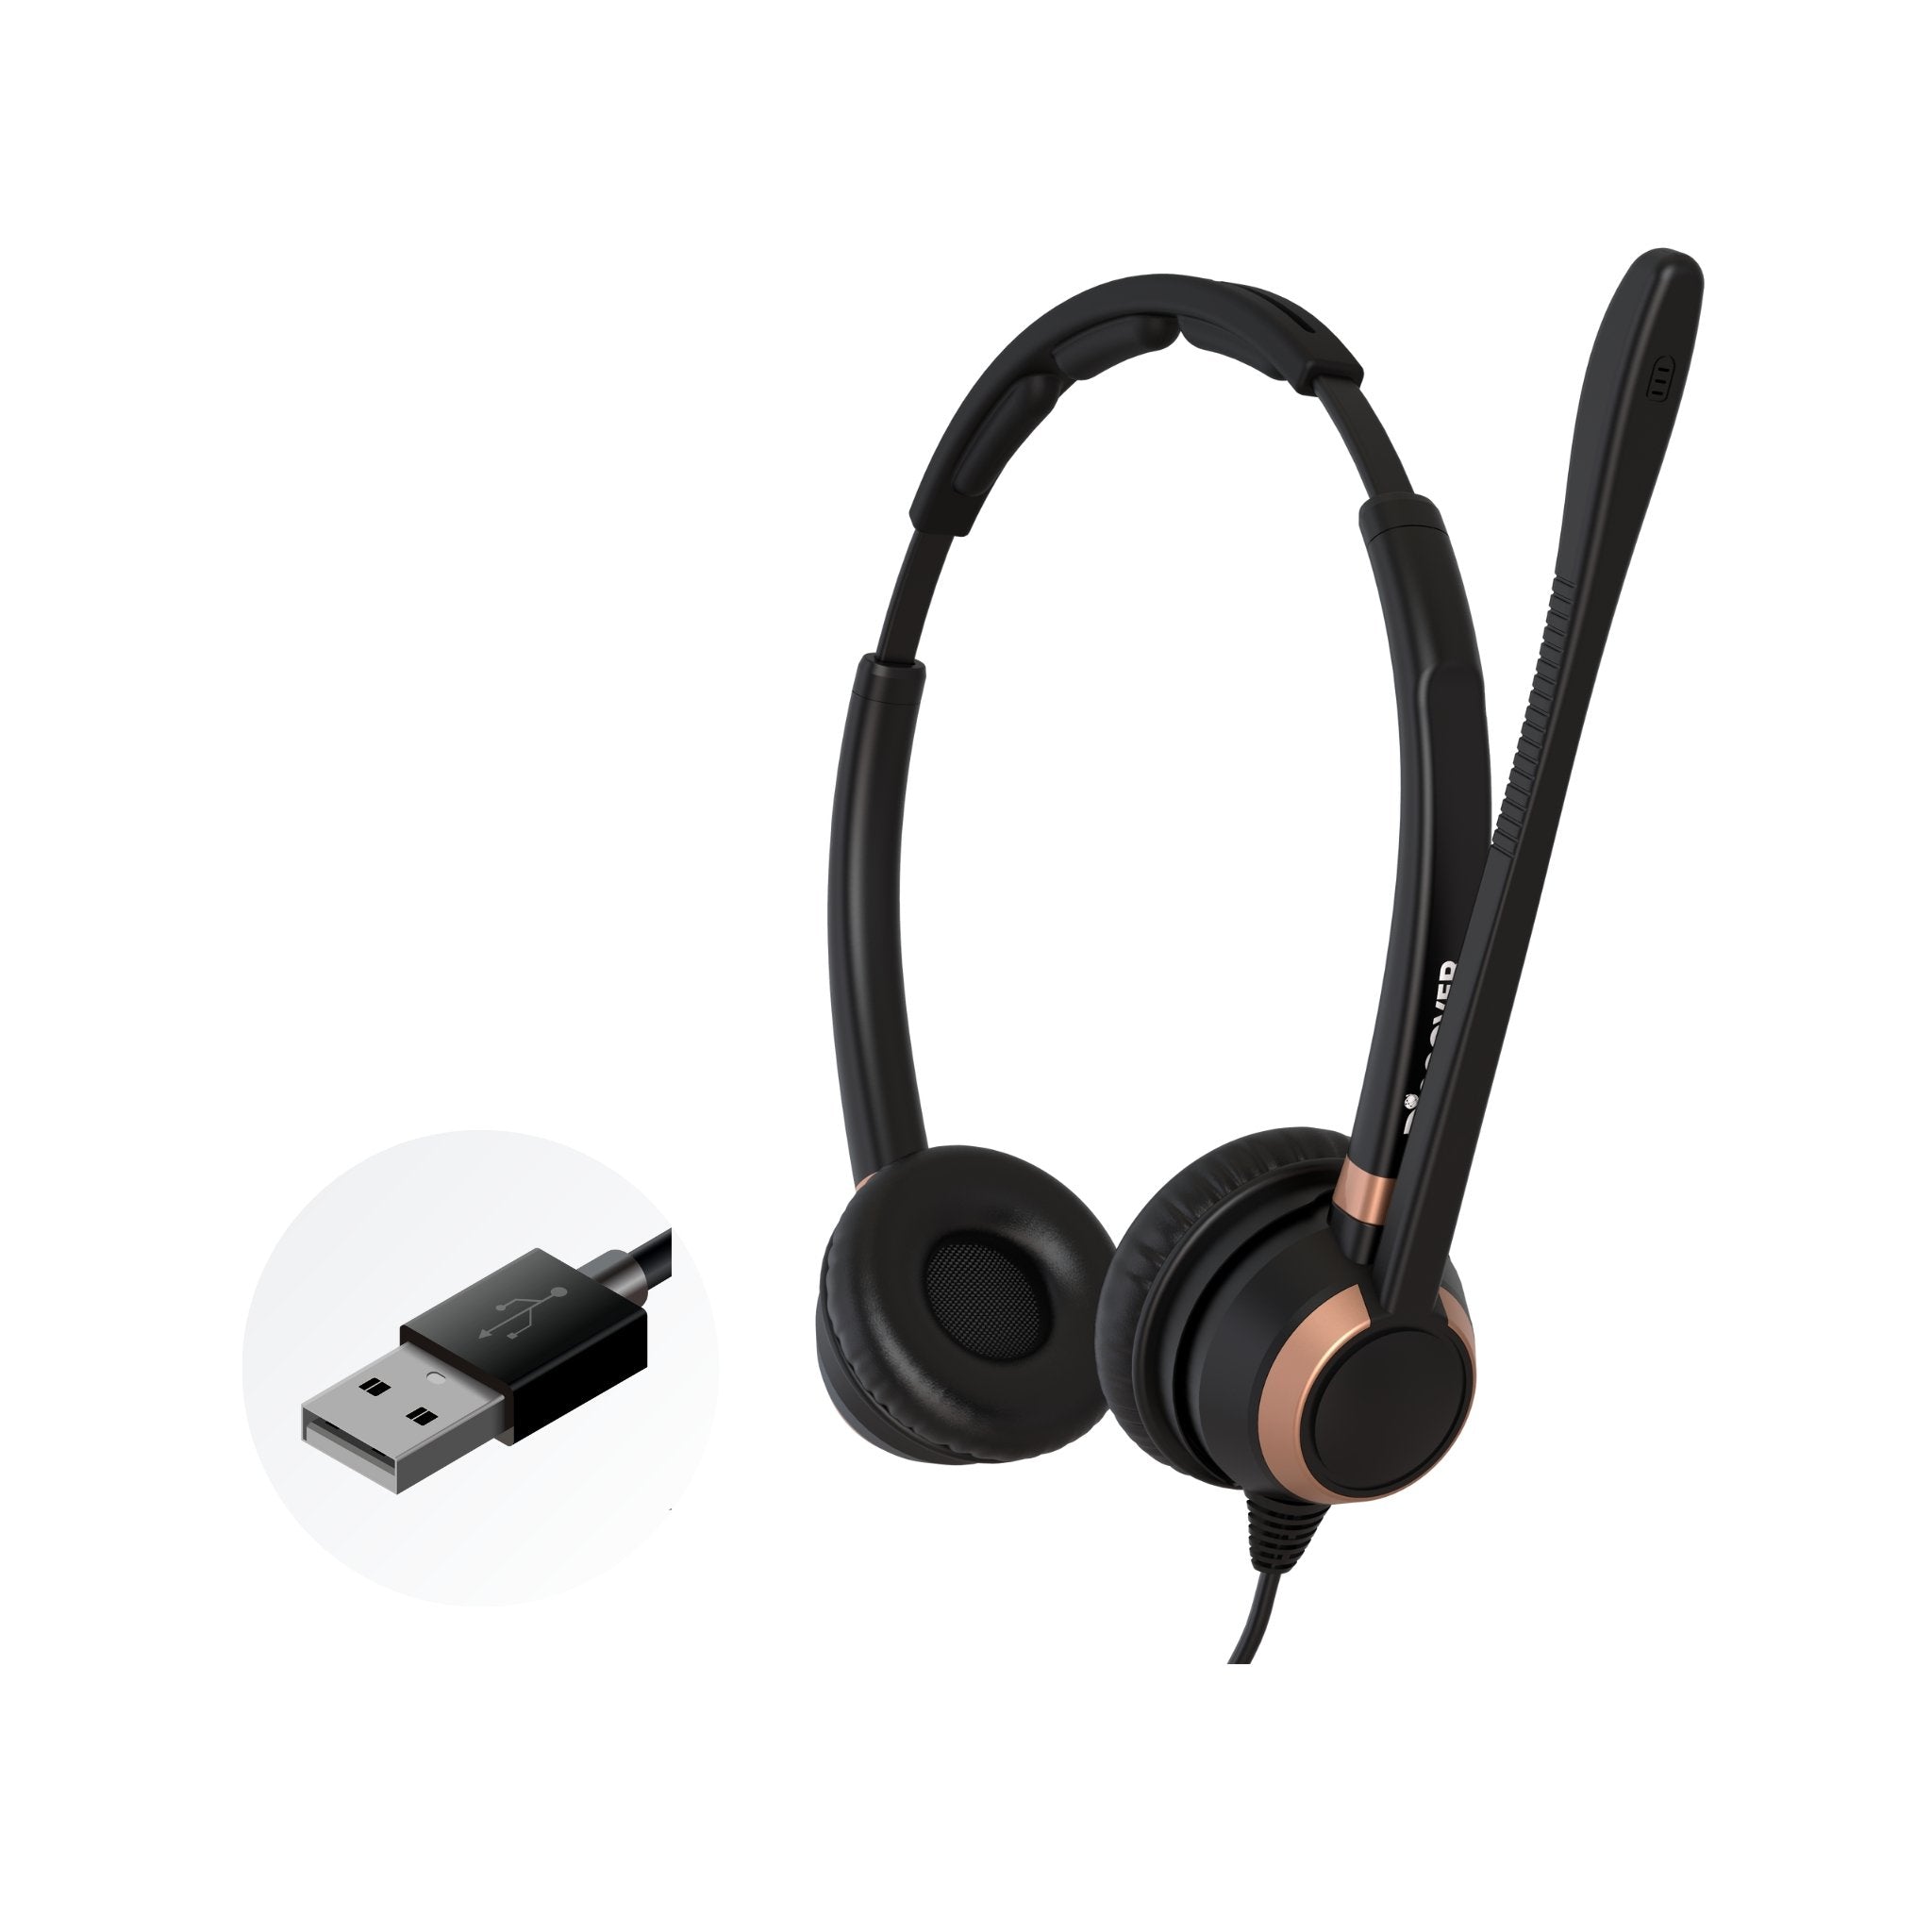
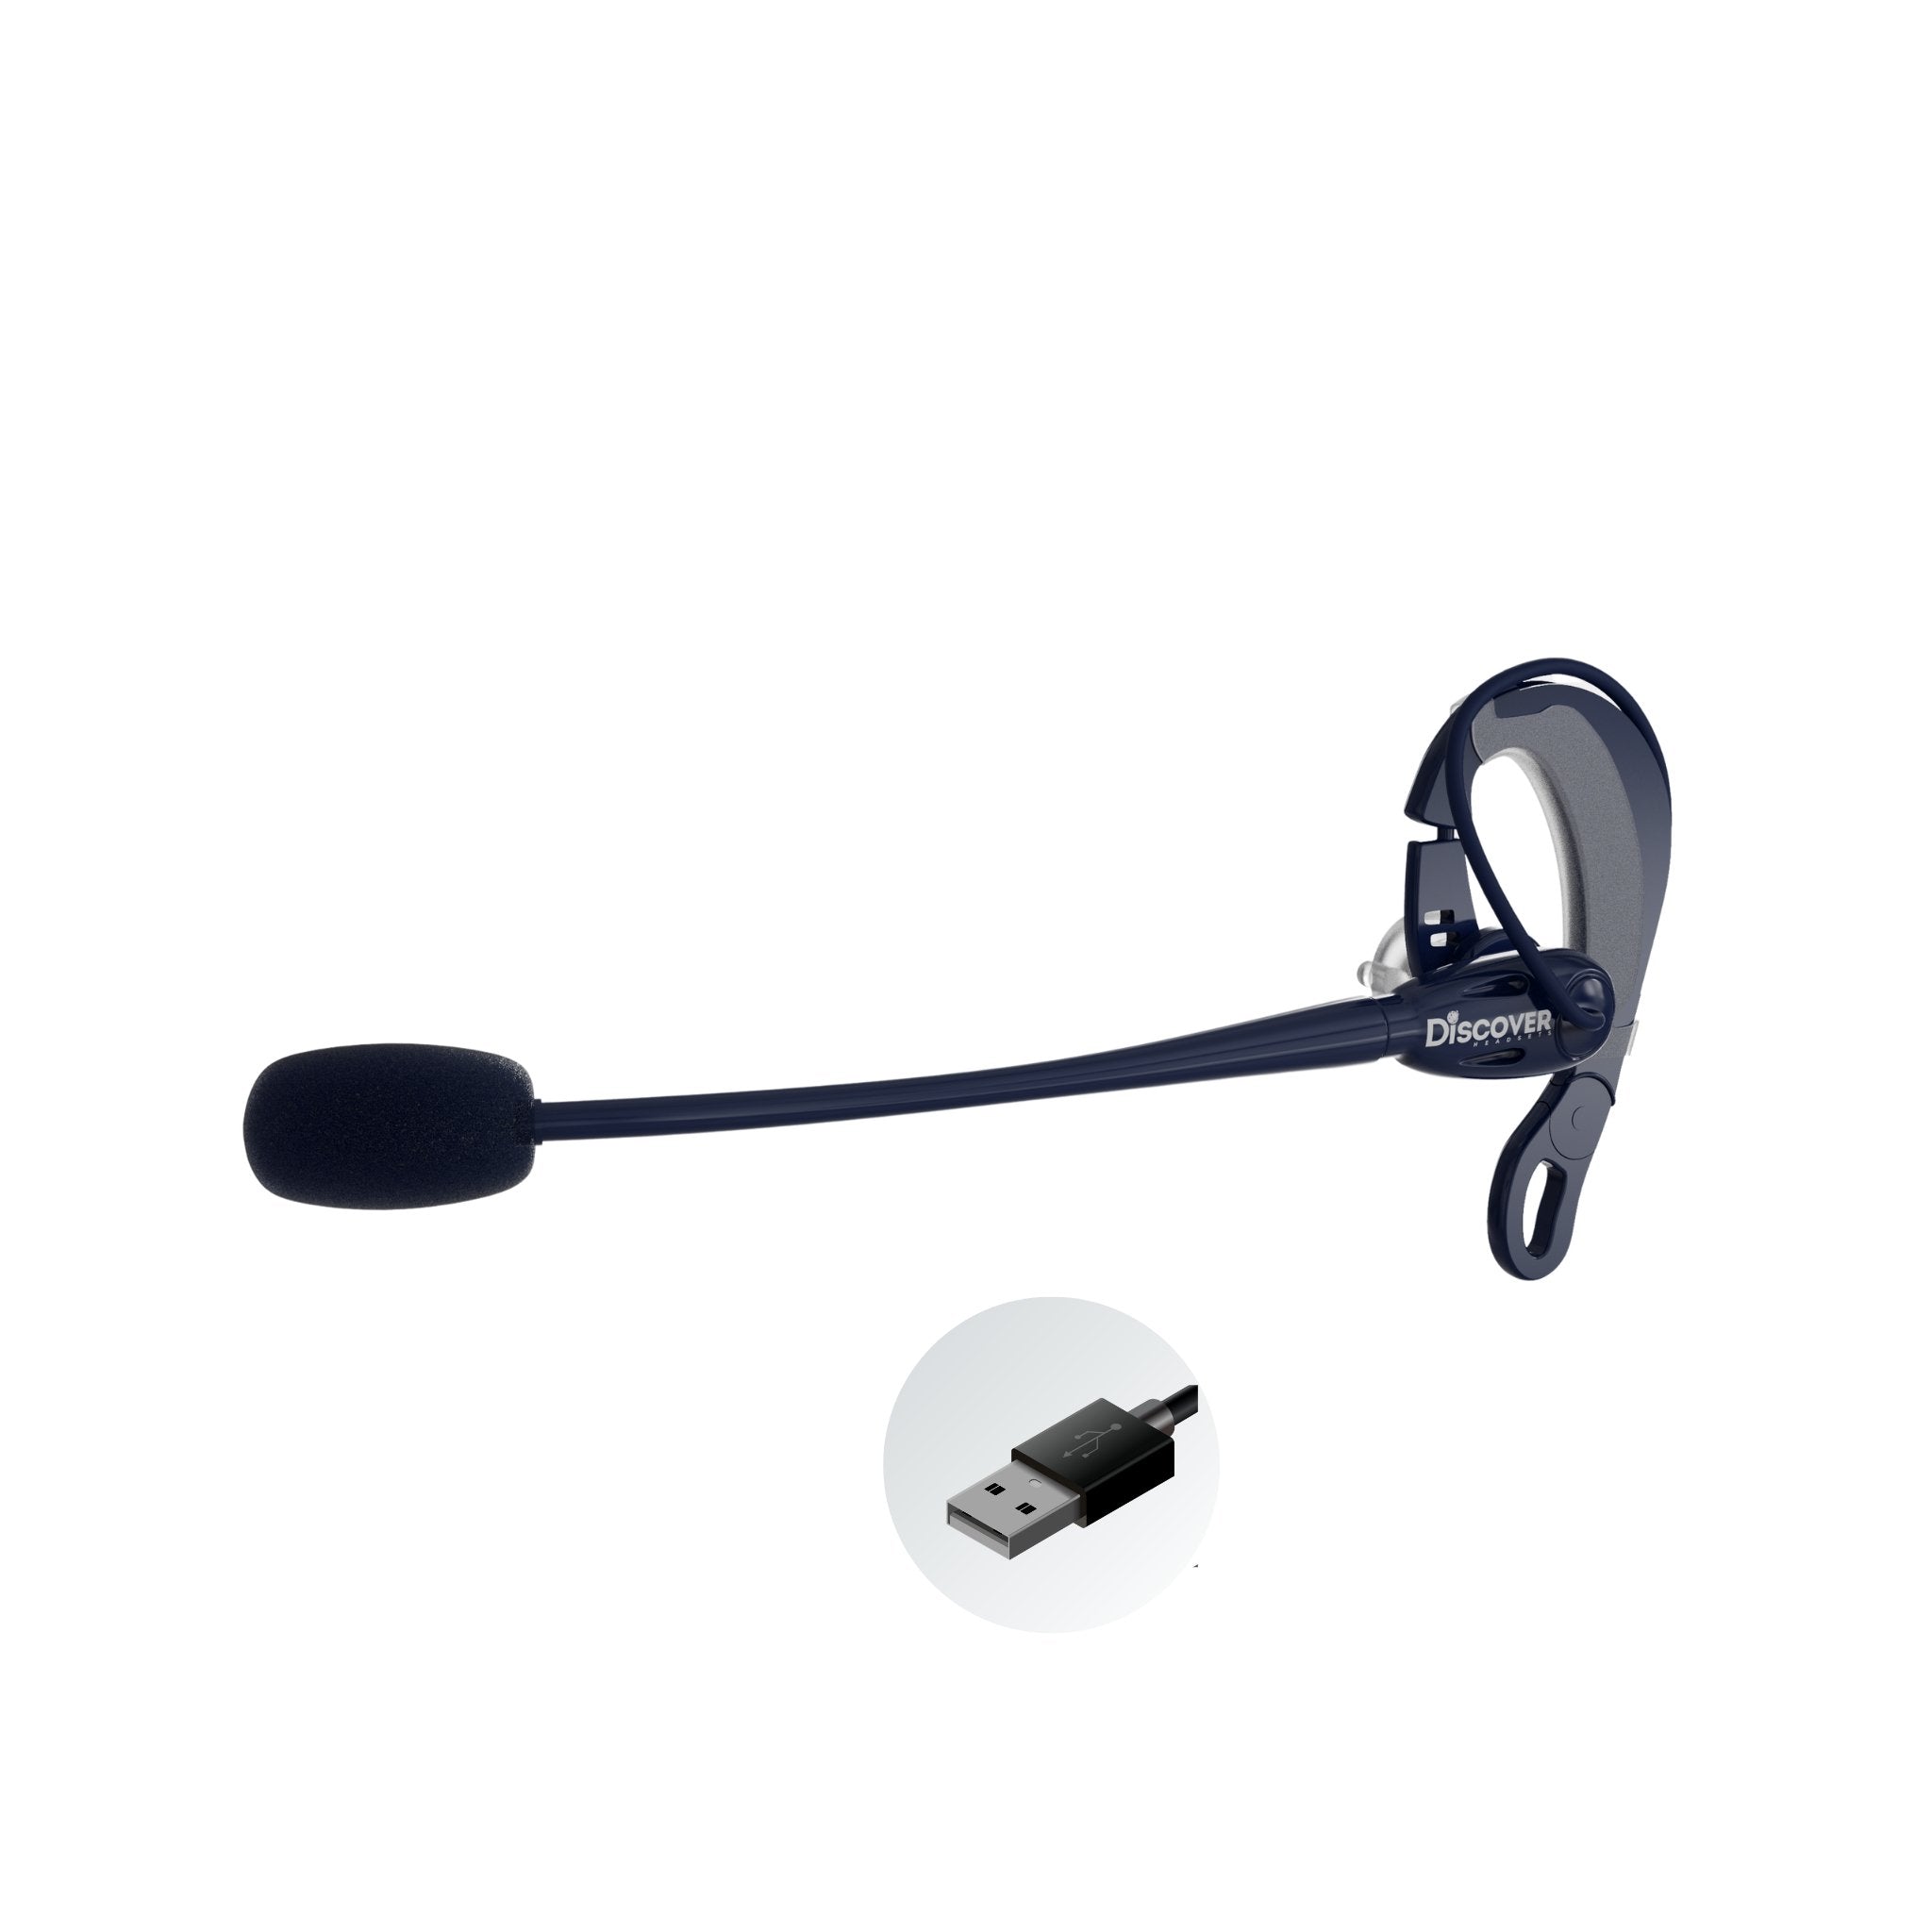
Step 10: Microphone Boom Not Fully Lowered (BIG one for many business headsets)

The microphone boom is not positioned properly
Some headsets require the microphone boom to be fully lowered or positioned correctly in order to activate and function properly. If the boom is too high or not fully engaged, it can result in the mute feature still being active (no audio transmitted), or for those headsets without boom mic muting, the audio, if the boom isn’t positioned properly, can be compromised.
Make sure the microphone is positioned where noted earlier and that it is fully lowered to unmute if your headset provides this feature.
_________________________________________________________________________________________________
Step 11: Quick Troubleshooting Checklist

If your headset still isn’t performing well, run through this quick checklist:
-
Restart your computer
-
Disconnect and reconnect your headset
-
Check for software or firmware for updates
-
Test your headset in a different app
-
Test your headset in a different computer or phone
-
Confirm the correct device is selected
These simple steps resolve more issues than most people expect.
When It’s Not a Setup Issue

Sometimes the issue isn’t your setup.
It may be:
-
A limitation of the headset itself
-
A compatibility issue with your device
-
A faulty headset
-
Environmental factors affecting performance
In these cases, upgrading to a different headset may provide a better experience, especially if your current one doesn’t meet your needs.
Ways to Reduce the Cost of Upgrading Your Headset

If you’re considering upgrading your headset, there are several ways to reduce the overall cost.
For example, if you have older or unused headsets, you may be able to trade them in for cash or credit. This can help offset the cost of upgrading while also putting unused equipment to better use. Contact us today to see how much your old headsets can lower the cost for new models.
You can also take advantage of promotional savings. Using a coupon code at checkout, such as BLOG, can provide an immediate discount. In many cases, this can be combined with trade-in credit to maximize your total savings.
For businesses or teams, leasing can be an effective option. A headset lease program can eliminate upfront costs and include replacement accessories and ongoing warranty coverage. This helps simplify budgeting and reduce long-term expenses and the need to stock different accessories.
Finally, if background noise is a challenge in your environment, software solutions like neep AI noise canceling software can improve call clarity without requiring new hardware. This can be a cost-effective way to enhance your existing setup, and give both ends of the call a better audio experience.
Final Thoughts
Getting the best audio quality from your headset doesn’t have to be complicated.
In many cases, a few simple adjustments, like selecting the correct device, optimizing app settings, and positioning your microphone properly, can make a significant difference.
Once your setup is dialed in, you’ll not only sound better on calls, but you’ll also have a more consistent and reliable communication experience.
Need Help Choosing the Right Headset?

If you’re unsure whether your current headset is the right fit, or you’re considering an upgrade, you don’t have to figure it out on your own.
Headset Advisor has been helping customers with their communication needs for over 30 years. Our team can guide you based on your devices, environment, and workflow to help you find the best solution.
We’re highly rated online, including over 800 Google reviews, making us a safe and professional choice for communication solutions, and premium service and support. Contact us today to speak with one of our knowledgeable Advisors.